

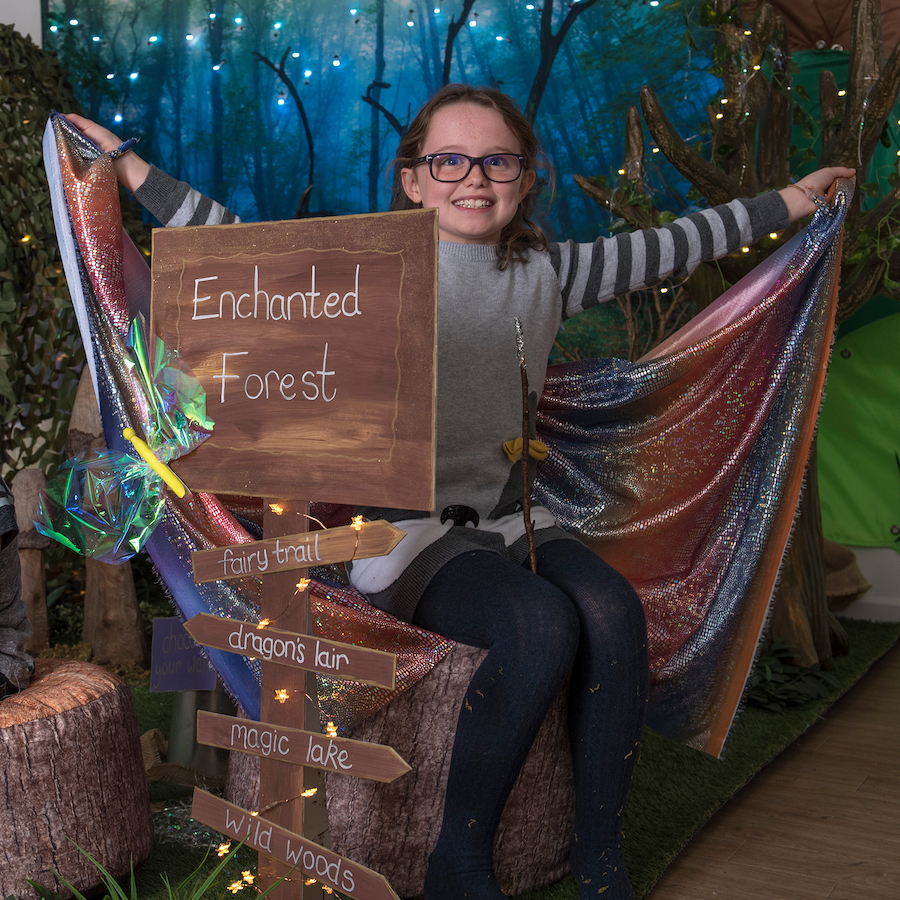
These creative immersive learning locations are ideal as multi-sensory learning locations – why not have a fairy themed reading area or use it to stimulate role play, storytelling and writing. Let the children’s imaginations soar when experiencing this inspirational area.
But watch out….who does the cave belong to? Does the mysterious tree hold secrets or is it home to magical forest creatures? Explore….but tread lightly you never know who or what is around!
What you need
- Leaf Canopies
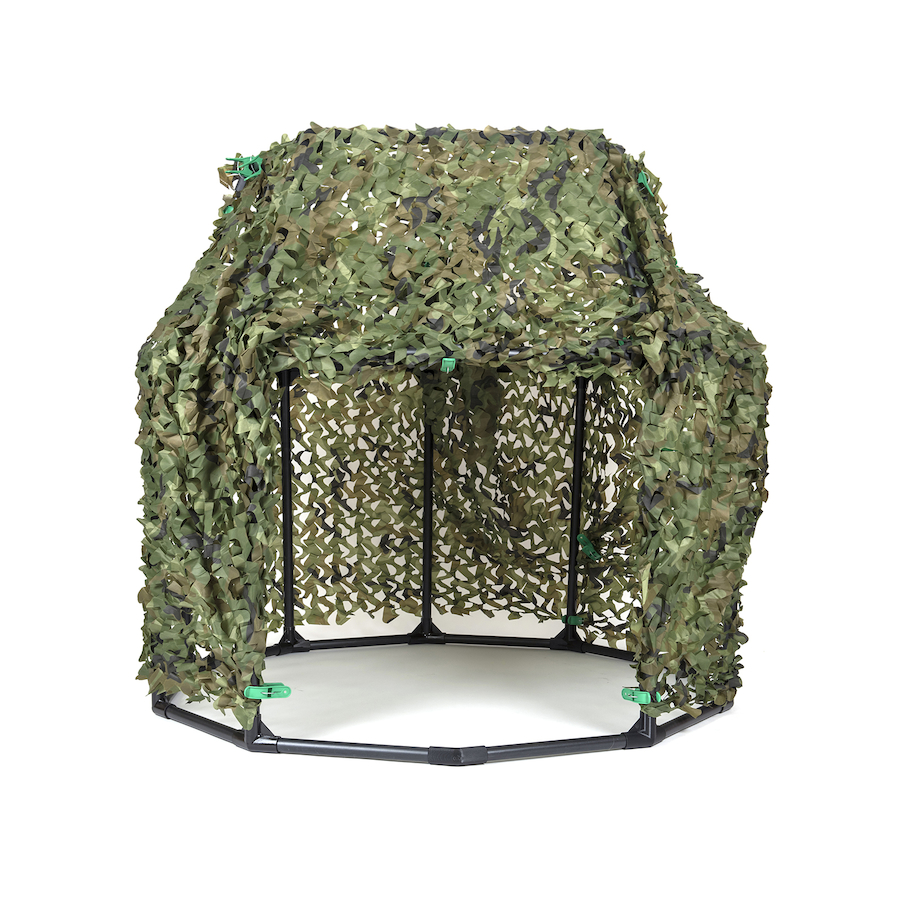
- TTS Portable Cave Frame
- TTS Cave Frame Covers
- Giant Tree
- Grass Mat
- Dolly Pegs
- Iridescent Film
- UV Glow Paint or Paint
- Pipe Cleaners
- Ready Mixed Paint
- Chroma Molten Metals Metallic Acrylic Paint
- Glitter
- Rainbow Material
- LED Fairy Lights
- Display Signposts
Step 1
Start by adding the LED’s to the Enchanted Wood backdrop. Simply push each LED light through the holes provided in the material. Next hang up the backdrop (there are eyelets long the top and bottom of the backdrop to enable you to do this). Just the image itself instantly transforms a plain wall with light and colour. You almost feel like you’re in a quiet, magical place already – watch out for fairies!

Step 2
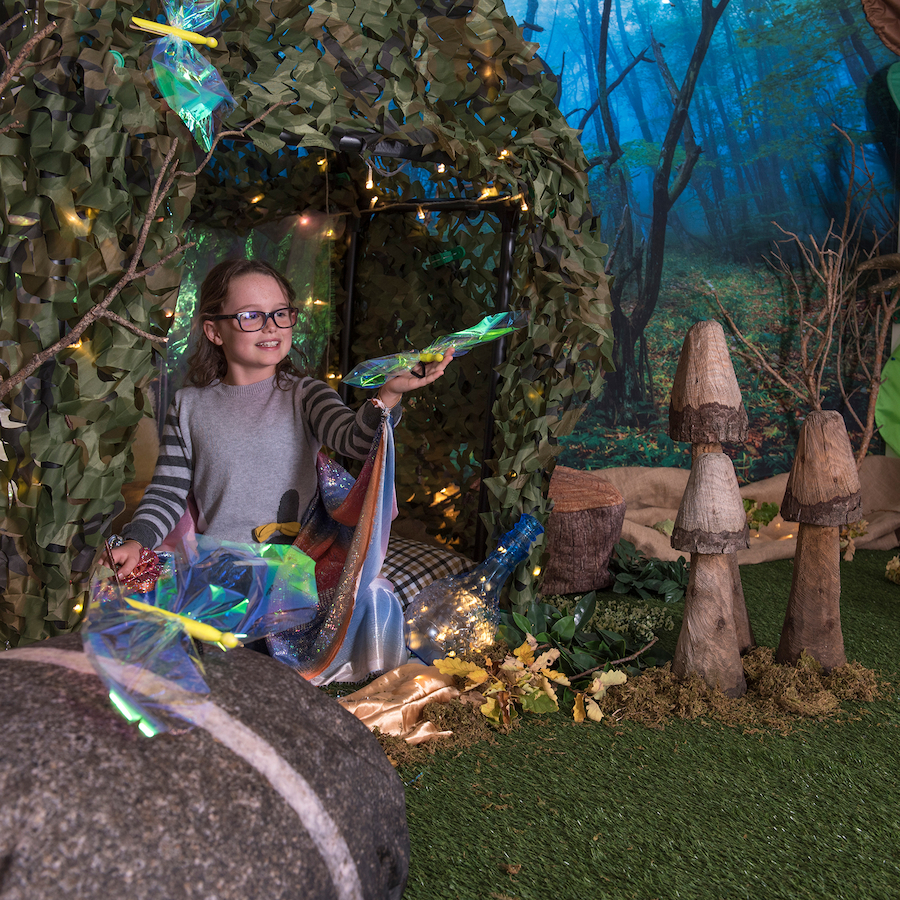
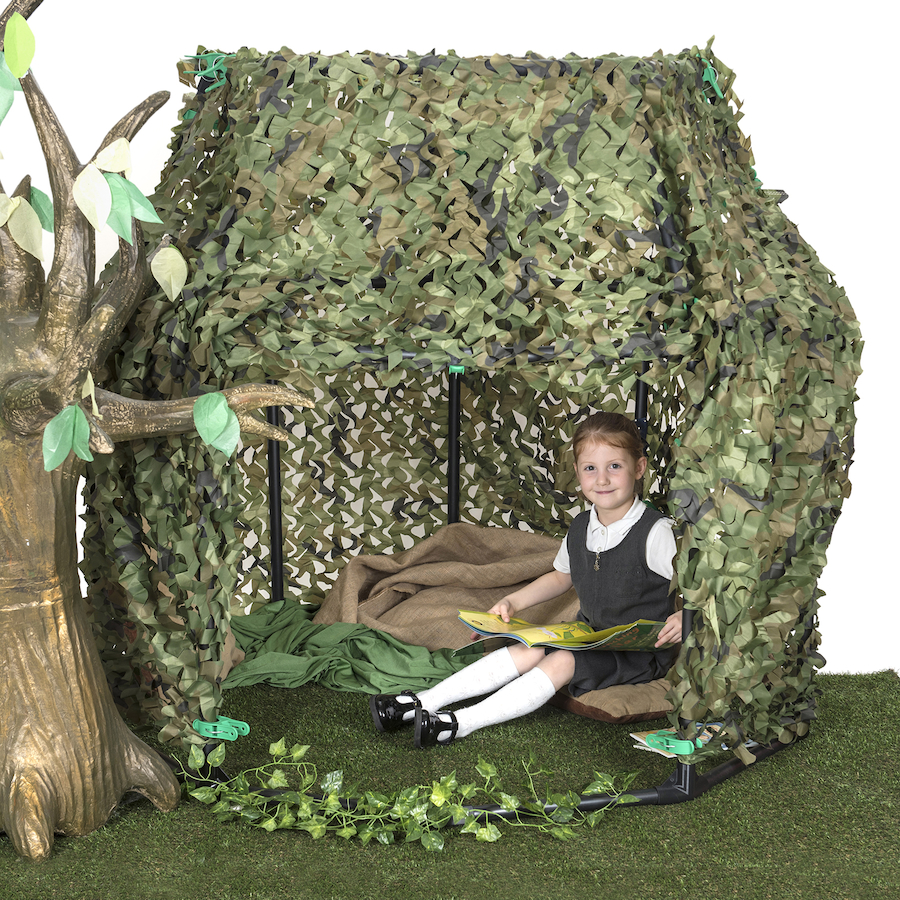
If you want to create the ‘feel’ of a forest floor use an artificial grass mat as we’ve used here, introduce real pinecones, leaves and twigs to enhance the space. Next follow the simple instructions to build the cave frame. Choose a cover (we’ve used the green camouflage material and giant pegs from the cave covers set) and secure in place using the pegs. There’s 10m’s of material to use so easily covers the frame. Add a selection of cushions or themed bark or tree stump cushions inside to create a cosy space. We’ve woven LED fairy lights into the ‘roof’ of the frame before we covered it too for added sparkle!
Step 3
Use the giant tree (assembled following instructions and decorated using acrylic paint) to set the forest scene. Giant canopy leaves help frame the area.

Step 4
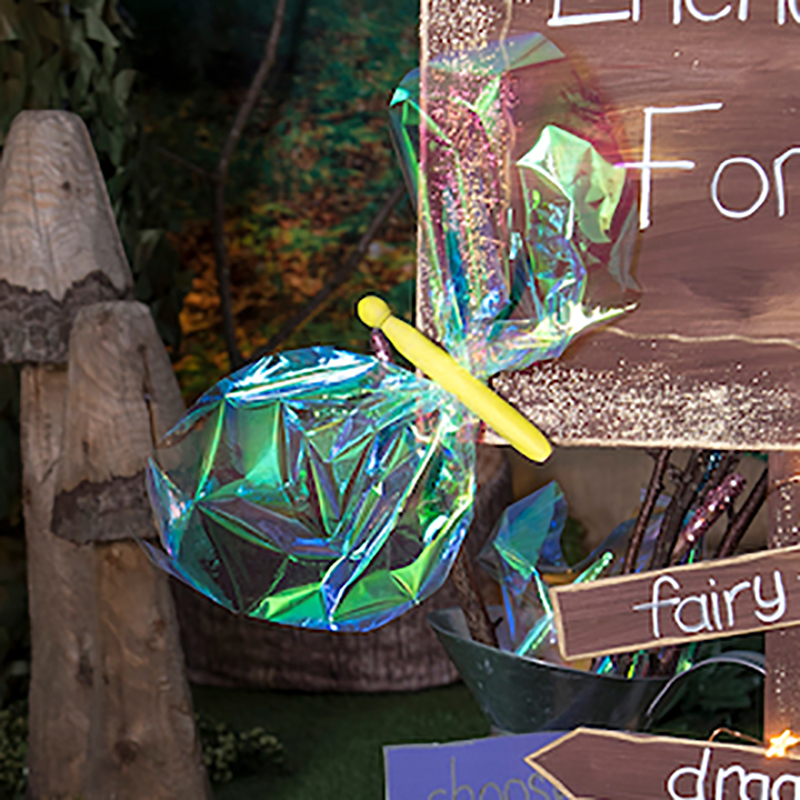
Create the Enchanted Forest sign by assembling the grey board display sign post. Paint with brown poster paint. Leave to dry then brush with gold acrylic paint. Add writing/detail to the sign post using metallic/white paint pens.

Step 5
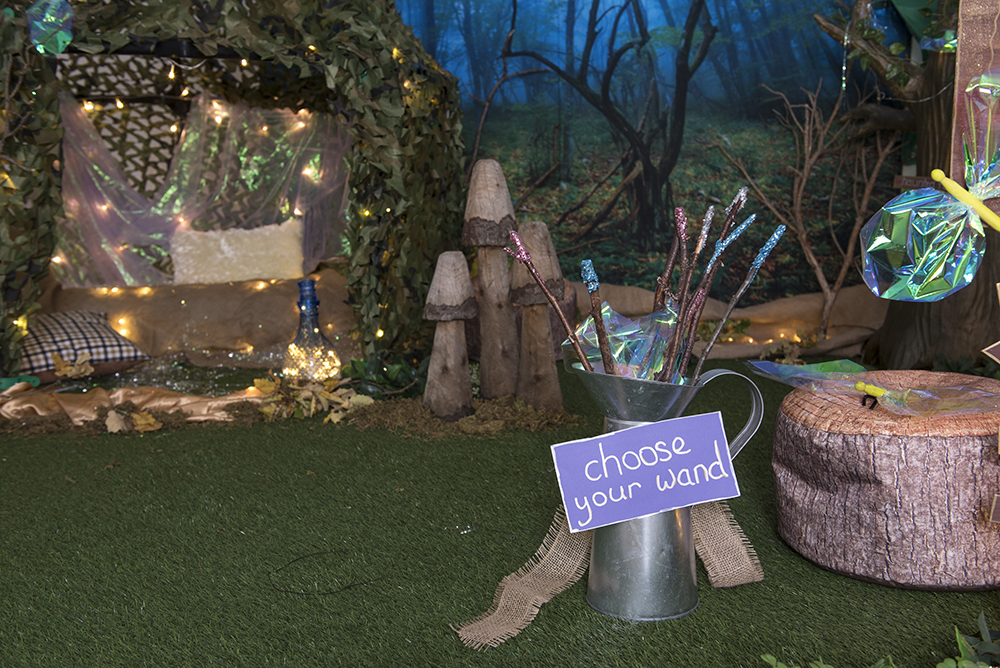
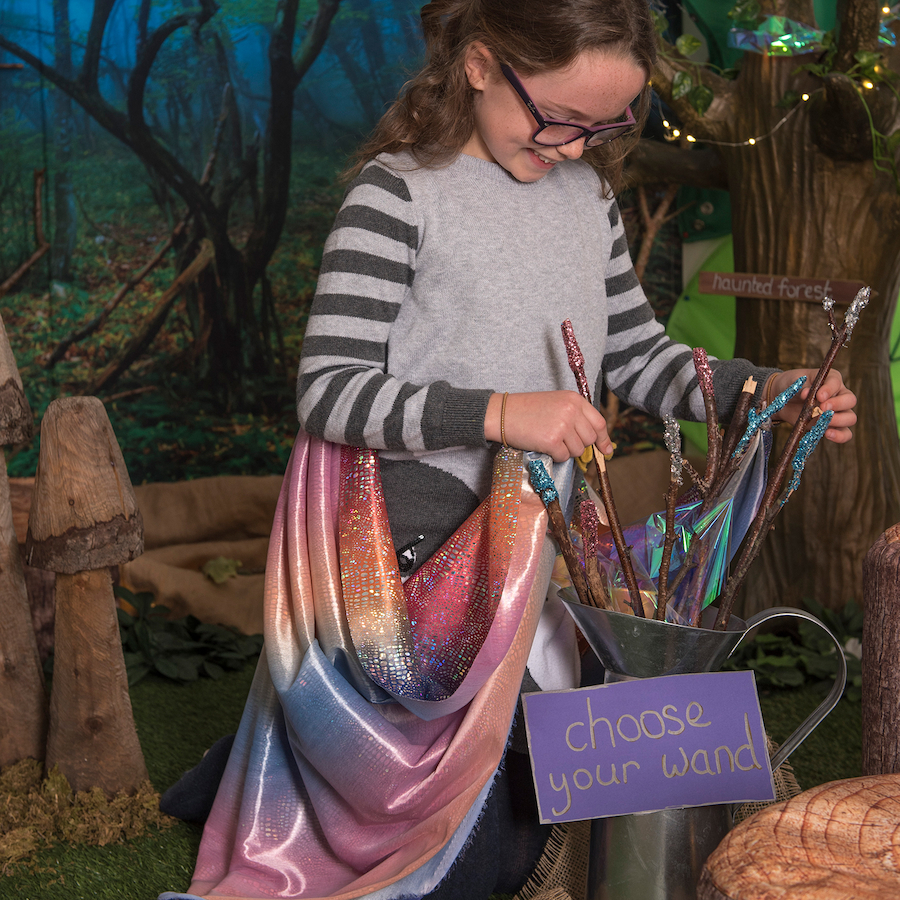
Create magical fairy wand by collecting twigs and dipping the ends in glue followed by glitter – perfect for ‘swishing around’ casting spells!
Step 6
Make shimmering fireflies by painting dolly pegs with UV glow paint, cut wings from iridescent film (use a square piece of film folded in two, from the folded end cut a ‘wing’ shape. Open out the ‘wings’ and push the centre into the body of the peg. Make legs out of a length of pipe cleaner fed into the centre of the peg and twisted underneath the body making legs.
Step 7
Dot tree stump bean bags and pebble cushions around creating comfortable reading spaces.
Step 8
Make easy fairy wings using a length of our rainbow material.

Check out our other inspiring learning locations here:
How to make a dinosaur-themed immersive environment
How to make a magical woodland learning location


