

This is a really good one to start the new year, to have a little fun, but also celebrate those accidental happenings that make a piece of work take off in an unexpected direction.
Appropriate for: GCSE/A-level but can be adapted to Key Stages 2 and 3
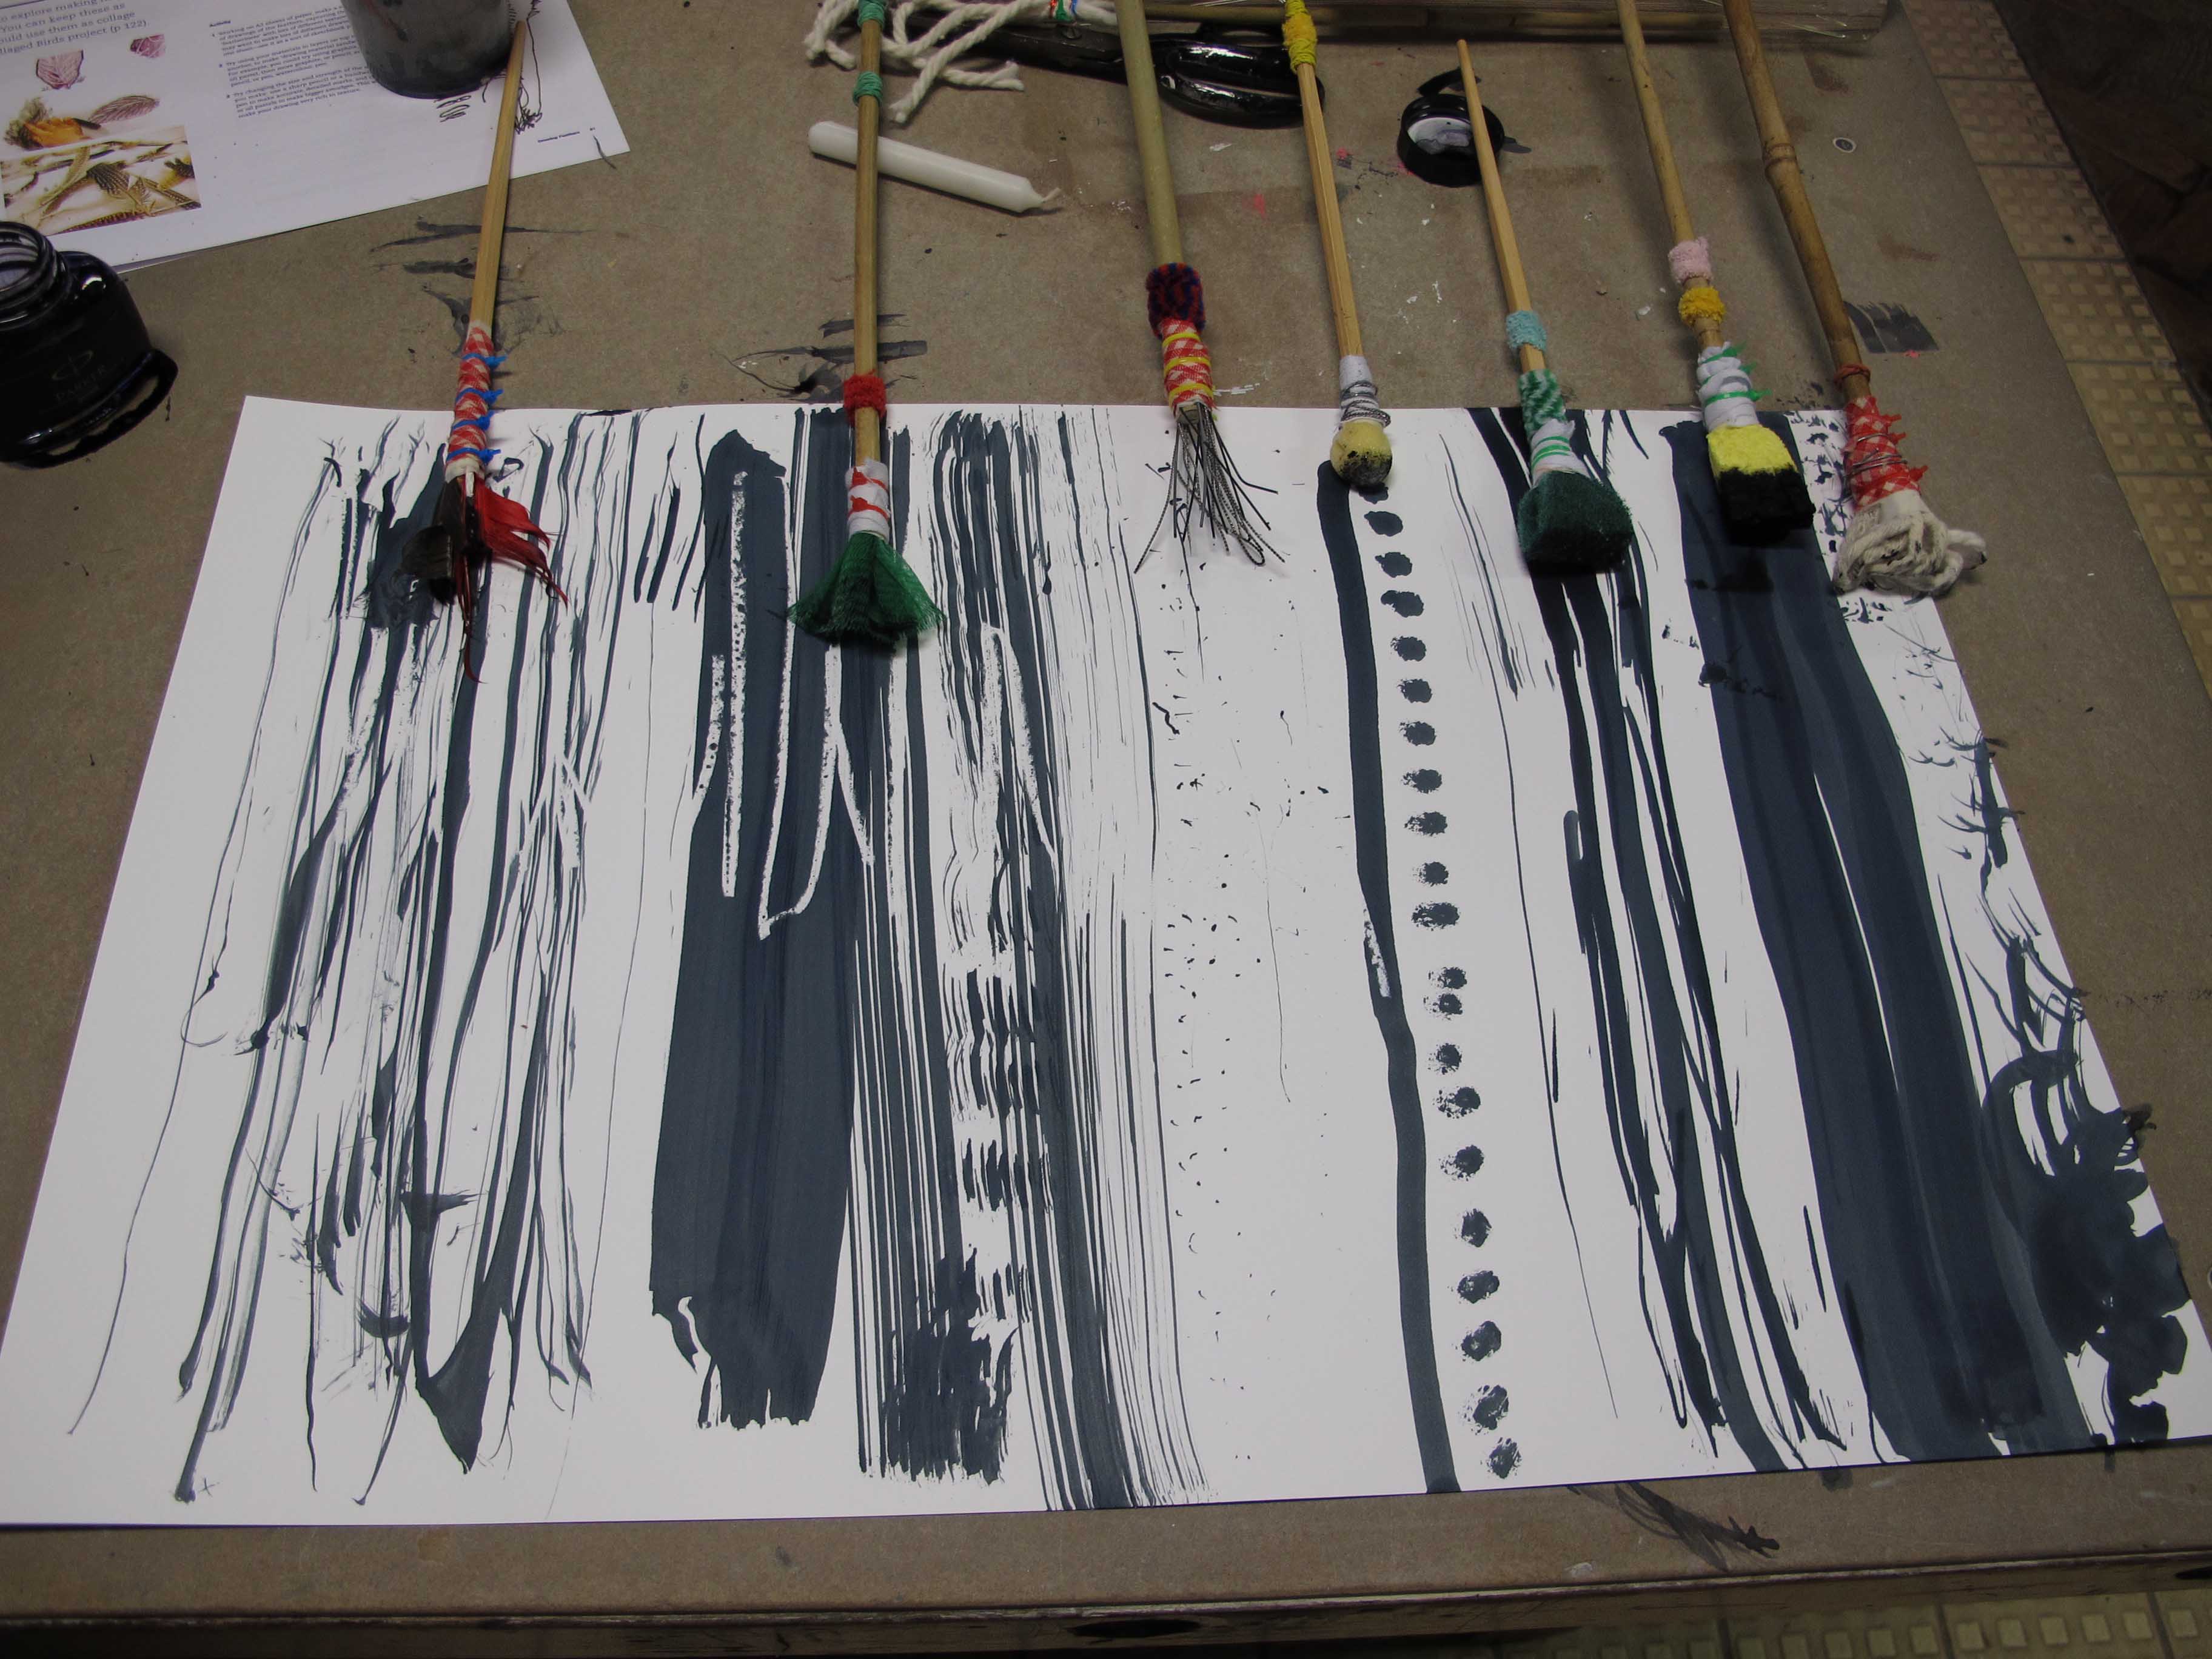
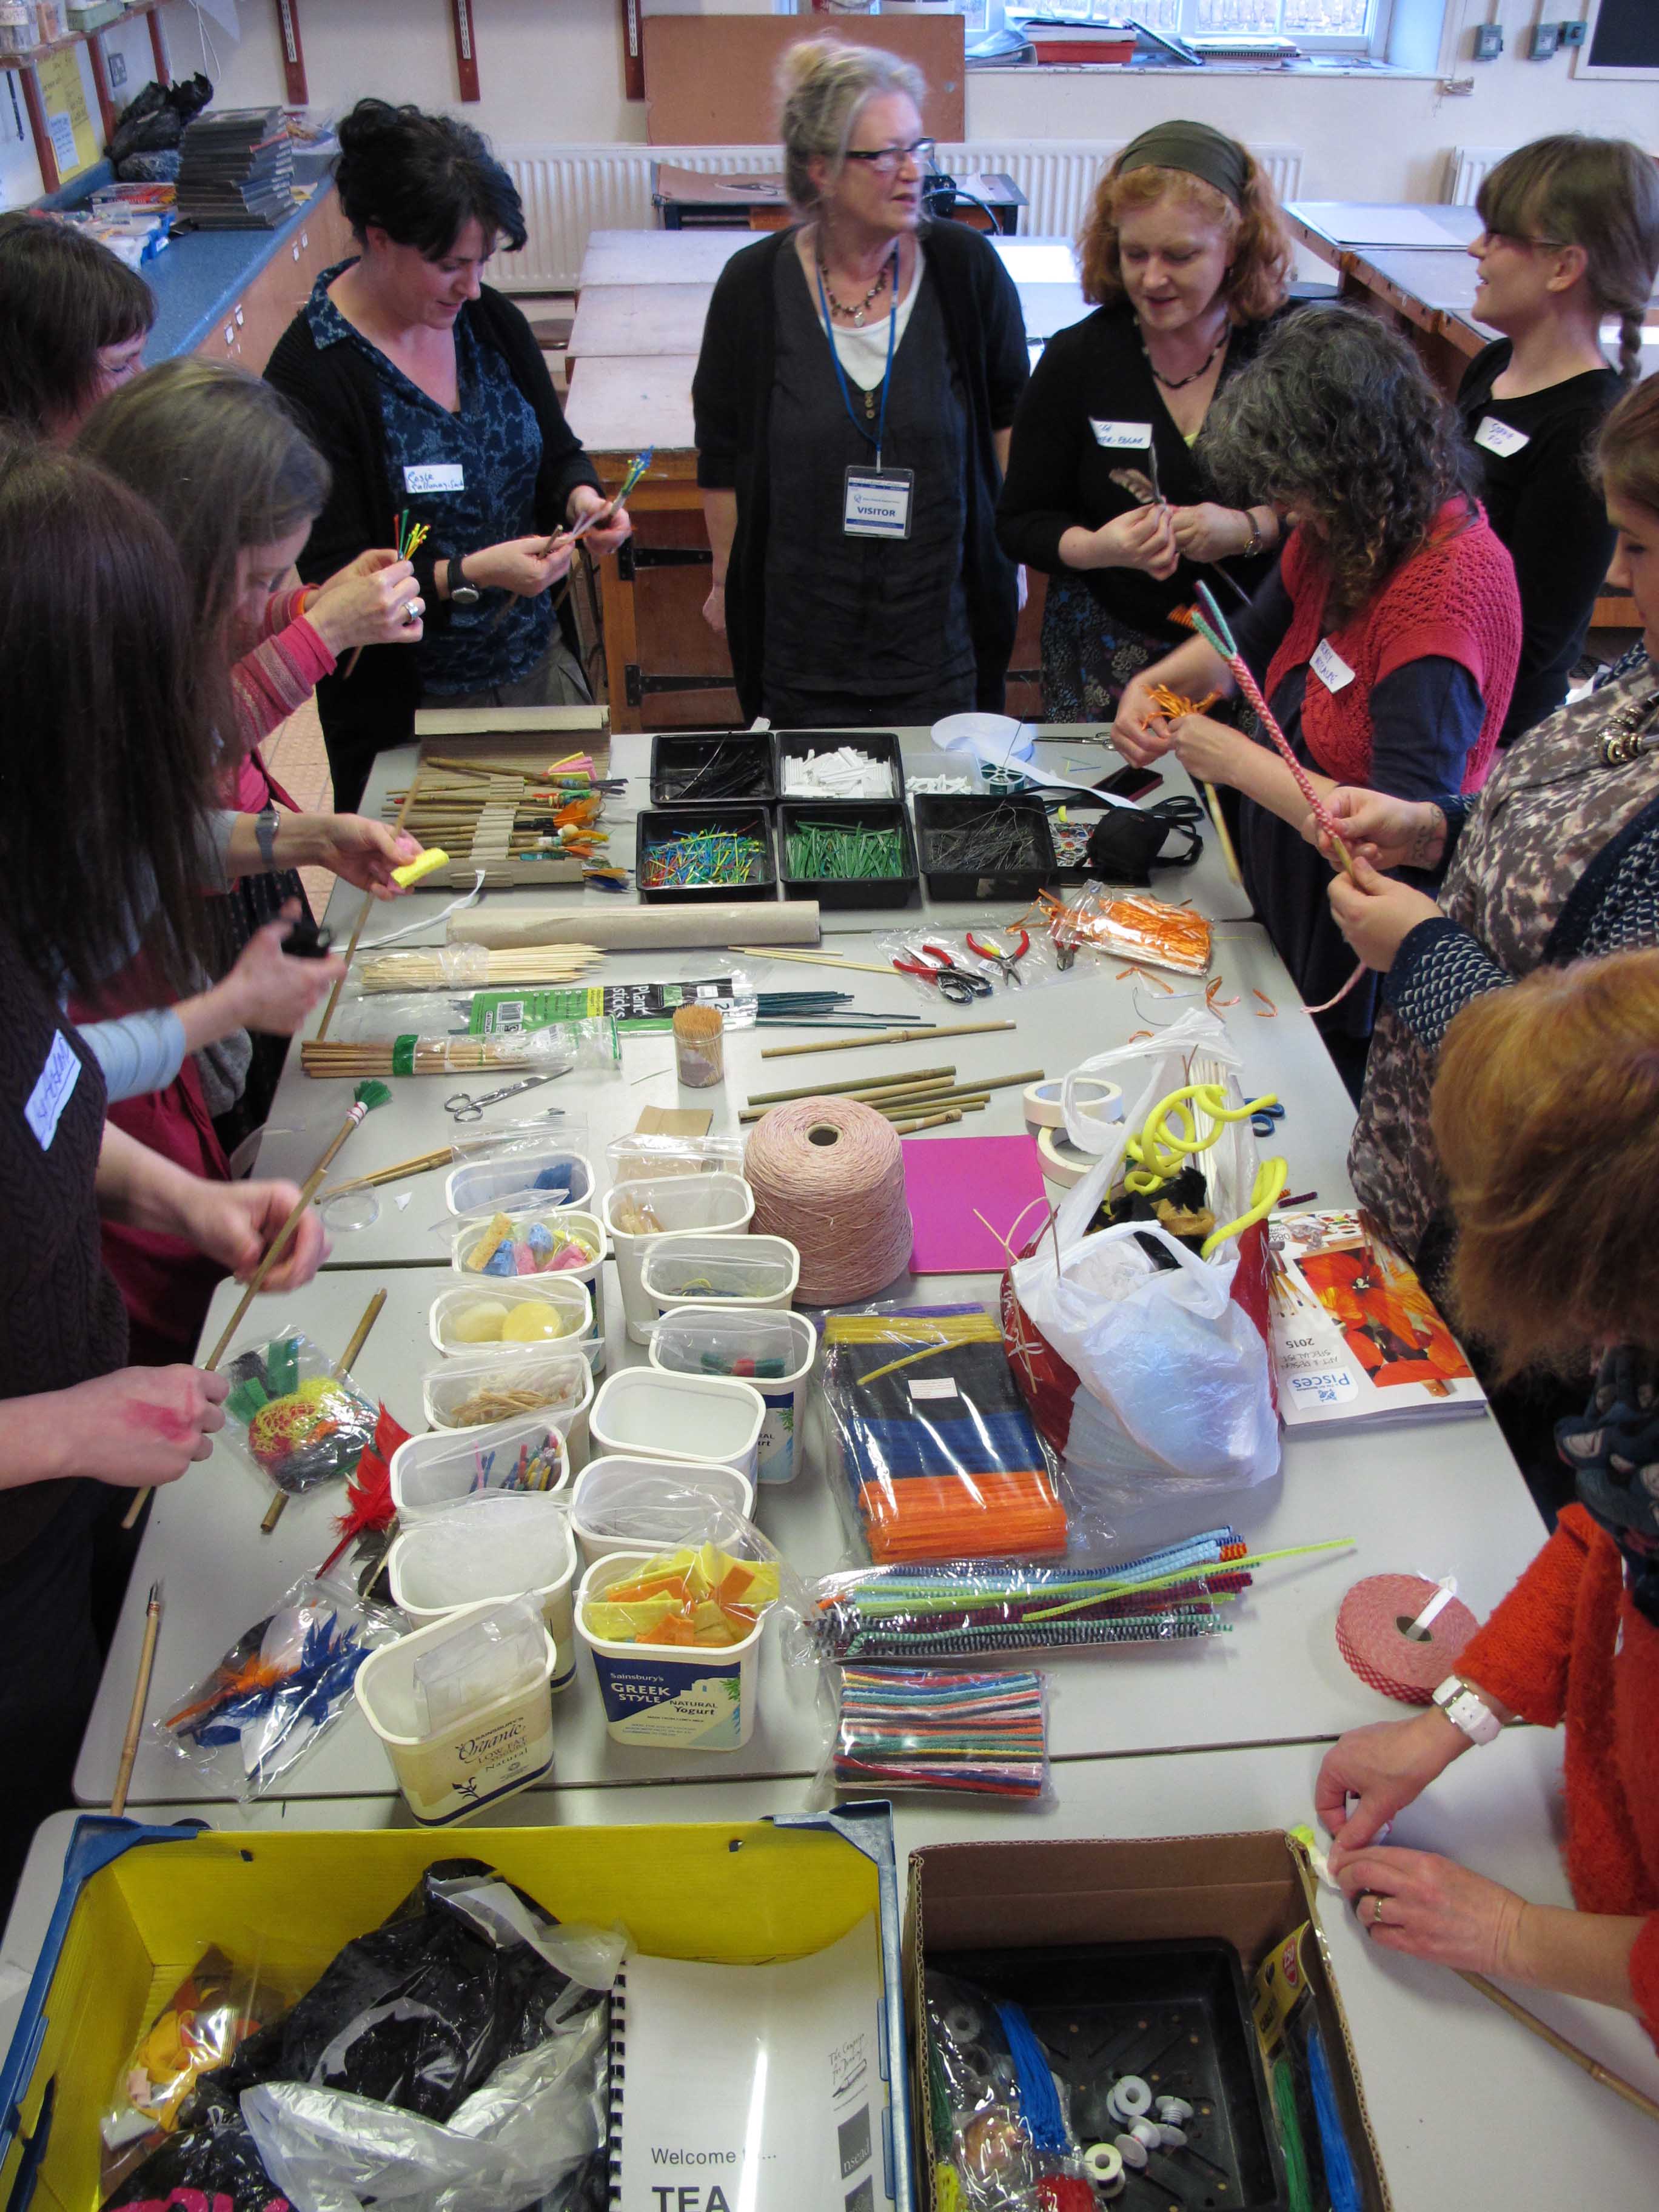
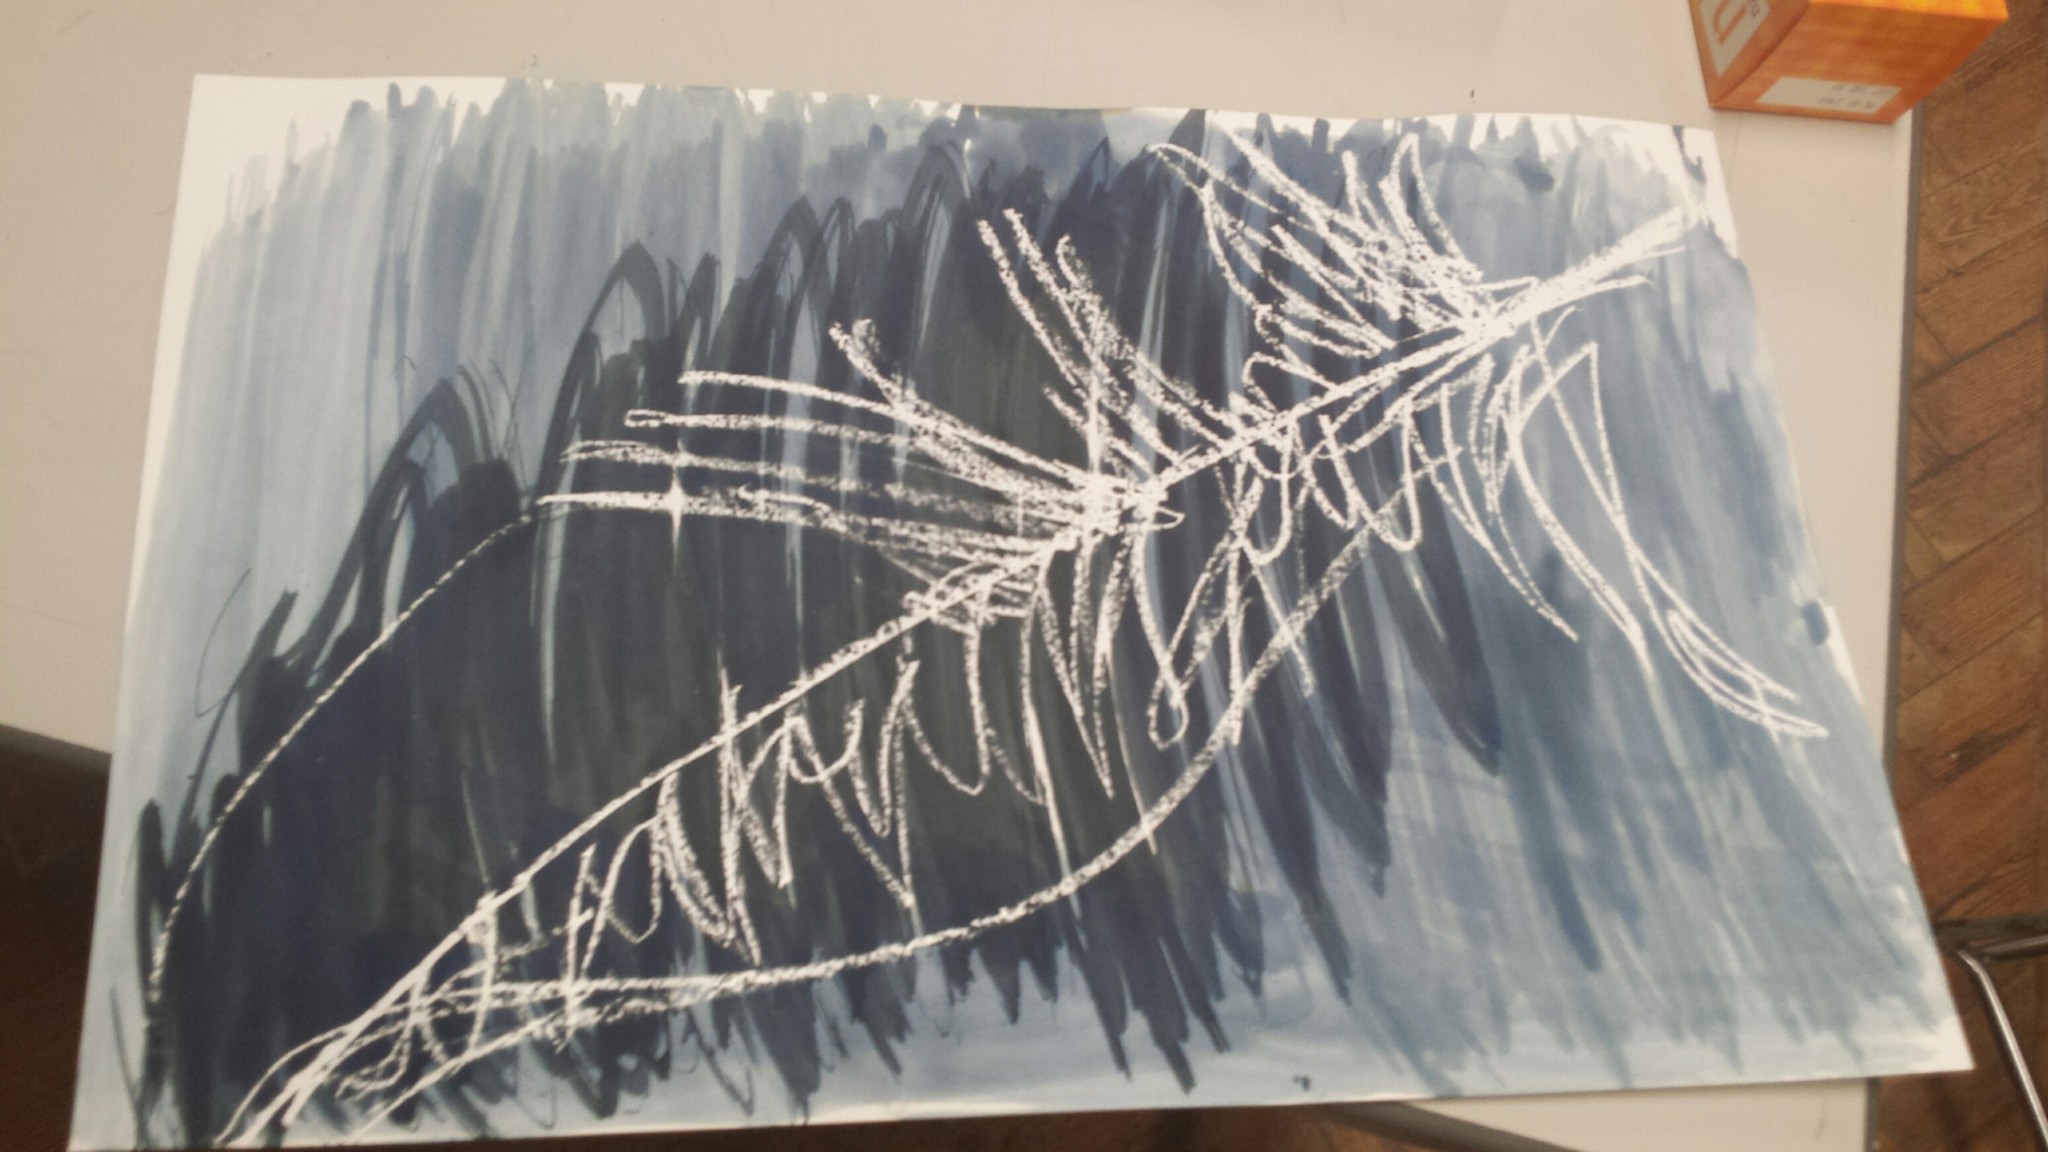
First of all, gather together as many things that you or your students may think could make interesting marks such as twist ties, bristles off an old broom stick, feathers, pipecleaners, cable ties, twigs, wire, pan scrubs, sponges, carpet offcuts, rags, string, human or animal hair, tinsel, wool, pineneedles, grasses /seedheads…
You’ll also need bamboo sticks cut to an appropriate length from about 12cm to as long as you dare.
For tools you’ll need pliers, wire cutters, scissors and strong tape or cable ties to bind the ‘bristles’ onto the bamboo sticks. Wrapping string around the whole shebang and then a covering of PVA glue works well too.
Lay everything out as attractively as you can. Tell the students they can make as many brushes as they want. Demonstrate how to make a simple brush and then let them go for it.

From a roll of corrugated cardboard and a long arm stapler you can make a fairly decent brush holder, too.
While they’re busy making their brushes you may want to share this quote from Harry Potter:
Every single wand is unique and will depend for its character on the particular tree and magical creature from which it derives its materials. Moreover, each wand, from the moment it finds its ideal owner, will begin to learn from and teach its human partner. This is the study of a lifetime, and I continue to learn with every wand I make…
Garrick Ollivander, Wandmaker
Quote taken from the Pottermore website
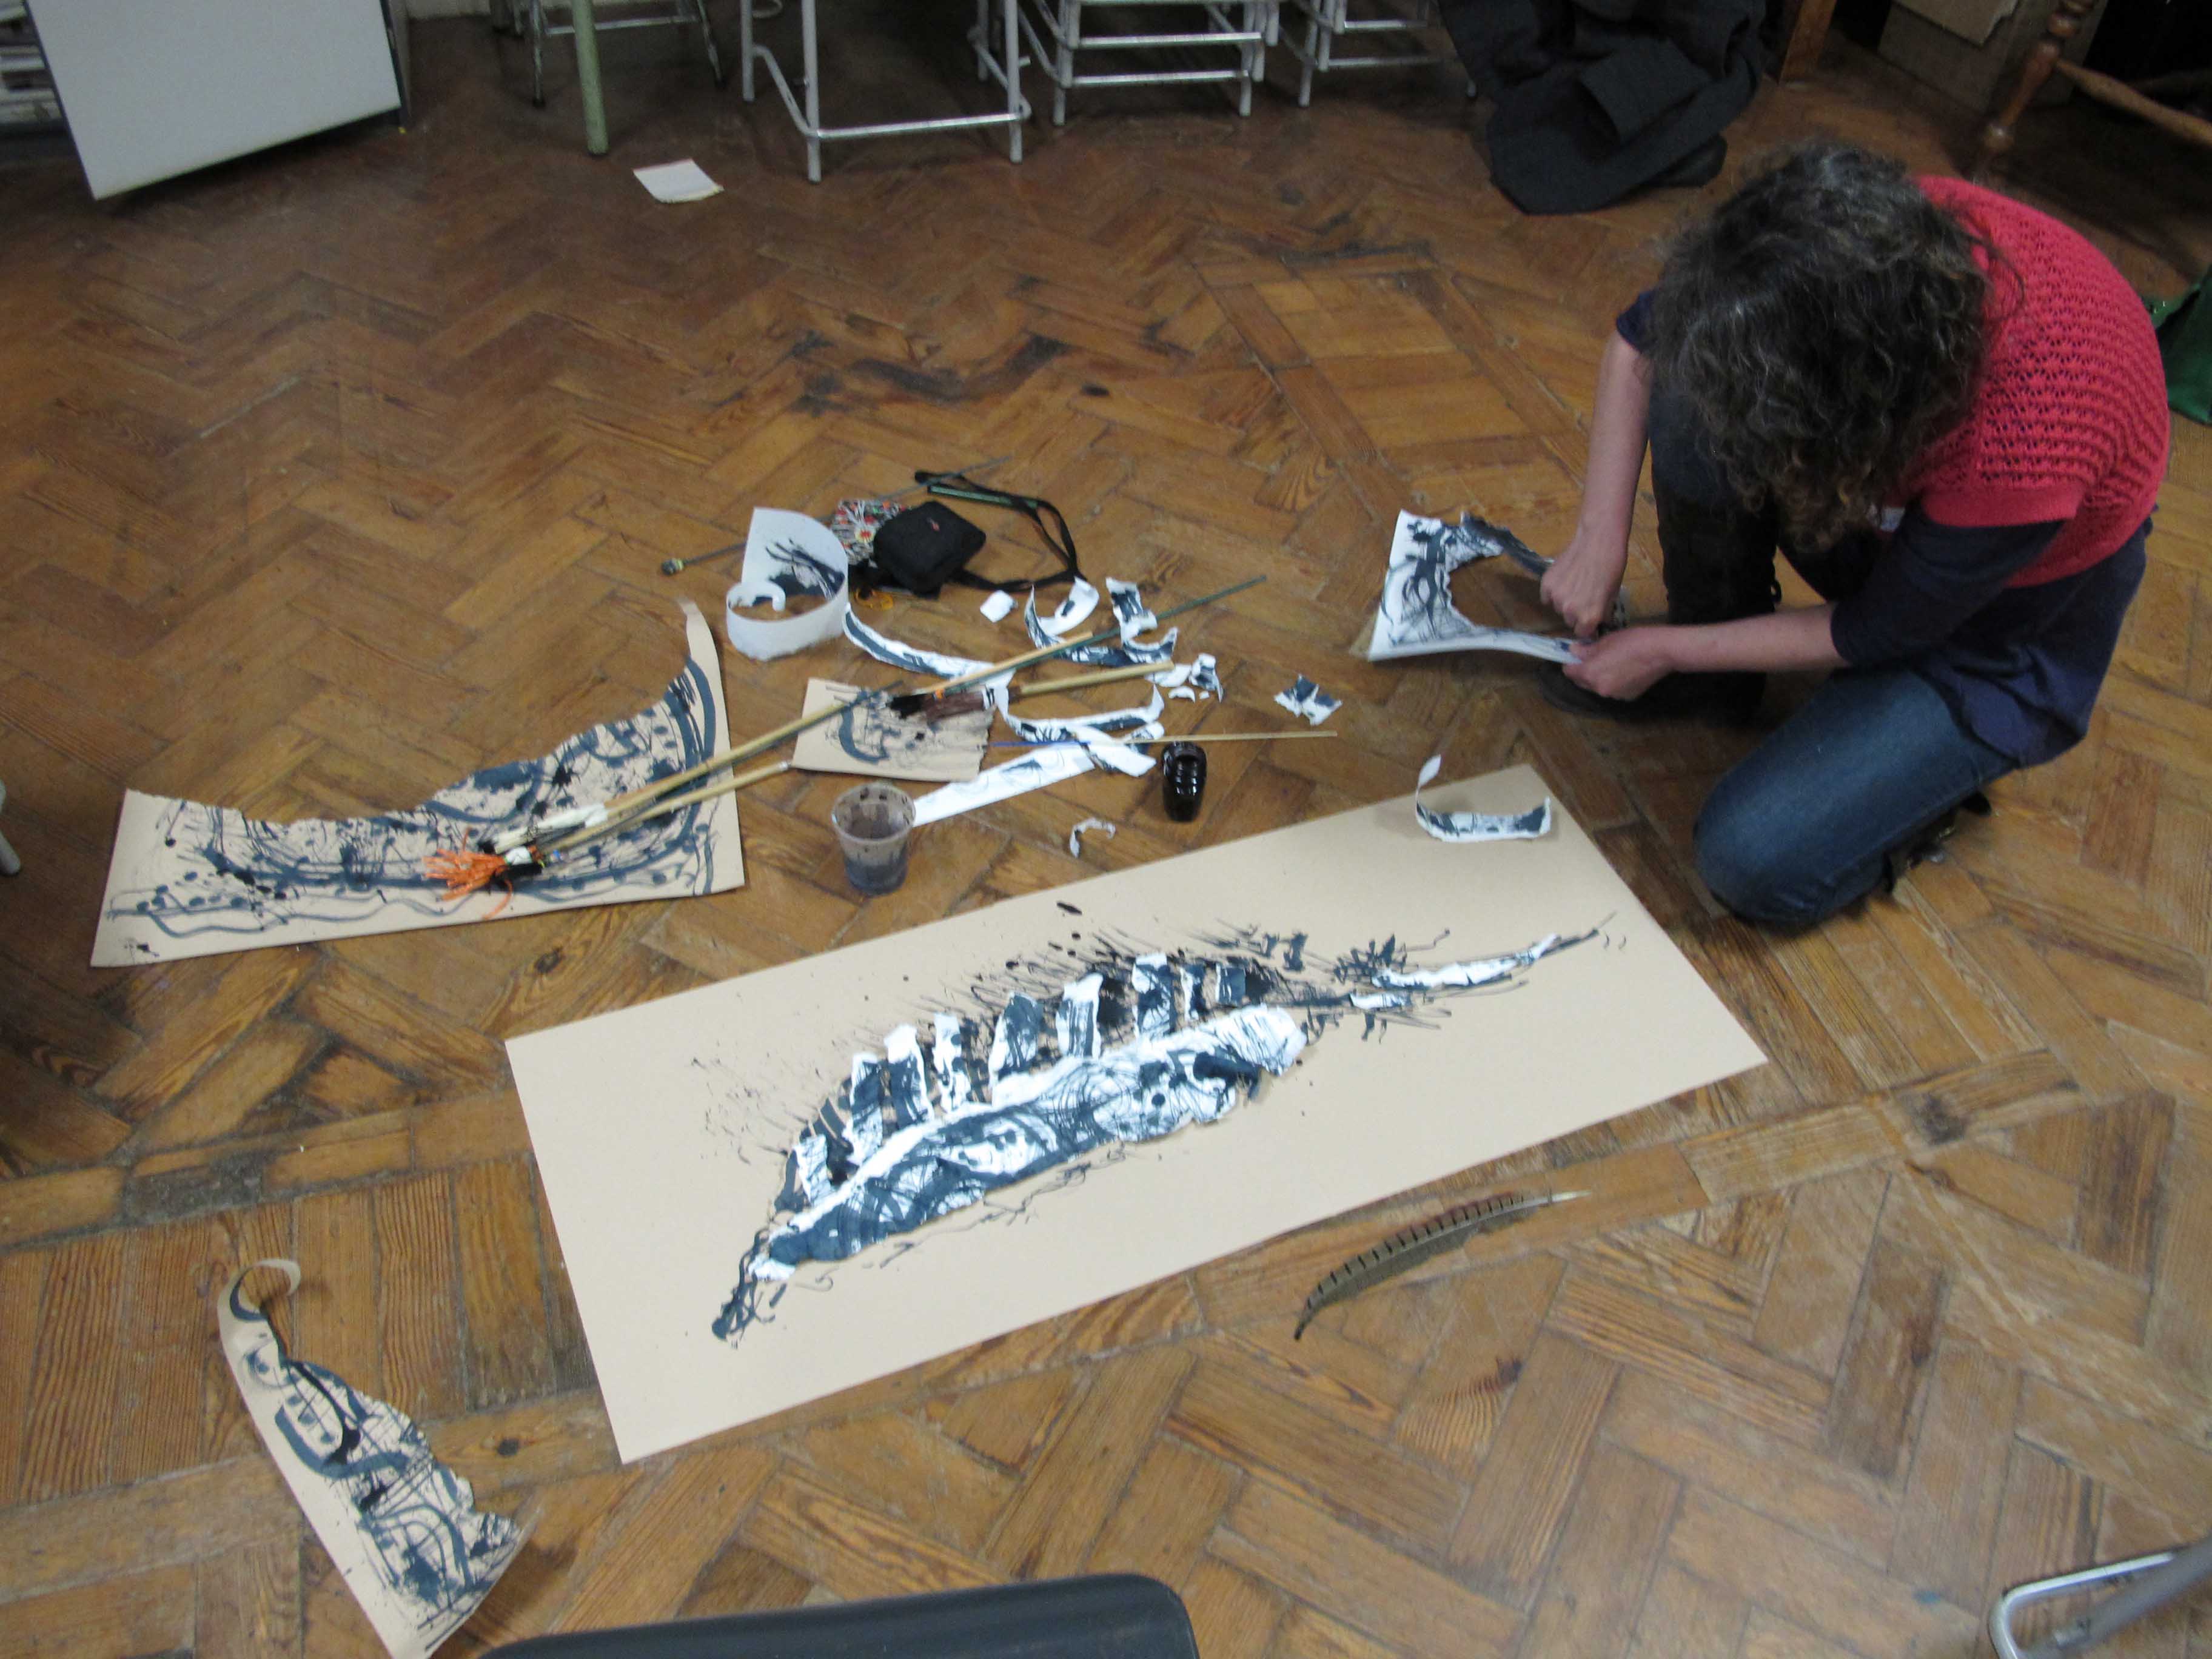
So to conclude, it is about making, as opposed to thinking things through and having a predictable outcome. Listen to the kinds of conversations students are having when making their brushes. They will be actively problem solving, playing and learning (without realising it). There is a real pleasure in creating a tool, becoming familiar with it but not so familiar that it always behaves in a predictable way. I like the idea that Ollivander’s wands interact with the user, that the learning is a never-ending and reciprocal process.

Keep revisiting the brushes. Ask your students to reflect on the lesson and how to keep their work light and playful. It may be that the act of making is more important for them than the marks the brushes will make. Or that using the brushes opens up possiblities that they could not have foreseen using conventional tools.

Thanks must go to the wonderful Jo Walton and the Primary and Secondary PGCE Art and Design programme at University of Cumbria for starting us off on this journey. Thank you also to Pisces for helping us with materials for the original workshop for Art Education North West art teachers network.
Vega Brennan
Tips:
If you want to go really fine, then wooden chopsticks may be a better option – drill a hole about 2cm deep in one end, use a sharp blade to split into four and insert materials into the hole.
Some Chinese and Japanese calligraphy brushes have stiffer bristles in the middle and softer bristles on the outside.
To get a tapered shape, you may want to make some little paper cones that you rest your ‘bristles’ inside before binding them to the stick. Tape the cone to a table leg.
Gordon Brush has descriptions of conventional brush materials
Questions and starting points:
Make your paintbrushes for an alter ego (you may need to explain alter ego). What qualities would your alter ego be looking for in his/her/its paintbrushes?
What kind of movements will you make with your brush?
If the brushes were drumsticks, what kinds of sounds would they make?
What are you going to call your brushes?
What medium/material will you work with next lesson? What scale?
Artists to look into:
Show them some action painters in action: Jackson Pollock, Arshile Gorky, Franz Kline. Look at the Tate website for some research.
Lorna Crane
Elaine Bolt (ceramics)
Ron Pippin (steampunk)
Agnes Cecile – varnish drawings
Cy Twombly – drawings and paintings, text
Elisabeth Couloigner – books
Frank Auerbach- drawings
Gerhard Richter – drawings
John Wolseley – landscapes
Kurt Jackson – seascapes
And the next lesson could be an exploration of how to use the home-made brushes. And that’s a whole other story: see the Painting Challenge…(next blog post coming soon)
With thanks to Vega Brennan for this inspiring blog.