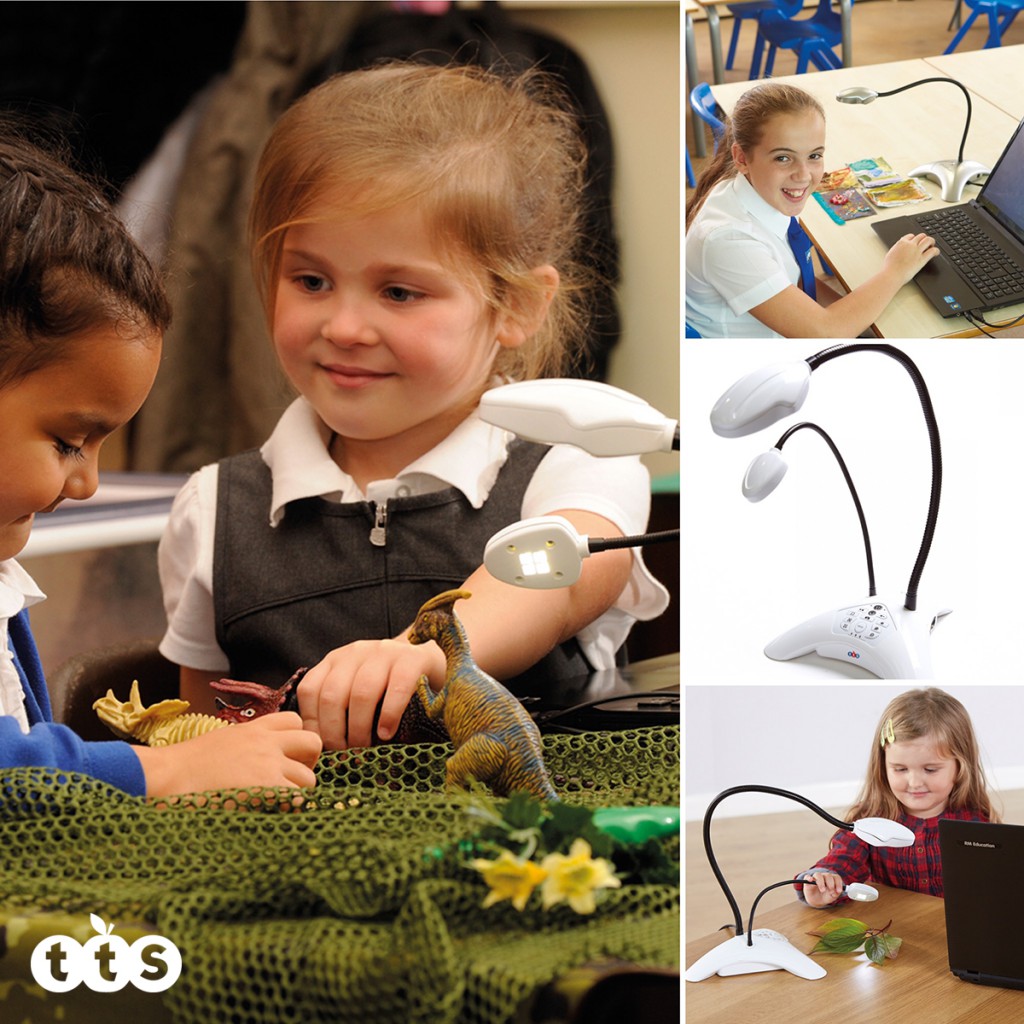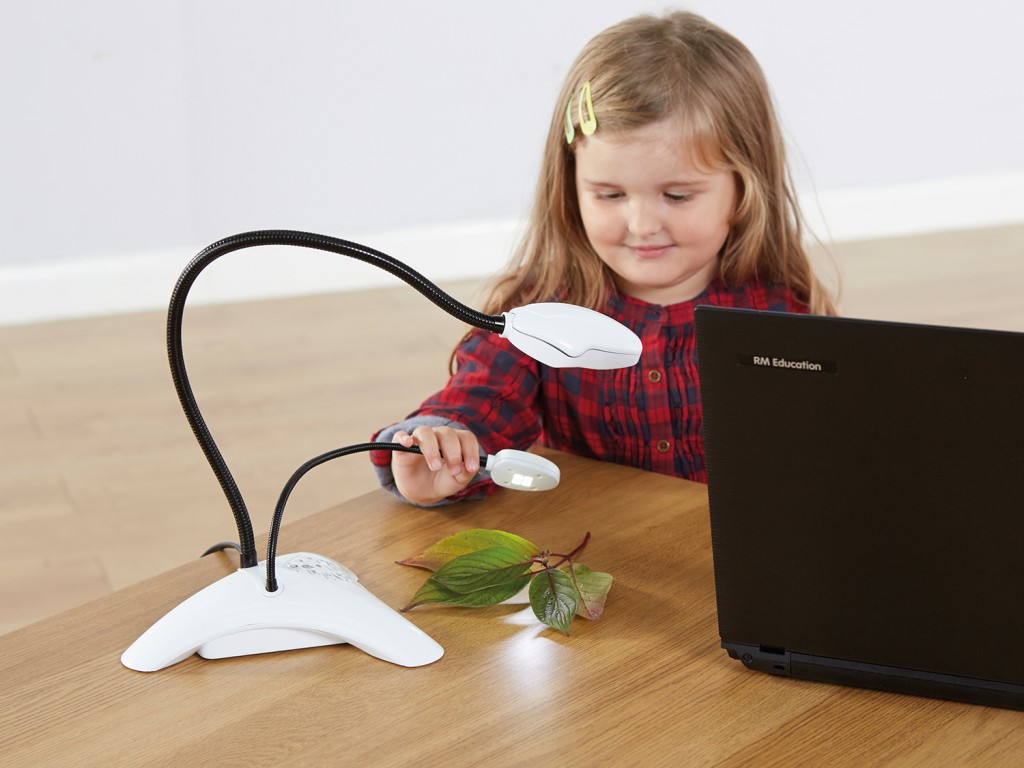
Where is your visualiser?
Here’s my non-exhaustive list of uses for this brilliant technology, all of which I’ve tested myself and proven how it has enhanced the learning of pupils in my care:
- Reviewing: In plenaries the visualiser has the awesome potential for pupils to instantly share, explain and give or receive feedback on written work. Children have the option to remain anonymous but most enjoy the challenge of showing work to their peers and discussing how they can improve it through editing. Without the visualiser, this instant sharing of work is very difficult and normally means a rush to the photocopier or blurred photo.
- Inputs: How many times have we struggled to explain how children should use a resource independently, with only one small item at the front of the class. Anyone who has taught reading the scale of a measuring cylinder or weighing scale will know these difficulties. Children cannot see the example, or the whiteboard demonstration does not match the resource available. Having the visualiser to hand and ready to go means children know exactly what they will experience in their independent work. Modelling the activity accurately and succinctly, minimises the time spent teaching, and maximises the time pupils spend learning.
- Animating: Our school visualisers are perfect for animating stories, processes in science, historical events or documenting a skill in maths. They work brilliantly with animation software such as Zu3d or I Can Animate. Children are always engaged by the process of making and editing video and creating their own show to share with parents and peers.
- Editing: The visualiser comes into its own within the new curriculum and the expectation for pupils to edit by ‘making simple additions, corrections and revisions’ to their work. It is so easy, either in a plenary or during an input, to show a piece of writing under a visualiser and then add to, correct or revise the writing. This sharing and valuing of each other’s writing goes a long way to meet the expectation that pupils develop a positive attitude towards a stamina for writing in a variety of forms.
- Focussing on objects otherwise too small to share: Often we would like to share an object, process or idea which is just too small to allow all children access. Whether showing the reaction of iron filings to the poles of a magnet or how the petals of a leaf change when stood in food colouring, the classroom visualiser is a door to the small world of science.
- Modelling: Often there are enough resources for the children to have one each and I have fallen into the trap of thinking this will be enough for them to follow my instructions through using the apparatus. I recently taught a lesson using mirrors to spot reflective symmetry. Every child had their own mirror and so did I, but it was only when I could show the children how my mirror looked from their point of view, and had the capability to annotate over the top of the image, that they really understood the process. By using the visualiser, I was able to show the children what it should look like from their point of view, rather than them trying to imagine what I was seeing.
- Grab an image: Using the software provided with your visualiser, or that incorporated into whiteboards, you can quickly and easily grab a shot of anything you wish to share with the children, and keep it to refer back to at any point.
- ZOOM!: Some visualisers or software give you the capability to zoom into an object and open up a new world of micro objects for children to study. Whether it’s year 1 investigating materials and their properties, or year 6 investigating how fossils provide information about living things from the past, visualisers give a closer look and breathe fresh vigour into any lesson.
- Shared reading: Sometimes it is simply not possible to find the right text in digital form. Our school is full of books ideal for a specific lesson, but we’ve only one copy. With a visualiser you can easily share this with the class and they can access the text as if they had their own copy.
- Time-lapse: Parts of the curriculum now require us to witness changes over time, for instance the growing of a plant or rotting of a leaf. Our school is part of the rocket science project organised by the RHS and we are expecting seeds from space to be delivered. We shall be setting up a visualiser with software designed to allow us to take time-lapse photos. We’ll put these photos together to see how our space seeds grow. We shall also stream this to our website, hopefully engaging many more pupils and parents with science investigation.
- Webcam: Often there is the possibility to conference or video call a celebrity or key figure in a field. Laptops come with this capability but if the laptop is running the whiteboard software then it is often impossible to move. With the visualiser attached you have the flexibility of a longer cable and can even move the camera around to allow the caller to interact with individual pupils.
The possibilities of how a visualiser can enhance learning in a classroom are endless, and hopefully educators are keeping their visualisers to hand ready for any situation. In this way, pragmatic and skilled teachers can make the most of every moment they have with their class.
With thanks to Darren Hooley, Deputy headteacher at @ladycrossschool Forest School leader, SLE, Assessment lead teacher for writing this blog.


