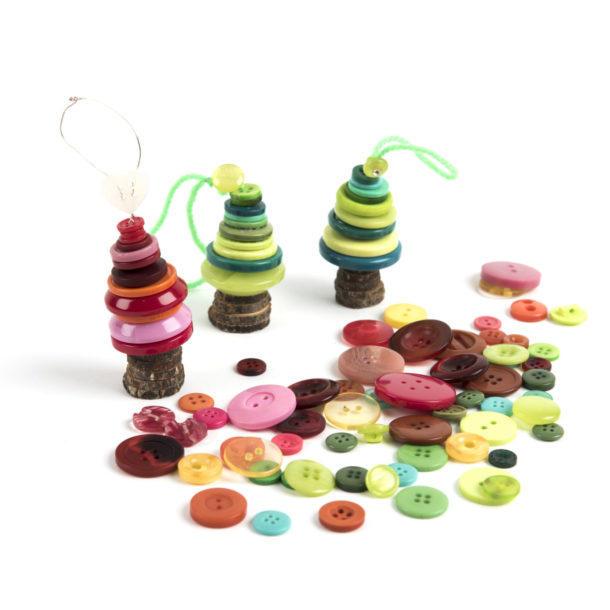
Whether we like it or not, Christmas is just around the corner and sooner or later we’re going to be bogged down with shopping, wrapping, the inevitable over indulgence in chocolate and trying to teach children who are more interested in a fictitious fat man than they are in learning. Don’t worry. We’ve got you with our Christmas activities. These brilliant tree ornaments are bound to help channel that excited energy into creating something they can keep forever.

Great for little fingers to make
Materials
Best thing of all, there’s only a few things you will need to get cracking with this particular Christmas Activity:
or
or
and
Step 1
Sort your buttons into your desired colours.
Stack them in a variety of colours and sizes until you’re happy with the look of your tree.
Step 2
Use your threading material of choice to thread the buttons together. When you reach the top, securely tie the ends into a loop so you can hang it on your tree.
Step 3
Choose 3 or 4 wooden disks and glue them together to make the tree base. Once it’s dry, glue the tree on top to complete it.
Step 4
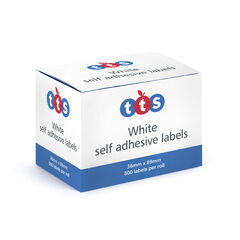
Fold plain white labels in half around the loop to make name tags. That way, children can take them home to put on their own tree if you’re using them in your classroom first.
This ‘How To’ was created by our Marketing Executive Mayra Espinoza and written by Beverley Smalley. Beverley is a mum, an education specialist, writer and former primary school teacher.


