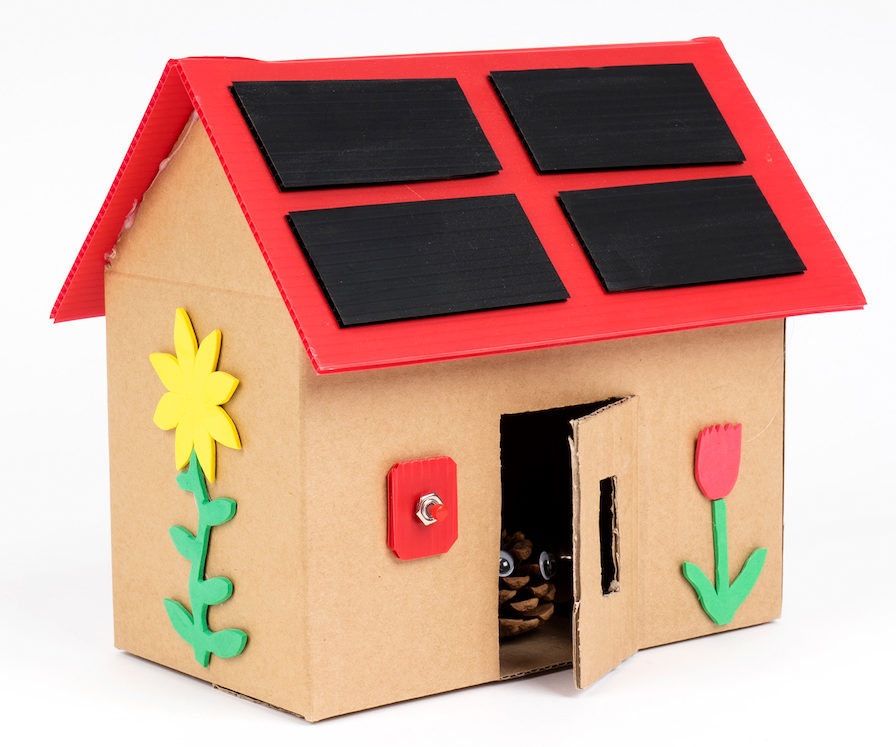
In completing this exciting Build-a-House STEM Class Kit project, pupils will learn about simple series circuits including cells, wires, bulbs, switches and buzzers, and apply their knowledge to construct a working model.
You will need:
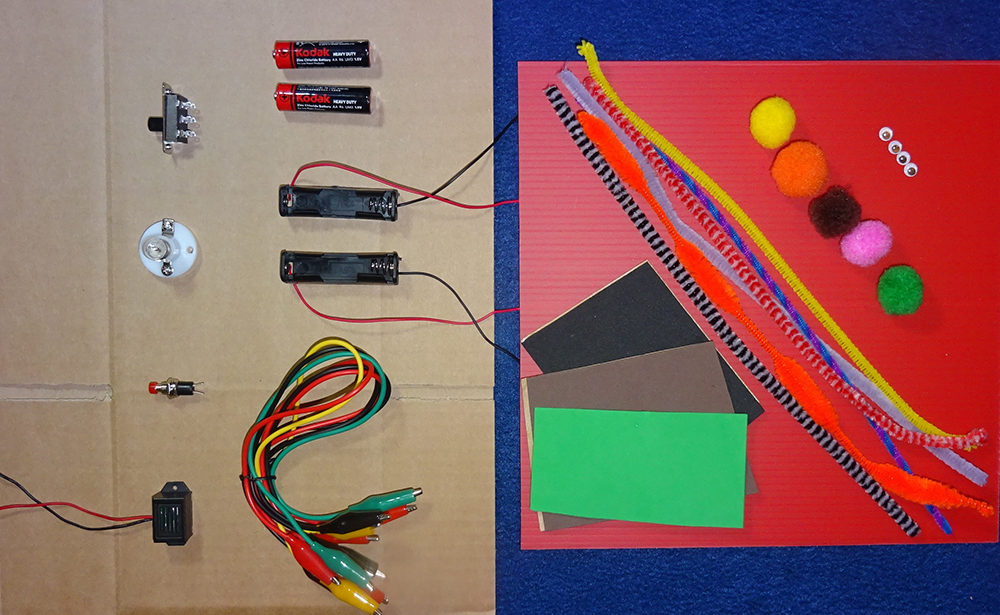
Parts
- 1 cardboard box
- 1 buzzer
- 1 push-to-make switch
- 1 bulb holder with bulb fitted
- 1 slide switch
- 6 crocodile leads
- 2 battery holders
- 2 AA cells* (zinc chloride, not alkaline or re-chargeable) – *not included in the class kit
- Corrugated plastic sheet
- Self-adhesive foam sheet
- Pipe cleaners
- Pompoms
- Wiggly eyes
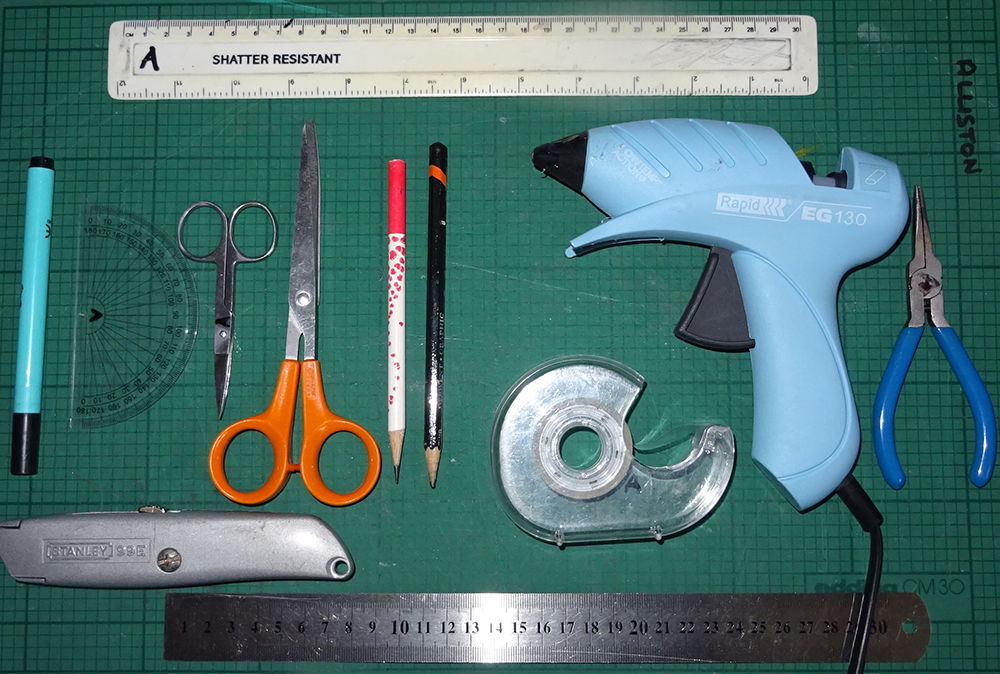
Tools and consumables
- 30cm ruler
- Felt tip pen
- Protractor
- Pointed scissors, e.g. nail scissors
- Large scissors
- Sharp pencil
- Blunt pencil (or blunt crayon)
- Transparent sticky tape (25 mm wide)
- Low melt glue gun
- Pliers or a 10 mm spanner
- Craft knife, straight edge and cutting mat
Associated Resources
Step 1
Use three different coloured crocodile leads to connect up the circuit shown below. You will probably need to bend the switch contacts apart a little to fit the crocodile clips on. Clip the crocodiles onto the bare metal ends of the wires from the battery and buzzer. Make sure the red wire from the battery holder is connected to the red wire to the buzzer – you could use a red crocodile lead for this. Press the red button on the push-to-make switch and make sure the buzzer sounds. Check it goes off when you take your finger off the switch. Be careful not to short circuit your battery (i.e. connect the wires from your battery directly together) – they must go via the buzzer.
Step 2
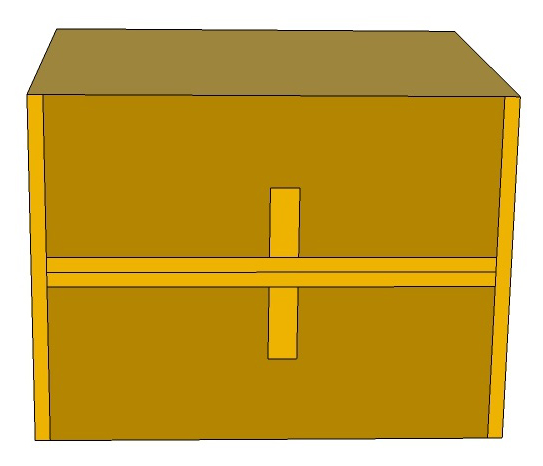
Open up the cardboard box and fold in two end flaps, then two side flaps, and tape in position with the transparent sticky tape as shown below. This will be the bottom of your house.
Step 3
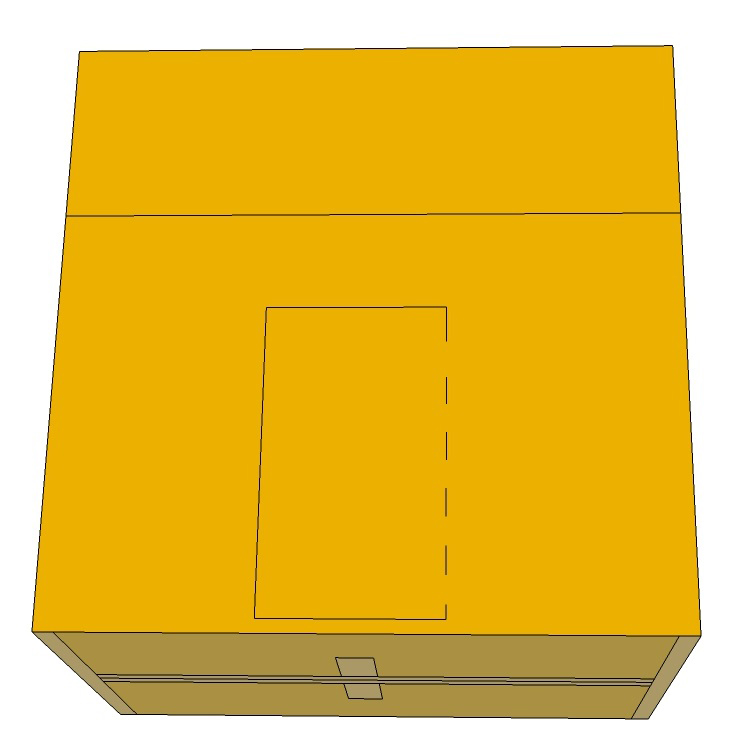
Use the ruler and felt tip pen to draw a door on the front of the house; make sure the door is big enough to get your hand inside. Cut out three sides of the door, leaving a hinge (shown here as a dashed line) to open and shut it. You could pierce a hole at each corner with the sharp pencil first to help you start the cut. Support the cardboard either side of the hole with your fingers whilst piercing to stop it distorting (but be careful not to pierce your fingers!). Cut out one or more windows at the back.
Step 4
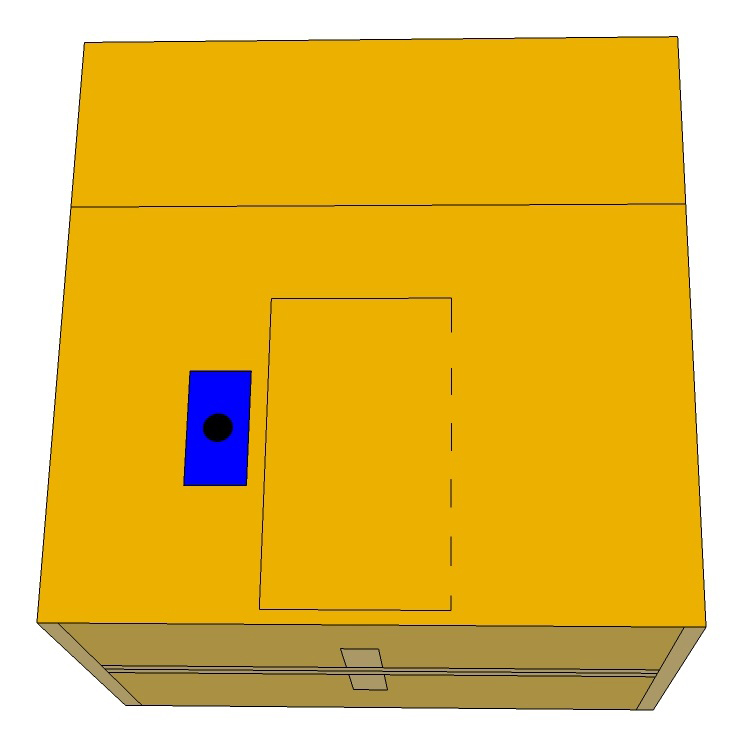
Mark and cut out a rectangle of corrugated plastic about 3 cm wide by 5 cm long. Use the sharp pencil to pierce a hole in the middle. Select a position next to the door where the switch will be mounted, draw round the rectangle with the felt tip pen, and mark the position of the hole. Take off the plastic and cut a hole in the cardboard in the position you marked, big enough for the switch to fit through. Support the cardboard either side of the hole with your fingers whilst piercing to stop it distorting (but don’t pierce your fingers!).
Step 5
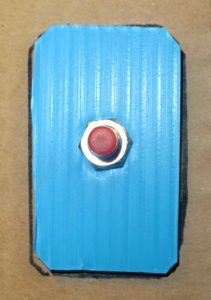
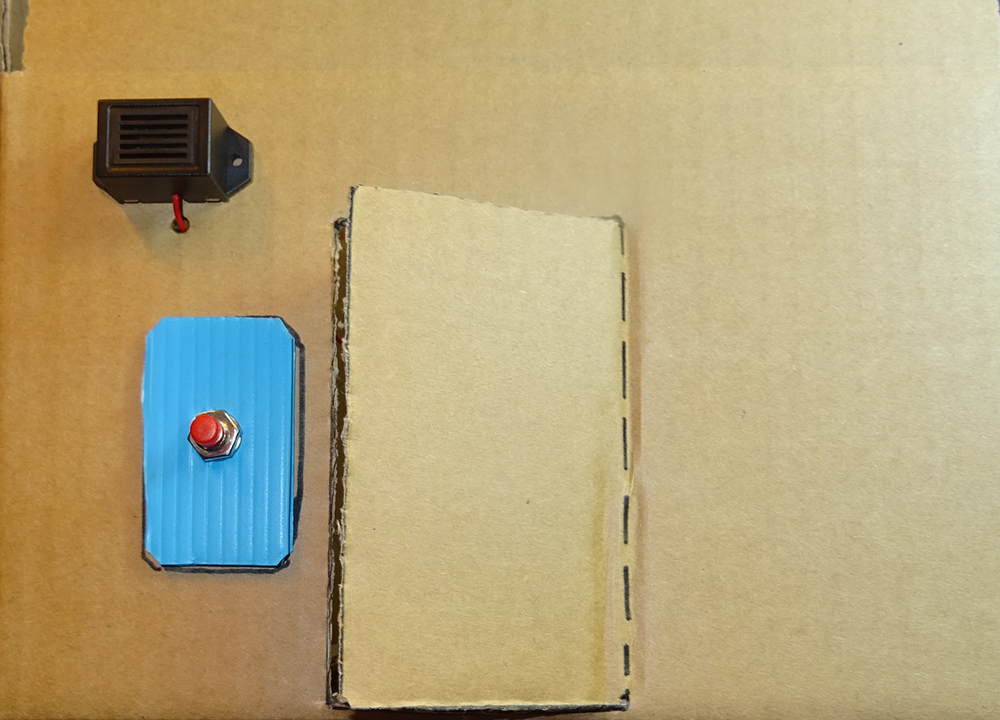
Unclip the crocodile leads from your buzzer circuit. Unscrew the nut and remove the spring washer from your push-to-make switch – if it is tight you can use the pliers or spanner to get the nut off. Don’t lose the nut and washer! Use the sharp pencil and scissors to enlarge the hole in the middle of the corrugated plastic until it is just big enough to push the threaded part of the switch through – it should be a tight fit. Attach the switch to the plastic by putting back the spring washer and screwing on the nut – tighten it with the pliers or spanner. Glue the plastic to the house in the position you marked, with the red button on the outside.
Step 6
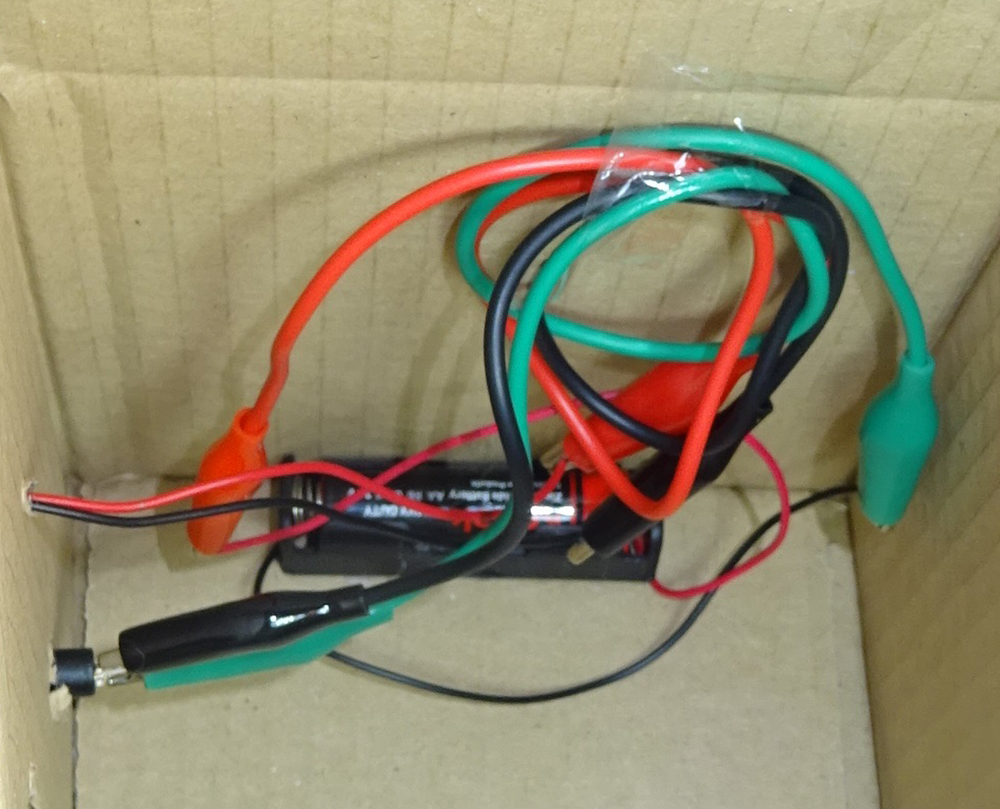
Glue the buzzer to the outside of the house. Don’t make it too close to the roof-line or it will obstruct the roof. Pierce a hole nearby with the sharp pencil and push the red and black wires in through the hole.
Step 7
Glue the battery box inside the house, then re-connect the wires. Push the red button and check your doorbell works. Tidy up the wires and tape them to the inside of the house.
Step 8
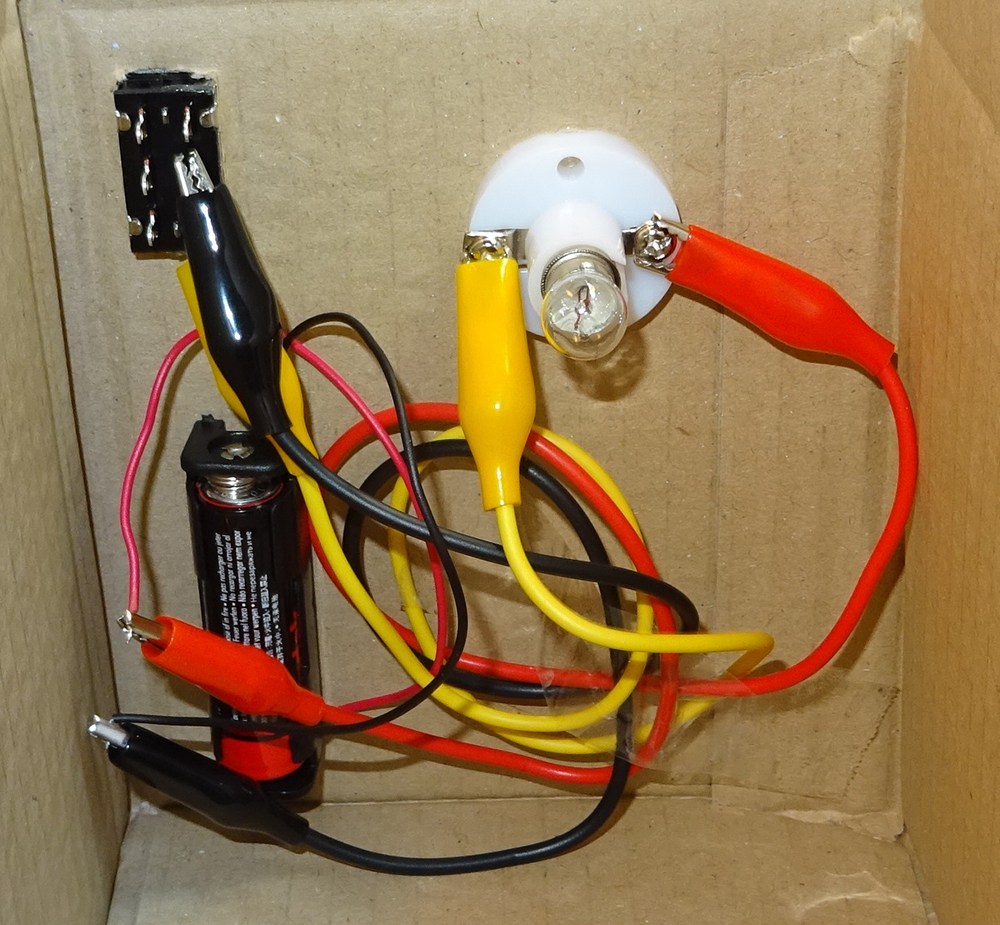
Make the following circuit. Unlike the buzzer, it doesn’t matter which way round you connect your lamp. Connect one crocodile lead to a central contact on the switch. Connect a second crocodile lead to a second contact – it can be at either end of the switch but must be on the same side as the first one. Check when you move the slider one way the bulb comes on, and when you move it the other way the bulb goes off.
Step 9
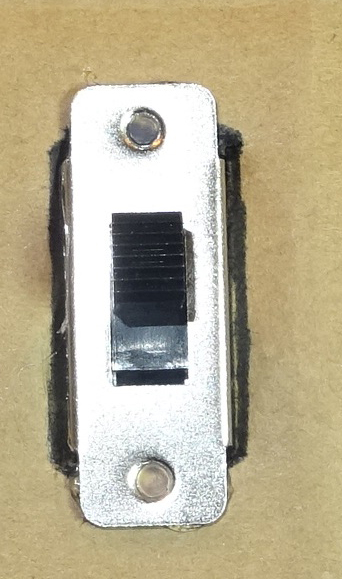
Unclip the crocodile leads from your bulb circuit. Work out a position on the outside of the house to mount your light switch. Mark a rectangle 13 mm wide x 25 mm high and cut it out with the pointed scissors. Check the switch body fits into this hole, then glue the switch to the outside of the house.
Step 10
Work out a position on the inside wall of your house to mount the lamp and glue it in position. Work out where to position the battery and glue that on as well. Clip the crocodile leads back on and check that the switch turns the light on and off. Tidy up the crocodile leads and tape them to the inside of the house.
Step 11
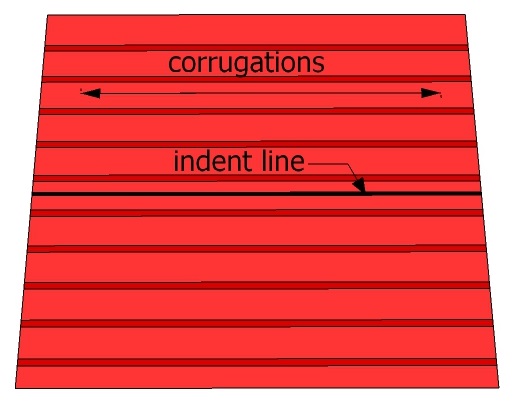
Use the craft knife, straight edge and cutting mat to cut a 25 cm x 25 cm square of corrugated plastic. Use the ruler and blunt pencil to mark a line down the centre – this must be in line with the corrugations as shown, and half way in between two corrugations. Run the pencil along again pressing very hard to indent the plastic, and then bend the roof in half with this line along the ridge-line. It should bend neatly where you have indented it. (N.B. If you use a sharp pencil for this, it will either pierce the roof or break the pencil lead!).
Step 12
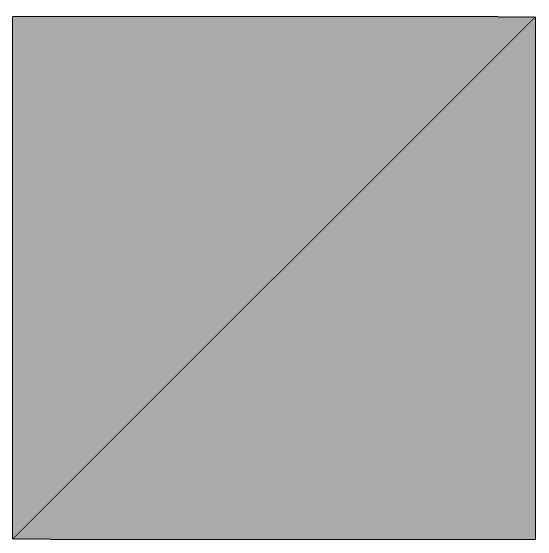
Use the craft knife, straight edge and cutting mat to cut a 12.5 cm square of corrugated plastic, then cut it in half along the diagonal to make two triangles.
Step 13
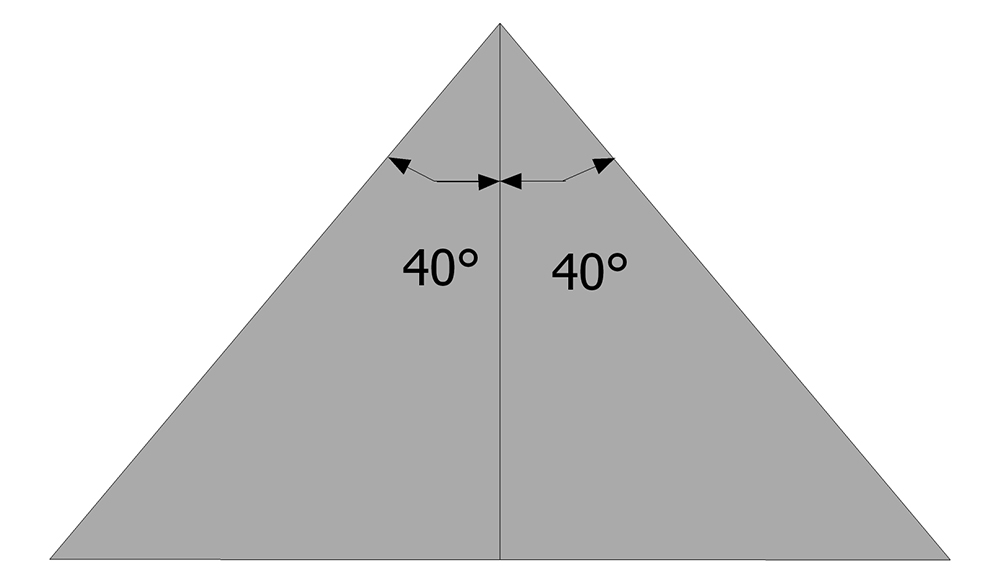
Draw a centre line on each triangle with the felt tip pen. Measure and mark a line 40° from the centre line in each direction. Trim to the shape shown here.
Step 14
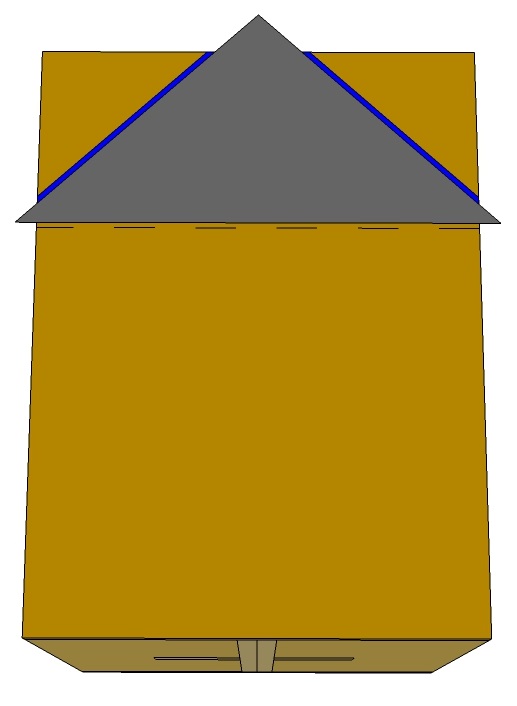
Fold the side flaps on top of your cardboard box inwards and tape in place. Leave the end flaps sticking up. Place a triangle against one of the end flaps on the house, with the bottom on the fold line. Mark and then cut off the corners of the end flaps (indicated by the blue lines in the diagram). Repeat for the second end flap.
Step 15
Turn the roof over and mark a line 1.5 cm from either end across the corrugations. Run a line of glue along both short sides of one of the triangles and stick it to the line 1.5 cm from the end of the roof. Repeat for the second triangle. Place the roof on the house.
Step 16
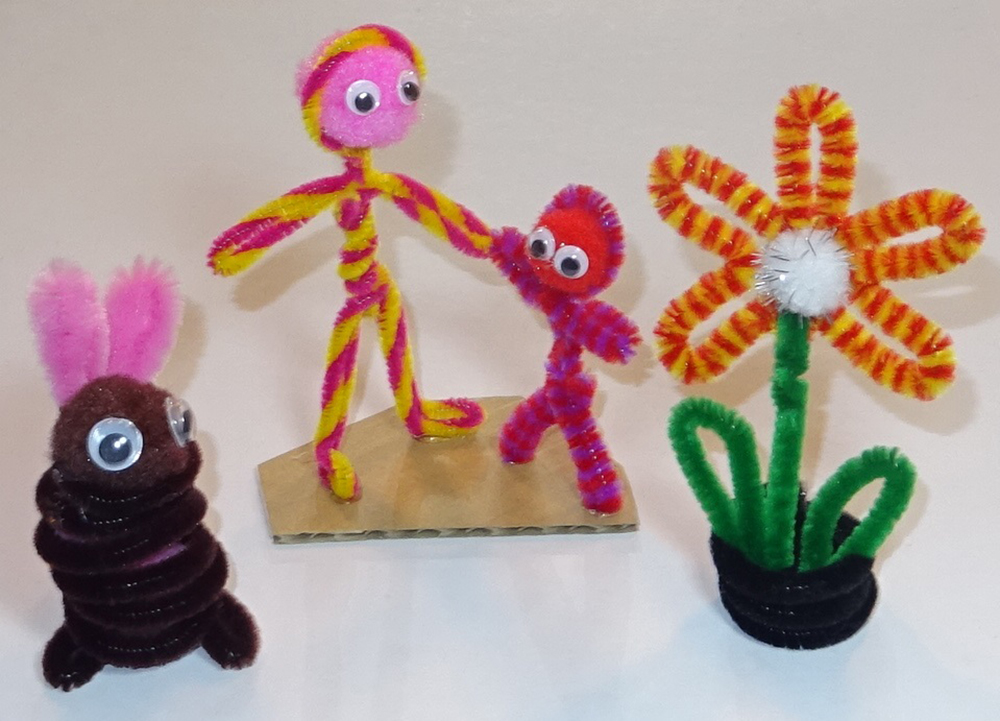
Decorate and populate your house. You can make people and pets using pipe cleaners, pompoms and wiggly eyes. Add plants growing up the side of the house made from self-adhesive foam sheet or add solar panels to the roof. Construct a chimney or furniture out of corrugated plastic or, if you have transparent plastic sheets, you can glaze the windows from the inside.
For a free downloadable copy of the above instructions for the Build-a-House Stem Kit, click here.
With thanks to Caroline Alliston, a mechanical engineer and award winning STEM educator for writing this post. Caroline is best known for her successful “Technology For Fun” series of books. After 25 years working in industry, she decided to use her knowledge and skills to develop fun, exciting design and build projects to inspire a new generation of scientists and engineers. Caroline also runs hugely popular workshops for children, teachers and STEM ambassadors.


