You will need:
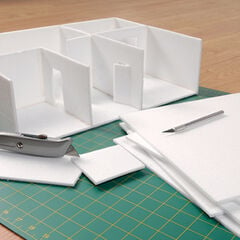
- Modellers Foam Board A3
- Assorted Balloons
- Clear Thread
- Black fabric
Step 1
Decide how long (tall) you want to make the ghost, roll out the material and fold over to double it, making a ‘back’ and ‘front’. Cut to length. We’ve made the back longer than the front to create the creepy shape! Back is approx. L150cm, front L125cm.
Step 2
Snip along the bottom of the material to create the torn/ragged effect. If you want to add a bit of colour, ie white/grey to add shading, the material could be dry brushed using small amounts of acrylic paint.
Step 3
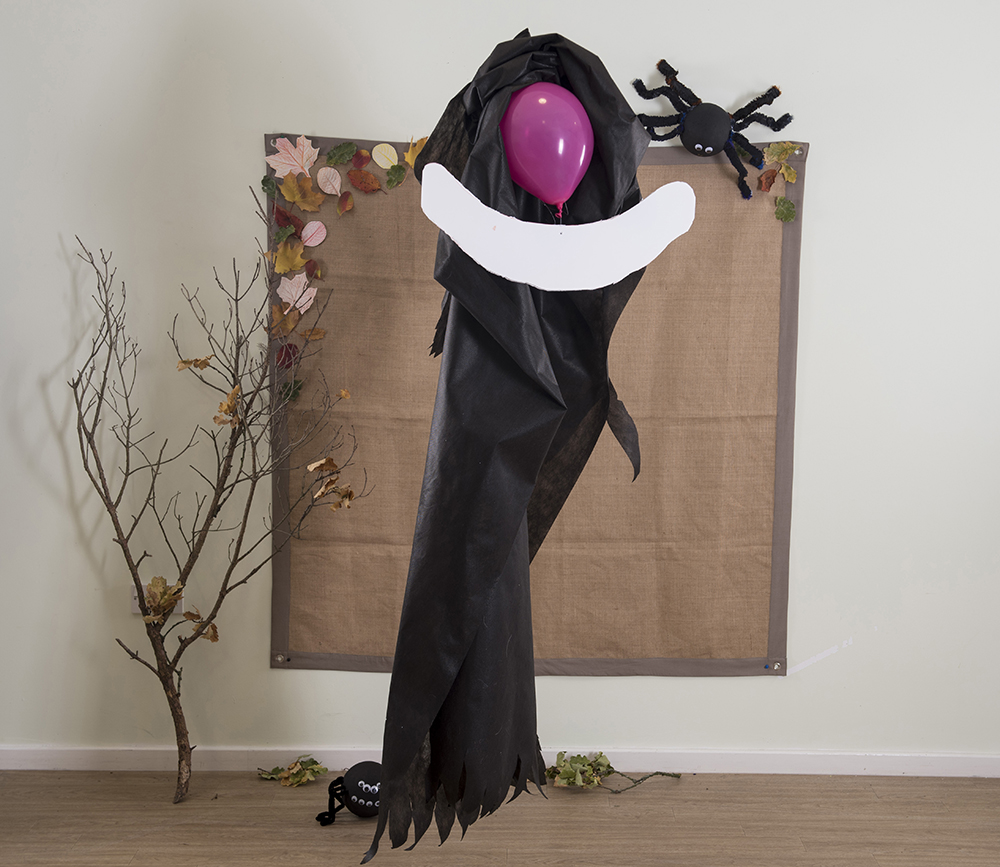
Blow up a balloon to create the head.
Step 4
Use foam board to create the sturdy raised hands/body structure. We’ve used an A3 piece of board and cut out a thick ‘boomerang’ shape fitting the full length of the A3 board. Pierce a hole through the foam board at the centre of the shape near the top.
Step 5
Tie clear nylon thread around the balloon knot, measuring approx. 5cm of line to allow a gap between the head and shoulders, thread the nylon line into the hole in the foam board and tie to secure in place.
Step 6
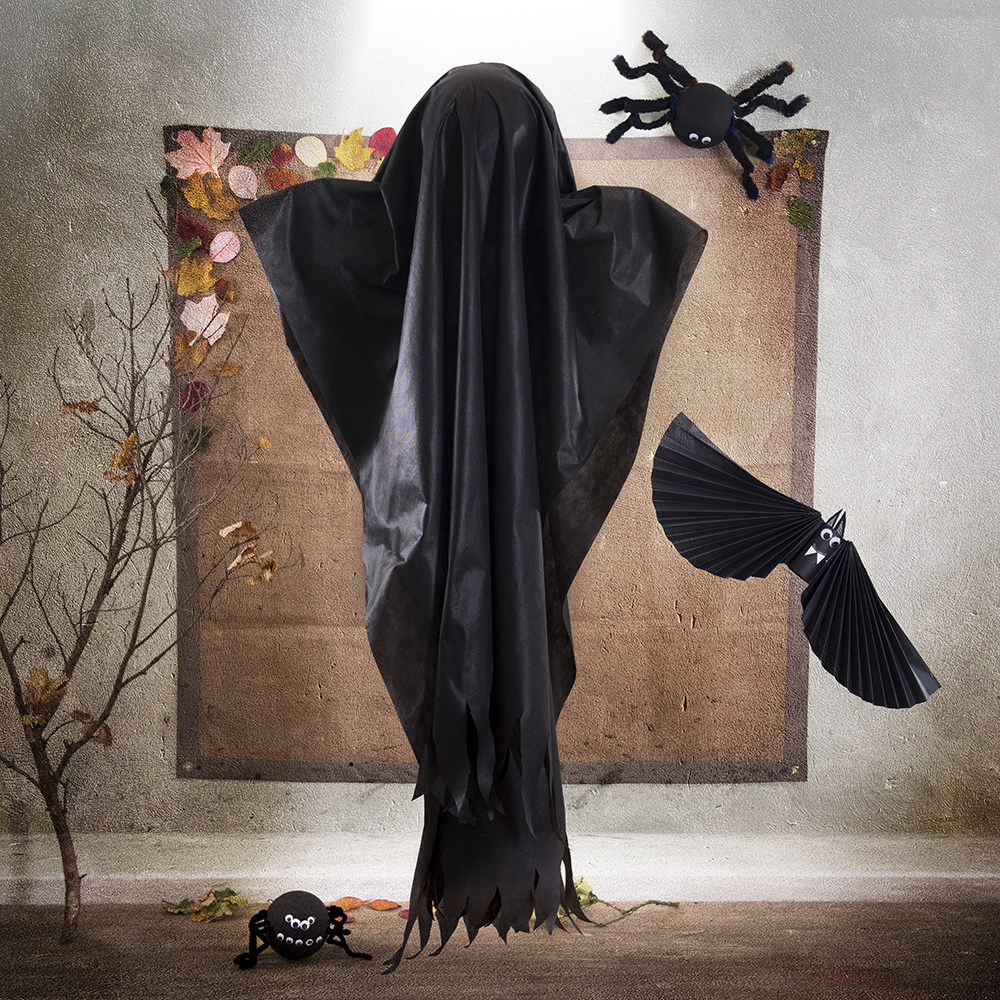
Stick clear thread onto the top of the balloon, drape the material over the constructed head and shoulders and decide how you want the material to hang. Cut a tiny hole into the top of the material, feed the clear line through and use this to hang the ghost, making it look like it is floating!
Find out how to make a giant spider here.


