
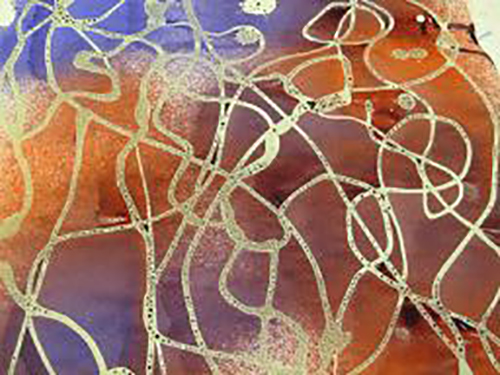
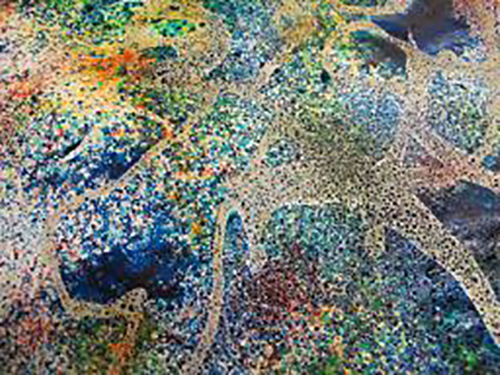
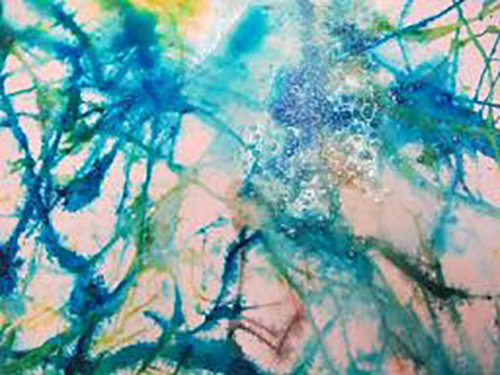
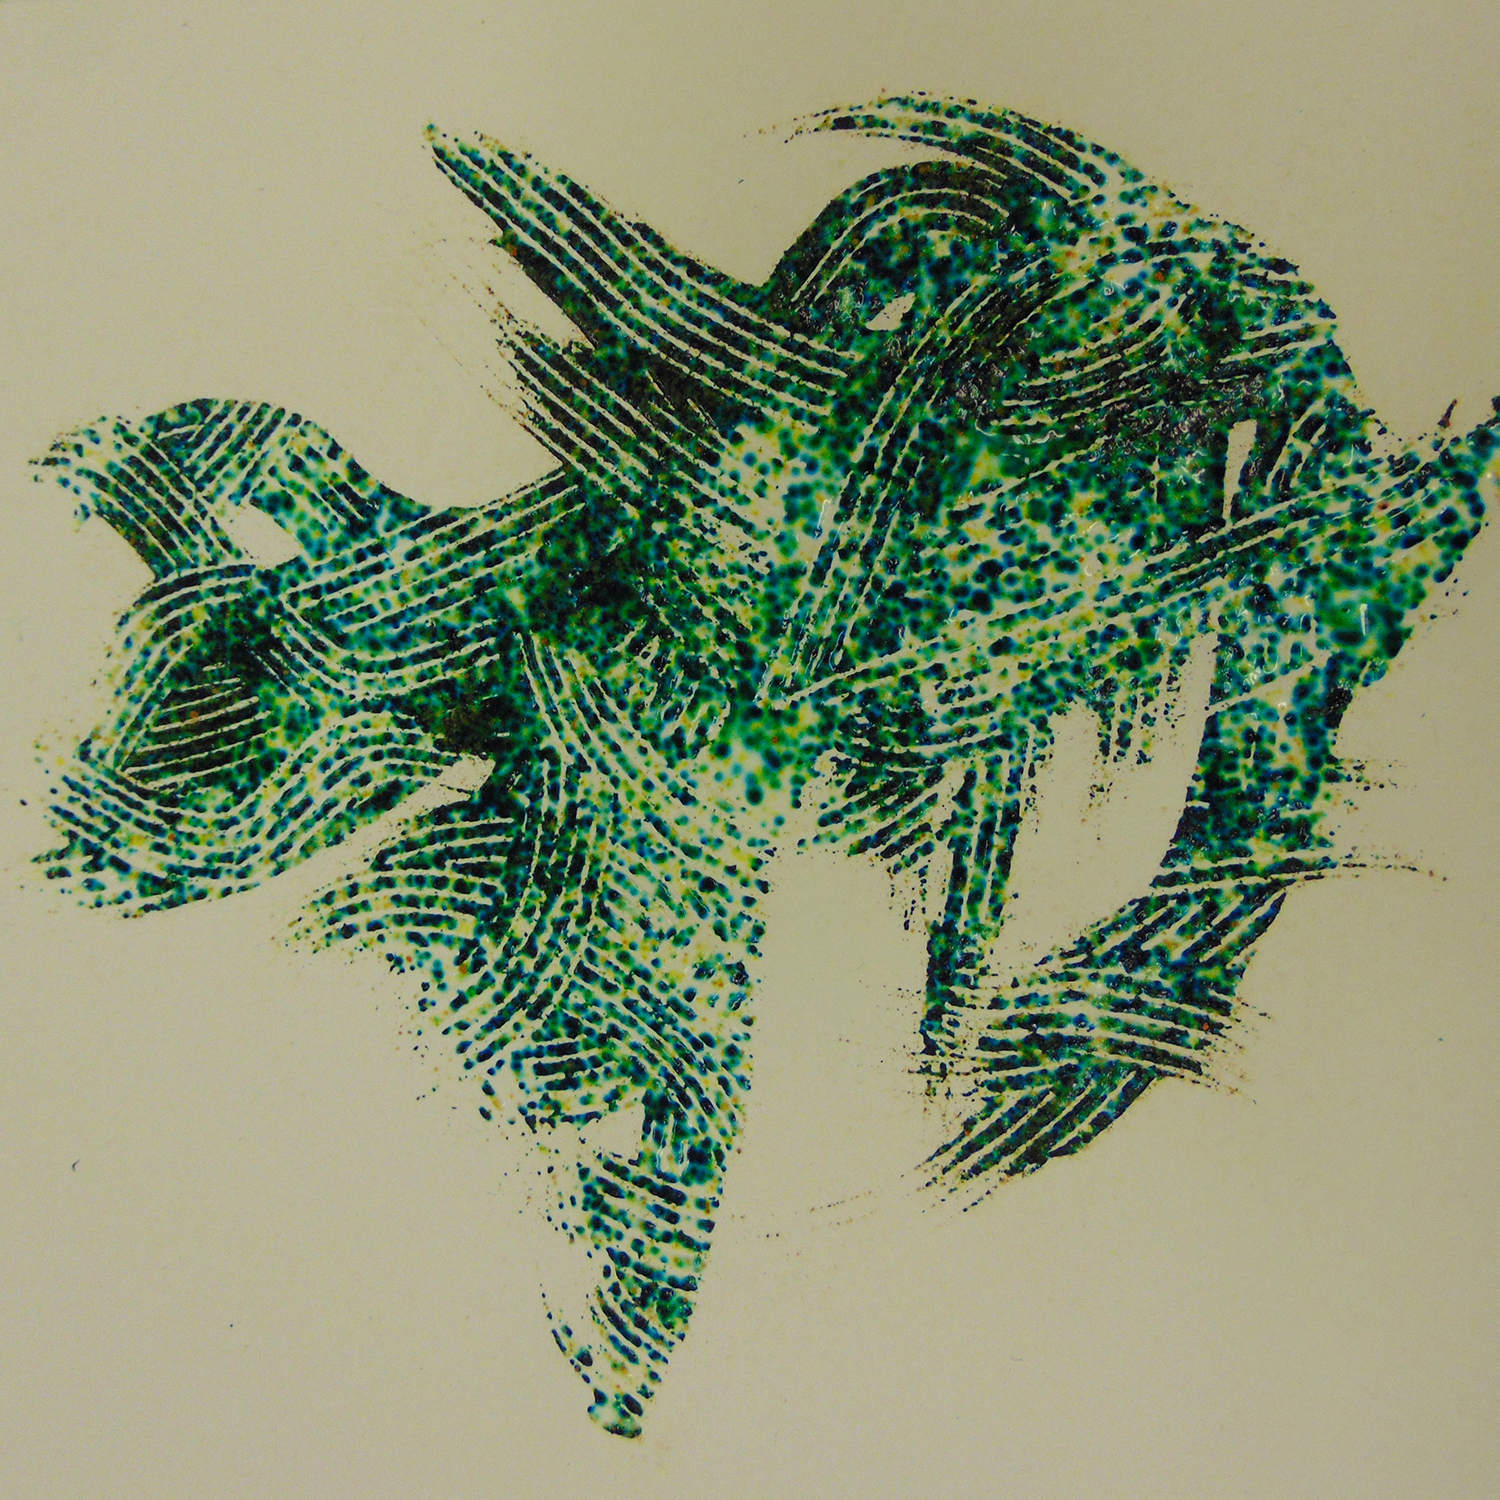
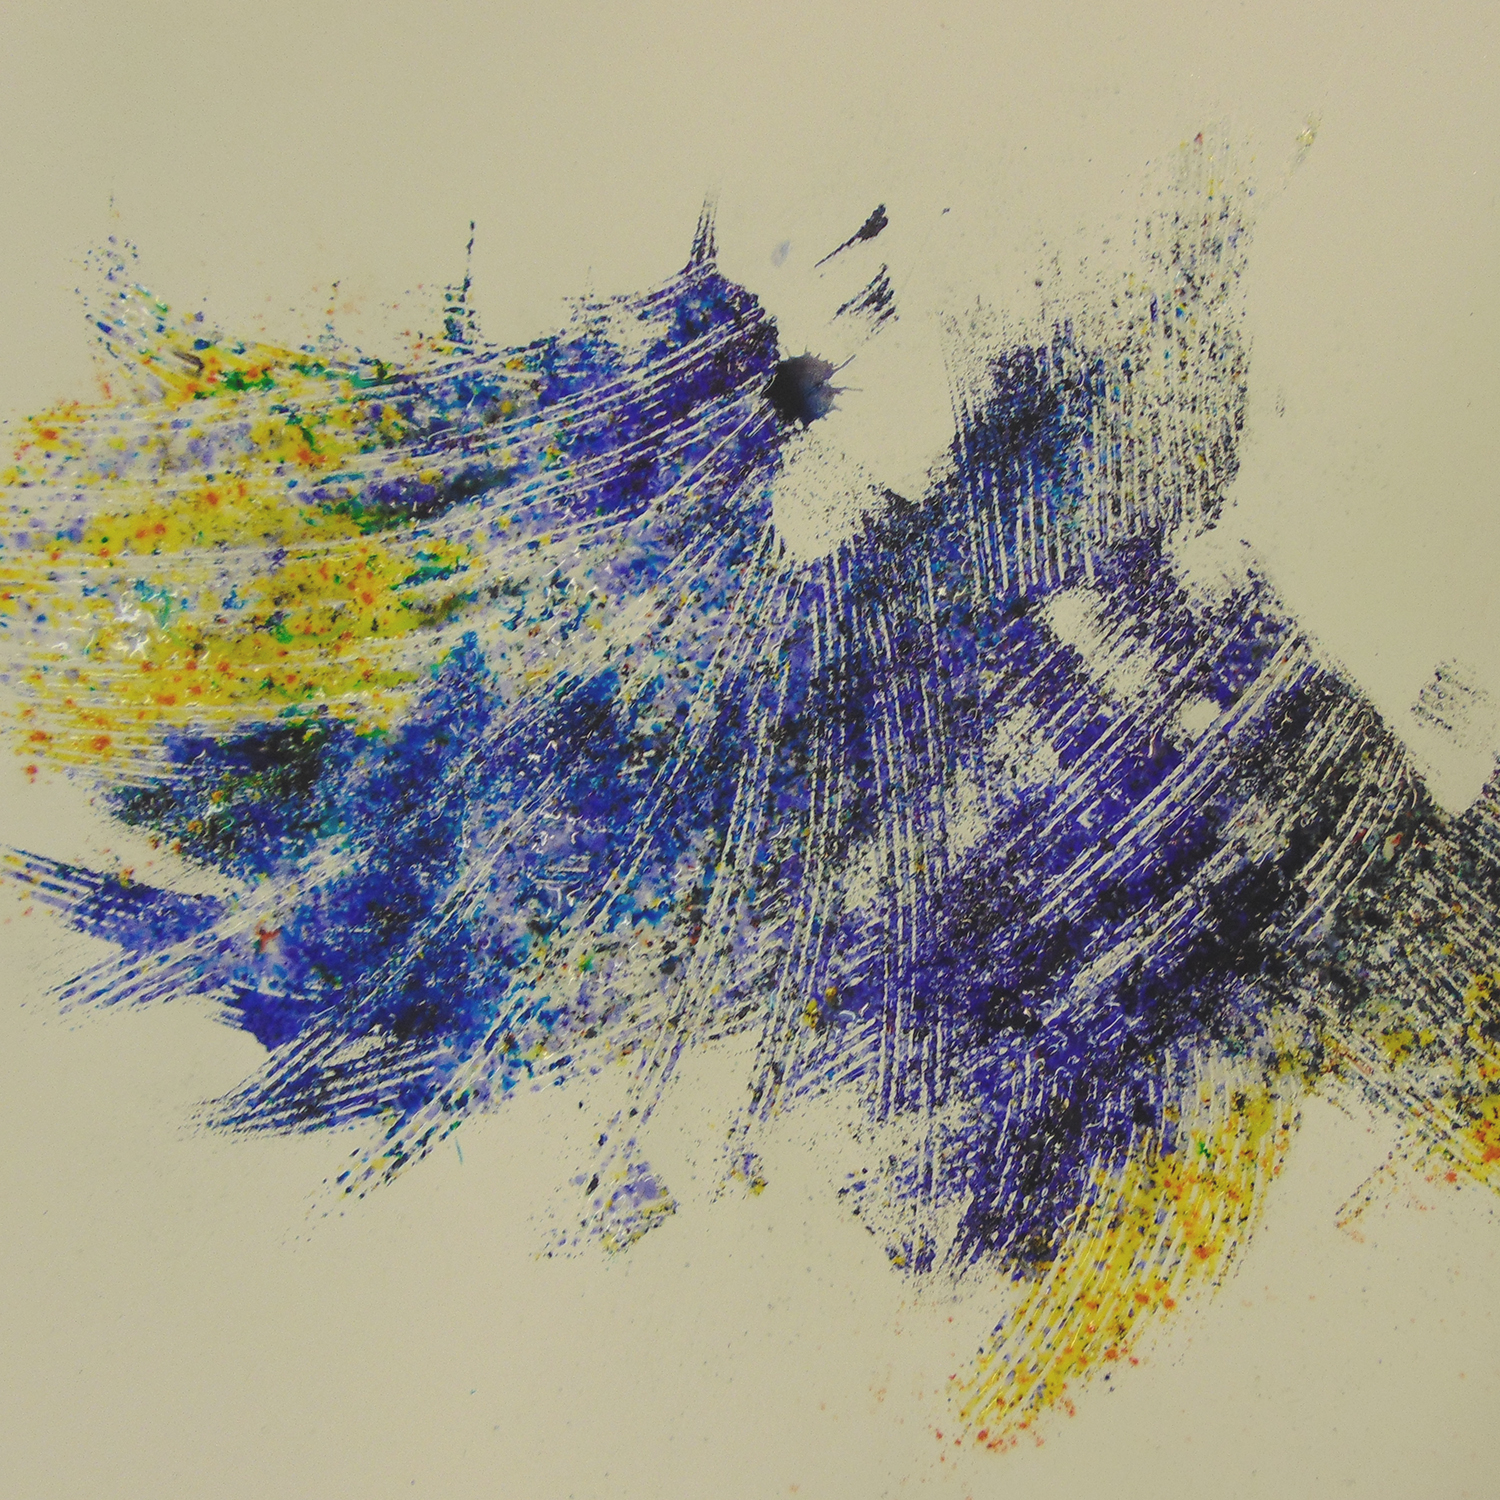
Images showing Brusho and wax applied with tjanting, wax, then Brusho sprinkled on wet paper, Brusho and sugar
Equipment required:
- Brusho Water Colour Ink Powders
- Batik Bowl Tjanting Tool
- Batik Wax Heating Pot
- Batik Wax
- Metal Spray Diffuser Tool
- PVA glue
- Masking tape
- A4 self-adhesive label paper for stencilling
- Cartridge or watercolour paper
- Mark making tools
Brusho inks are great because you can use them wet or dry. They are crystallised dyes that are made from a mixture of colours so they ‘bleed’ in very interesting ways. The colours are vibrant, intense and pure.
The best paper to work on is cartridge or watercolour paper.
We asked the students to try the following techniques:
- Dilution and tonal gradation
- Sprinkling on wet paper
- Toothbrush spatters
- Wax crayon resist
- Batik wax resist (layering and then adding more wax too)
- Put lace/ gauze/ leaves/ flowers/ grasses on paper, apply Brusho mixed with water and PVA, allow to dry, remove stuff
- Salt/sugar
- PVA glue or spray starch as mask (allow to dry)
- Stencilling
- Blow through a straw to create dribbles and splats
- Spray diffuser
- Bleach/Milton sterilising tablets (Milton tablets release chlorine but at a weaker concentration than bleach. You will still need to protect your skin by wearing gloves and an apron. It will bleach clothes. Make sure all containers are clearly labelled.)
- Bubbles
- White gel pen
- Water-soluble felt tips vs permanent fineliner/marker pen
- Sprinkle Brusho powder on wet PVA. Move it around, allow it to drip.

I know a lot of art students who use Brusho to create interesting backgrounds for their sketchbooks, but Brusho is very versatile and can be used for much more than that. The aim of the workshop was to create a ‘Brusho vocabulary’ – to discover a range of techniques and effects that they could use in their art later on.
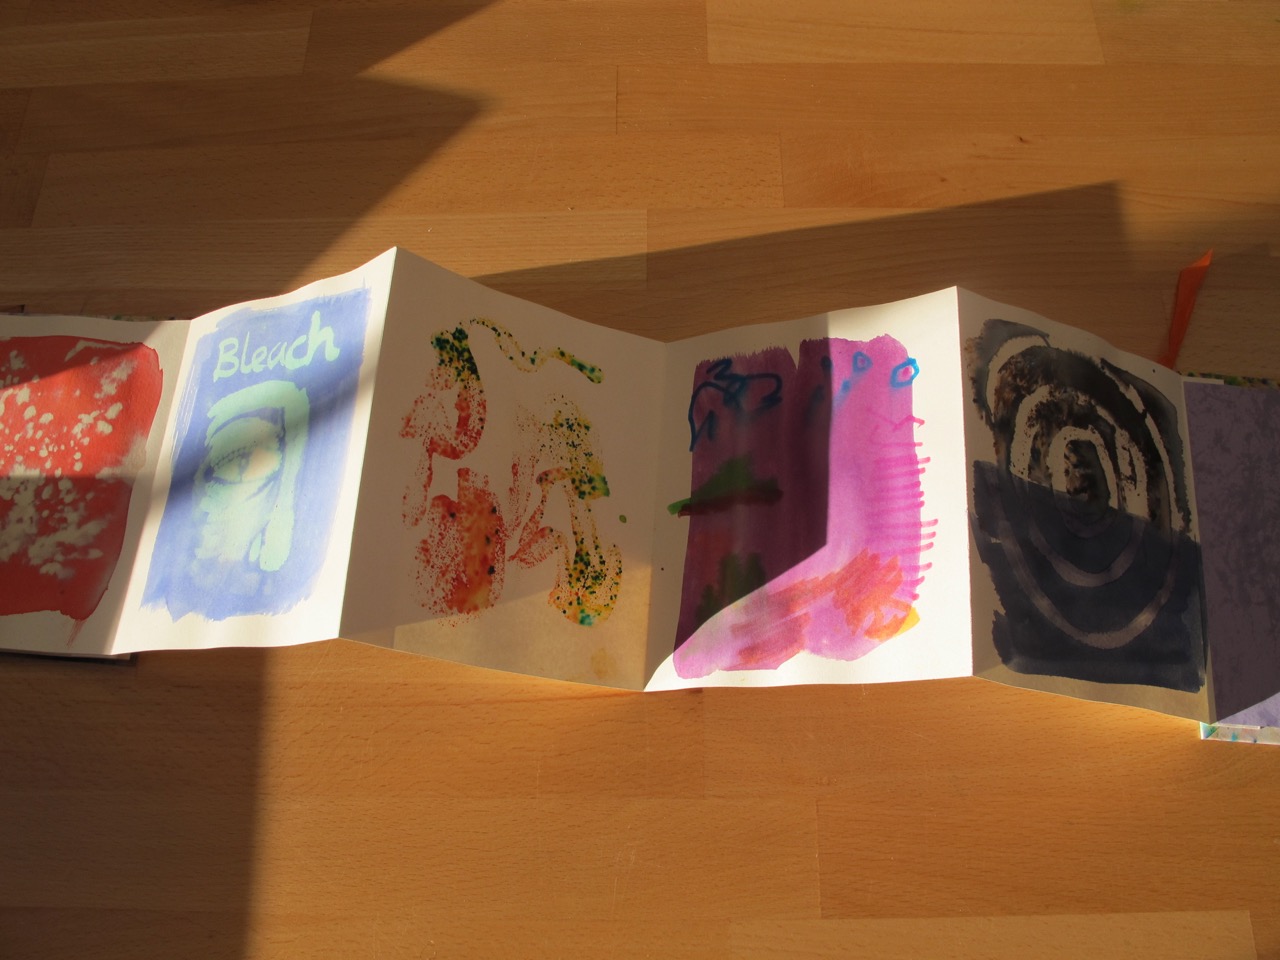

Before the workshop, I made a small concertina book of techniques and showed them a couple of quick examples, demonstrating how easy they were to use. I punched holes in the tops of the little containers so that they didn’t have to fiddle with the lids but could shake them out like salt and pepper (also a good way of controlling waste). Then it was like letting children loose in a sweet shop – they were so excited – but the list gave them a structure and something to keep returning to.

The students particularly enjoyed using the batik wax and the spray diffuser. It was good not to be too prescriptive about what thing to try first and what steps they had to go through to achieve each effect. It was more a case of trial and error. For example, we got very excited about sprinkling Brusho powder on wet PVA. Then we discovered that we could scrape with serrated clay tools into the PVA beforehand to create ‘swooshy patterns’. The powdered Brusho went on top of that and the excess was shaken off. The colours slowly bled, creating amazing designs.
The batik wax pot enabled us to talk about crafts from other countries and the skill involved in creating patterns on fabrics. Students experimented with layering colours and successive layers of wax to create complex paintings. The wax can also be cracked to create a distressed effect. It’s up to you and your students whether you want to leave the wax on, iron it off using absorbent paper towels to collect the excess wax, or even scrape and carve into it. Some artists even embed small objects and collaged drawings in wax, but that is a whole other story.
The two main disadvantages of Brusho are firstly that it can get messy – make sure you and your students’ clothes and hands are protected. You may want to put some newspaper down on tables as it will stain work surfaces too. Secondly, despite the colours being very intense, they are not lightfast and will fade in strong sunlight. If you use them on fabrics, they will wash out. That said, it’s a very accessible medium and cost-effective for the amount of colour you get from one little tub.
We only used Brusho and some other bits and pieces for the workshop but there is no reason why your students couldn’t combine it with other media and use it as a base on which to add acrylic, oil or chalk pastels. The whiteness of the page makes the colours glow, but Brusho would also be exciting on textured/coloured paper and even pages ripped out of books.
I’ve realised that I haven’t included any artist links in this blog post, partly because part of my practice isn’t to tell you what to do, just give you some ideas which will get your students all fired up, but also because I know you’ll find artists which suit your own particular groups and interests. Enjoy and have fun exploring!

Some ideas for taking Brusho even a little bit further:
- Brusho on plaster when creating sculpture or reliefs
- Sewing and applique on paper and Brusho
- Gutta or warm melt glue gun sticks (coloured?) to create areas of resist or even 3D shapes
- Brusho and oil pastels
- Brusho on collage
- Quick pattern design using hand-cut fun foam stamps
- Laser cut stencils
- Brusho onto different dilutions of PVA/filler/acrylic paints/acrylic mediums
- Tracing paper and little LED lights behind
With thanks to Vega Brennan for writing this post. Vega runs Linden Print Studio, a friendly, creative space for people interested in learning about printmaking, from beginners to experienced artists. Visit her website for more information and courses available.


