How to paper mache
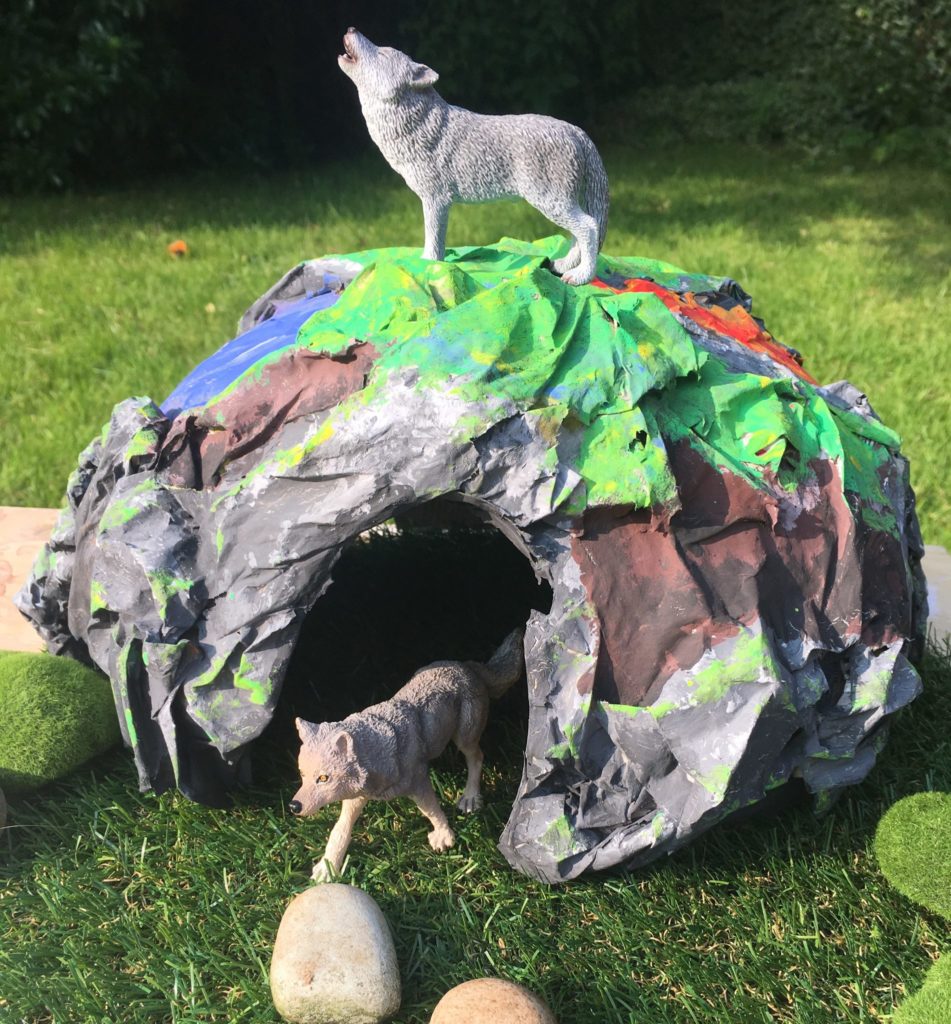
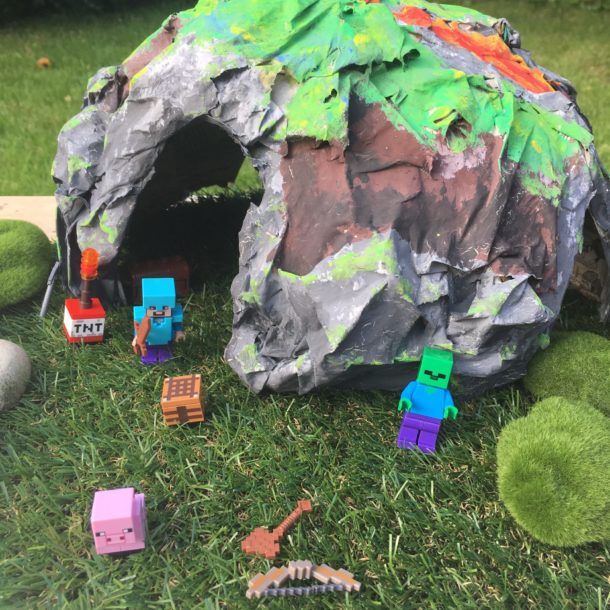
This handmade papier mache cave is perfect for small world play! Children can add animals and natural found elements to create a life-like scene. Here the children have used grass, wolves and stones. They also created a version with dragons and treasure. A Minecraft cave would be popular with older children. Or why not paint it white and make an ice cave, perhaps surrounded by fake snow?
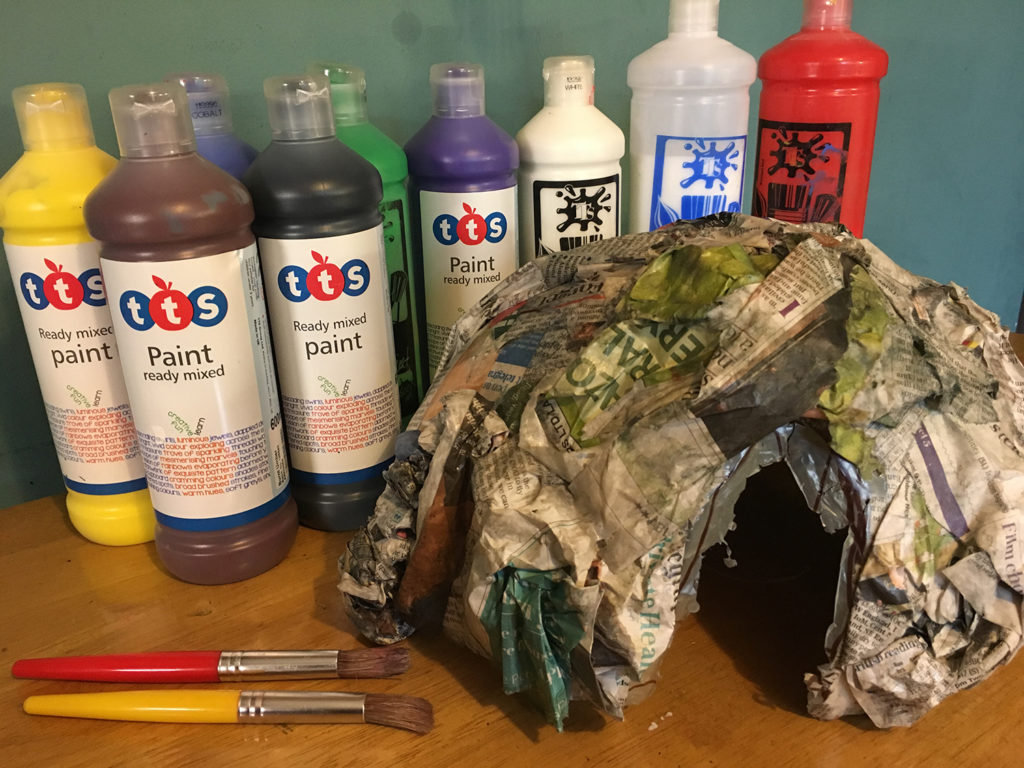
You will need:
- Newspaper
- Balloon
- Bowl
- Paint brushes
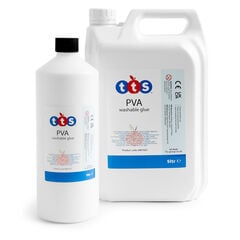
- PVA glue
- Water
- Acrylic paint
- Animals and items to create a small world scene
Step 1
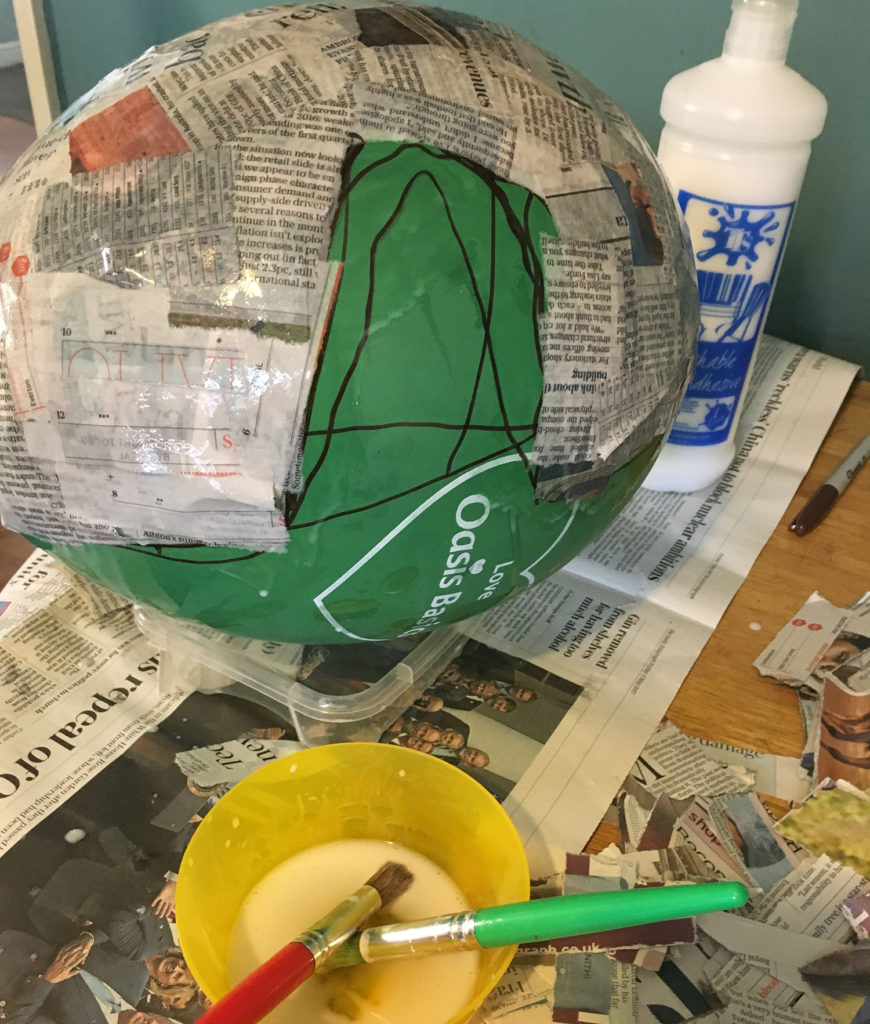
Blow up a balloon to the size you would like, bearing in mind you will only cover one half of the balloon. It is a good idea to draw around the balloon with a marker pen to indicate where the glue and paper layers are to go.
Step 2
Tear up strips of old newspaper (children will enjoy doing this!) and prepare a bowl of slightly watered-down PVA glue.
Step 3
Rest your balloon length ways on top of a bowl to help hold it in place. Add glue to the top portion of the balloon and stick a single layer of paper strips. It is best to work one layer at a time. Let the paper dry in between adding the next layer. You might use a hair dryer or leave the balloon outside to speed the process. Approximately 5-6 layers will produce a good strong cave!
Step 4
Add details. We glued rolled up bits of paper and added them to create steps, an area for a waterfall and lava etc.
Step 5
Once you are happy with the layers and the paper is completely dry, you are ready to start painting! (We cut out some ‘secret’ entrances to the cave around the side and back for added play value!) Build up layers of paint, adding rock and grass detailing. Use different tones of green and grey for a great look.
Step 6
One the paint is dry, your cave is ready to be added to the small world scene!
Below, we have turned the cave into a Dragon’s Lair and also a version with Minecraft figures! Share your creations with us over on our Facebook page.
Read how to make a papier mache dragon or dinosaur egg here.


