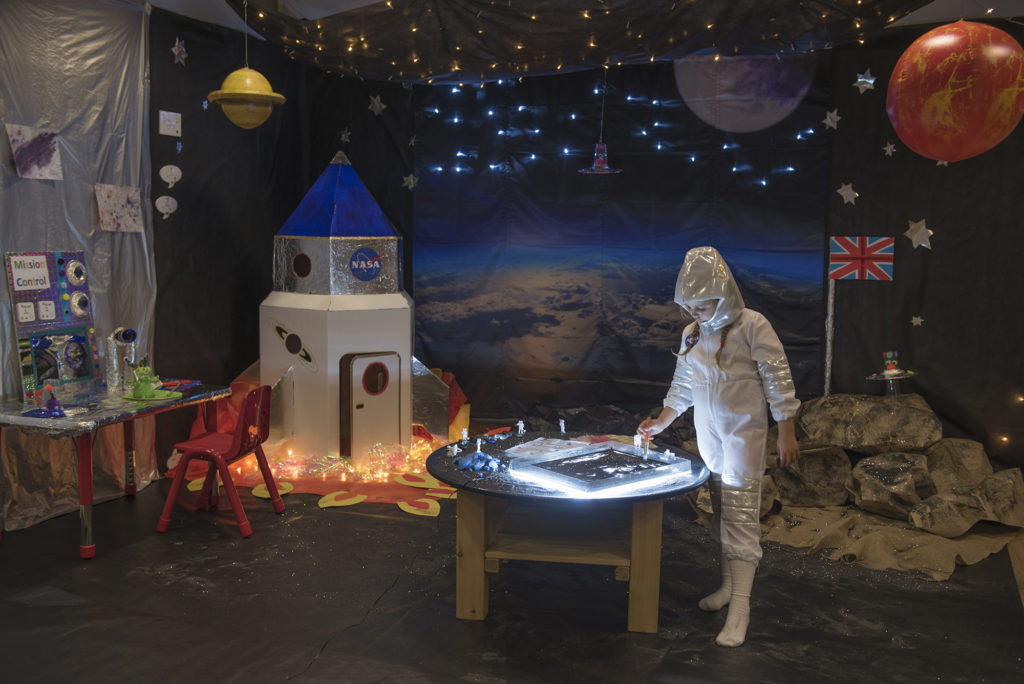
Watch our short video of our space themed immersive environment being created from start to finish below!
You will need:
Space Backdrop, Creative foil – silver, Tissue paper – yellow, orange, red, Milskin – Orange and black, Black and silver glimmer sand, Creative display fabric – dark blue and black, Heavy duty craft roll, Tissue paper roll, Holographic self adhesive film, Rainbow card, Roleplay Astronaut Dressing up Suit, Light Panels, Messy Play Light Panel cover A2 and A3, Small World Space Characters, Assorted Pom Pom Bumper Pack, A4 yellow and red coloured card, Paper Plate Bulk Pack, Jumbo Pipe cleaners, Wiggly Stick On Eyes, Glitter Craft Tape, Holographic Self Adhesive Film, Foam Board, Talk-Time Recordable Postcards, Super Safe Self Adhesive Plastic Mirrors, Buttons, Clipboards
Instructions
Step 1
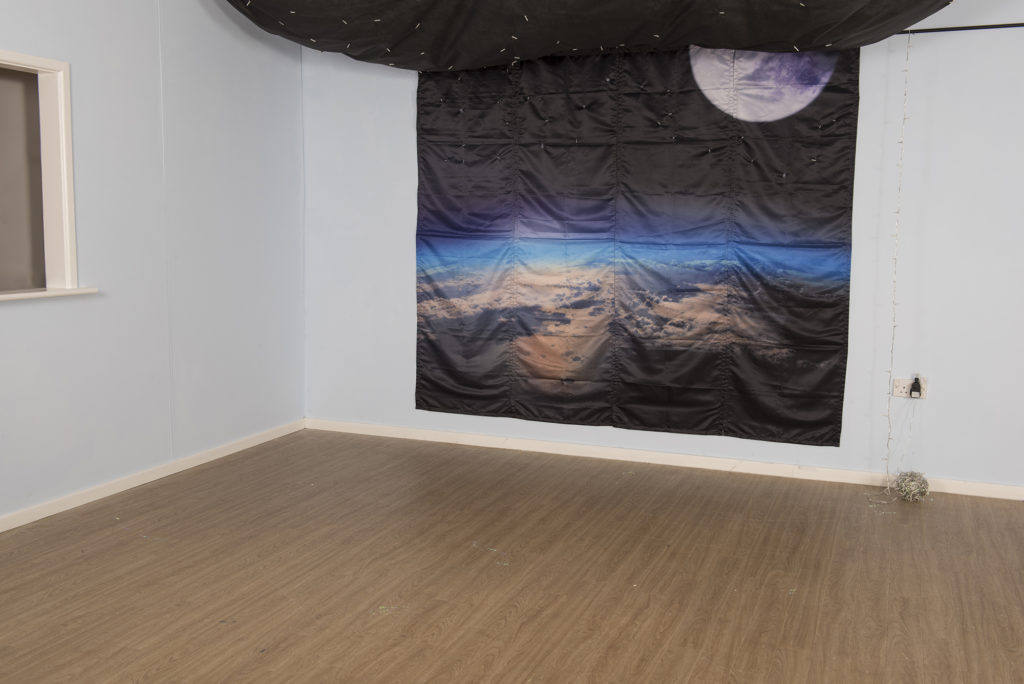
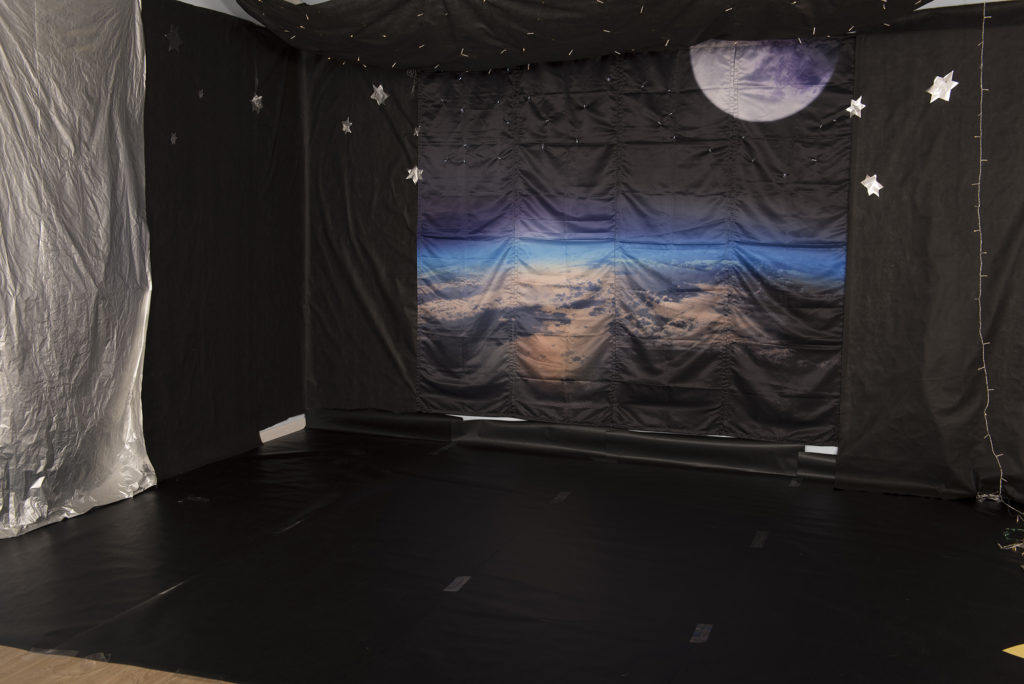
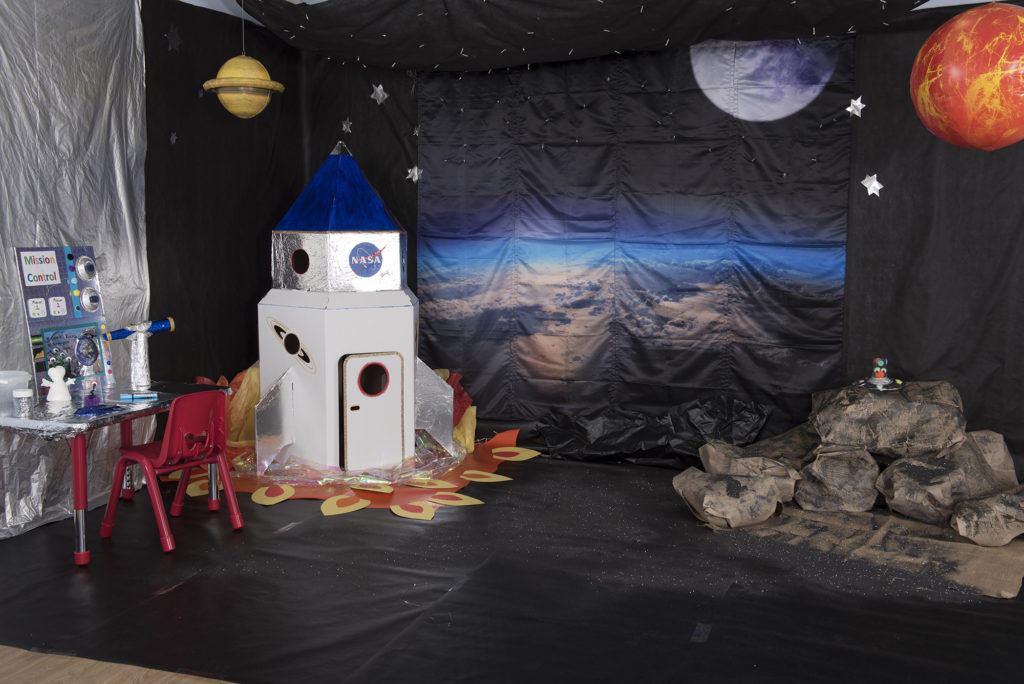
Hang the Space themed Immersive Environments backdrops using either curtain wire, garden canes, curtain poles or hook & loop.
Step 2
Create a larger starry wall area or twinkling ‘canopy’ overhead using black Smart-Fab adding extra silver stars cut out of metallic paper. (In the overhead canopy we cut holes in the material and poked LED lights through to add extra sparkle!)
We added silver creative foil in one area to create our ‘space station’.
Why not line the floor with black Milskin so children really feel like they are floating in space!
Step 3
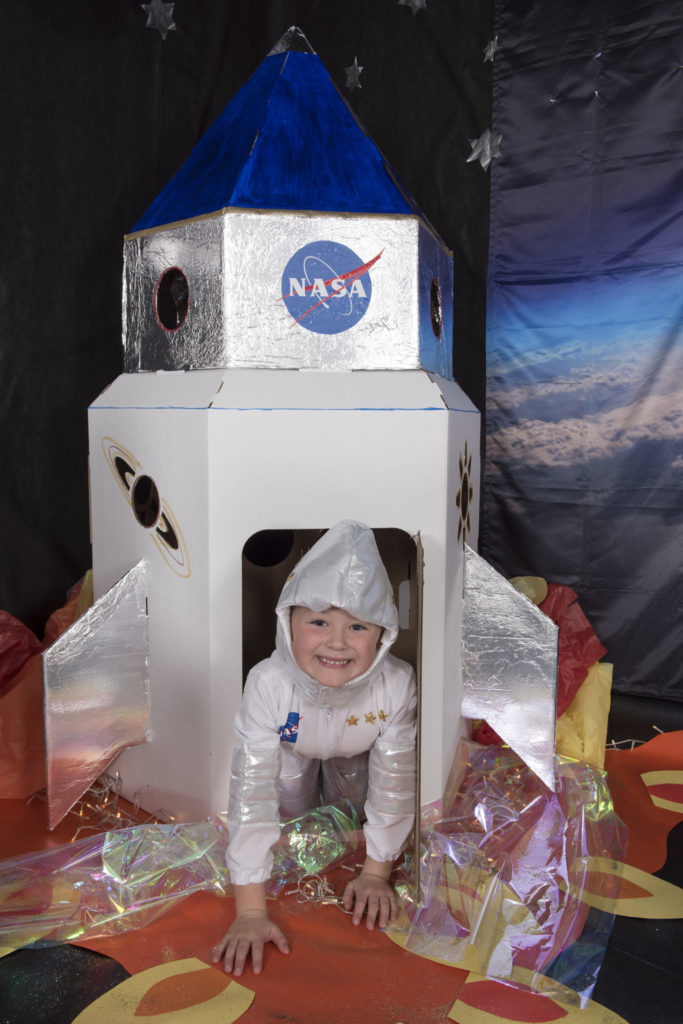
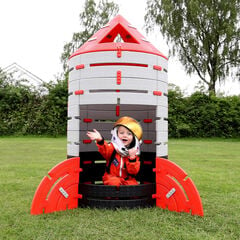
Follow the product instructions to construct the ‘rocket ’ to make an exciting 3D role-play area.
Made of sturdy, white cardboard it can be coloured or painted. We painted the top with acrylic paint and used tinfoil to add the shimmering silver finish.
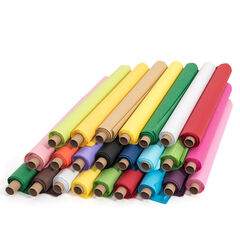
Add a blast of colour underneath the rocket so it looks like it is taking off (or just coming in to land!) using orange card/poster paper. (We’ve used orange milskin as it wide and has a slight finish on it making it more hard-wearing and less easy to tear.) We also added more lights around the base of the rocket and placed scrunched up tissue paper over the top in yellow and orange to create the effect of flickering flames!
Step 4
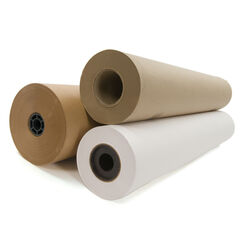
Next make the lunar landscape using hessian on the floor and create rocks out of roughly painted scrunched up heavy duty craft roll. Scatter the floor with black glitter sand for added shimmer and crunch when walked on.
Step 5
Cover a table with silver foil to make a work station fit for any budding astronaut. Hang planets and stars from the ceiling for extra effect!
Scene complete!
Did you know…
- A star is a massive, bright, sphere of very hot gas called plasma which is held together by its own gravity.
- Only 12 astronauts have ever set foot on another world.
- Space is a very challenging place to explore. There is no air in space, so there is nothing to breathe. It is very cold, unless the sun is shining on you – and then, without air to protect you, the rays of the sun would soon burn you!
- To survive in space you need a suit that protects your body from the heat and cold, and surrounds you with air to breathe. Space suits are pressurised, meaning they are full of air to support your body, which is why they look puffed up.
- A space suit is like a tiny spaceship for one. It is a very complicated machine, with air conditioning, heating, air to breathe and water to drink. It even has a built in toilet!
- Some space suits attach to a rocket powered backpack, which allows the astronaut wearing it to fly around in space.
Quick Makes!
How to make a rocket backpack
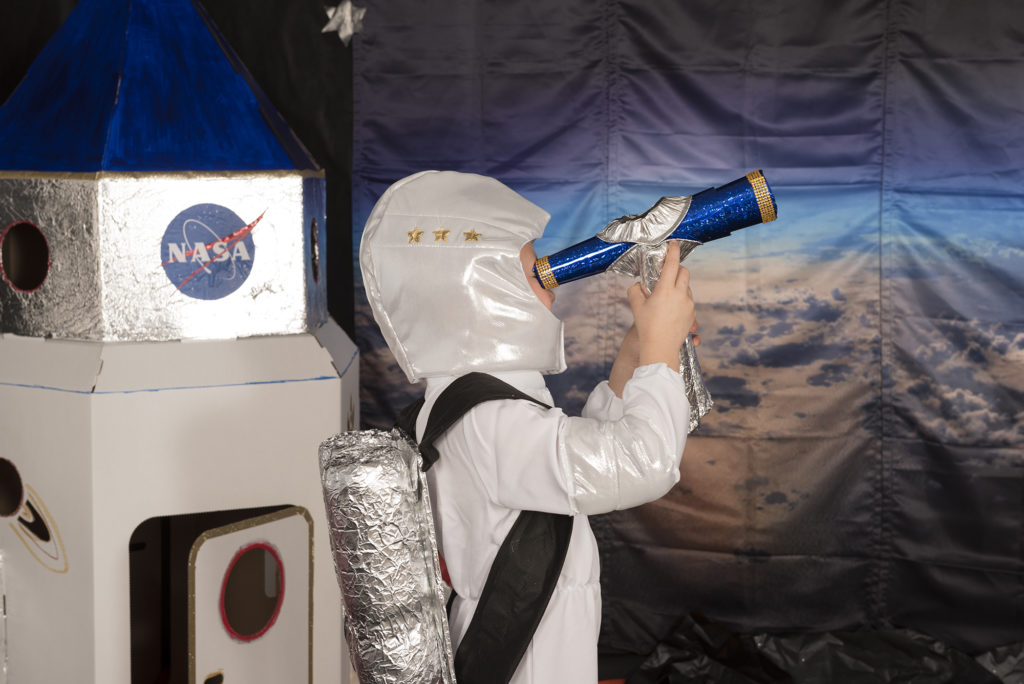
Recycle 2x 1 ltr plastic drink bottles and cover completely with silver baking foil. Stick on a square of cardboard to keep them secure and together when worn. Add ‘flames’ to the base using coloured card. We created straps out of the black smart fab and stuck them onto the backpack enabling it to be worn.
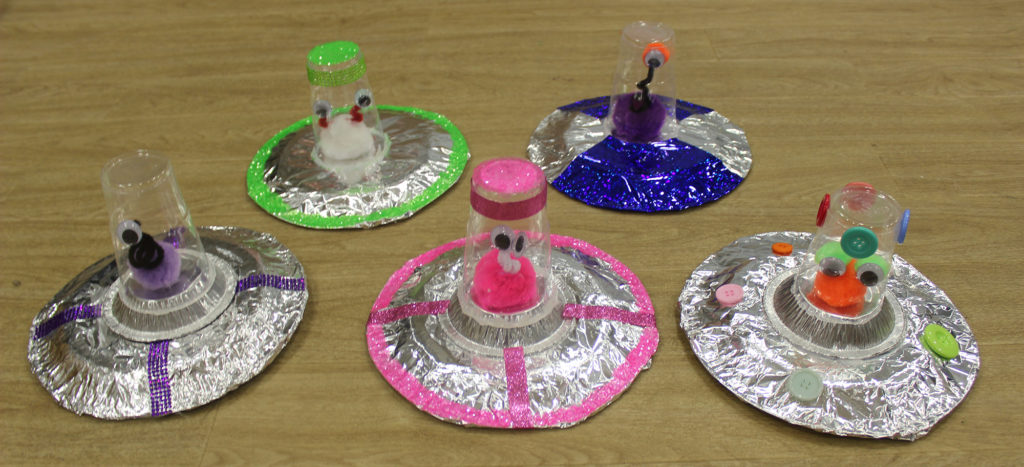
How to Make an Alien Space Ship
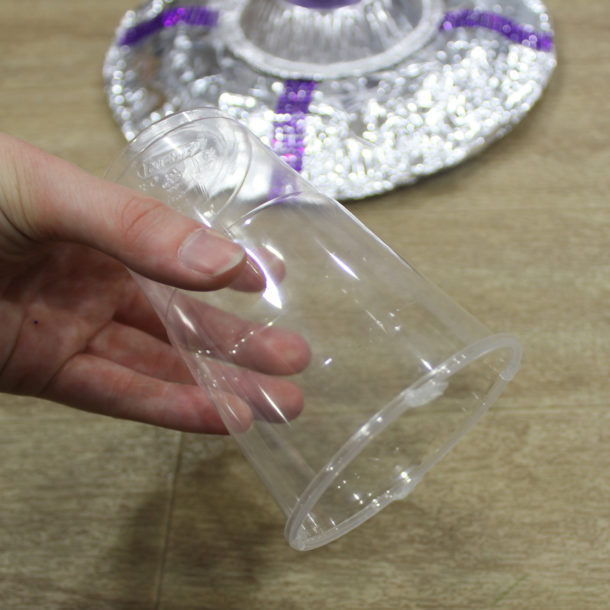
Paint or cover a paper plate with silver foil.
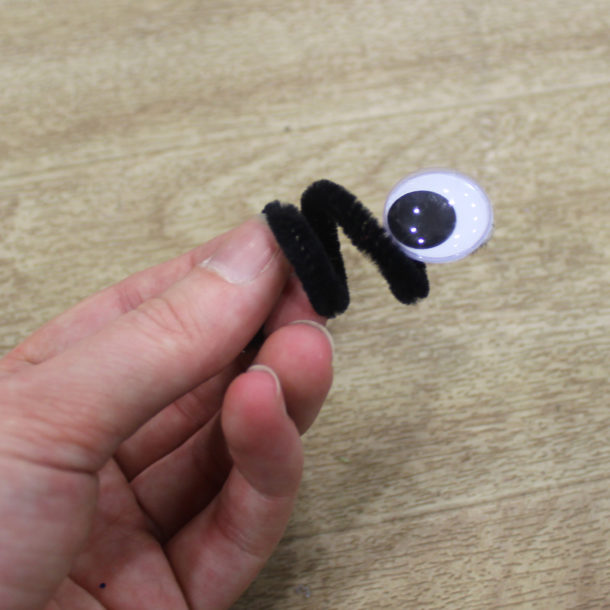
Create a funny alien figure using a large (or small!) pom pom. Stick wiggly eyes (the more the better!!) onto the end of pipe cleaners and stick to the pom pom.
Stick the alien in the centre of the paper plate and place the clear cup over the top, securing with plenty of glue. Children can then personalise using a variety of collage materials.
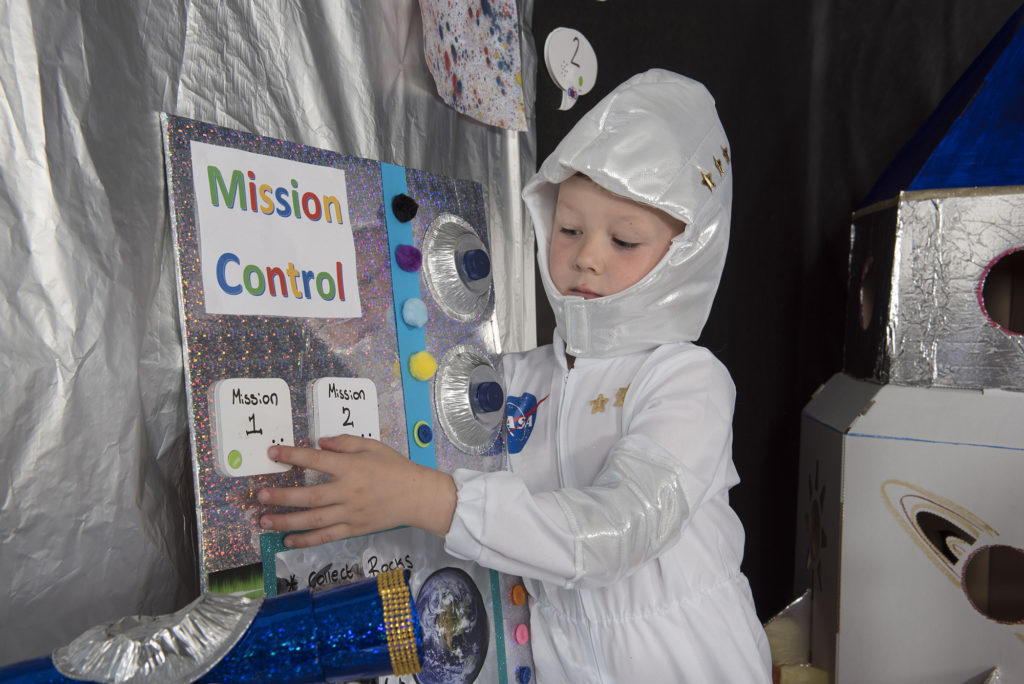
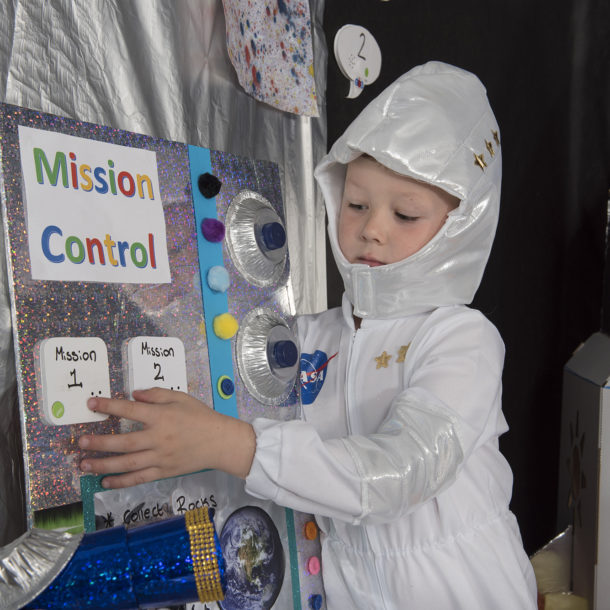
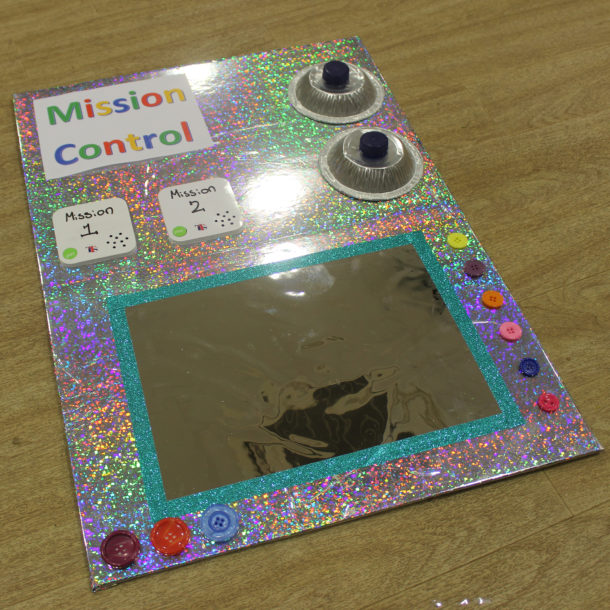
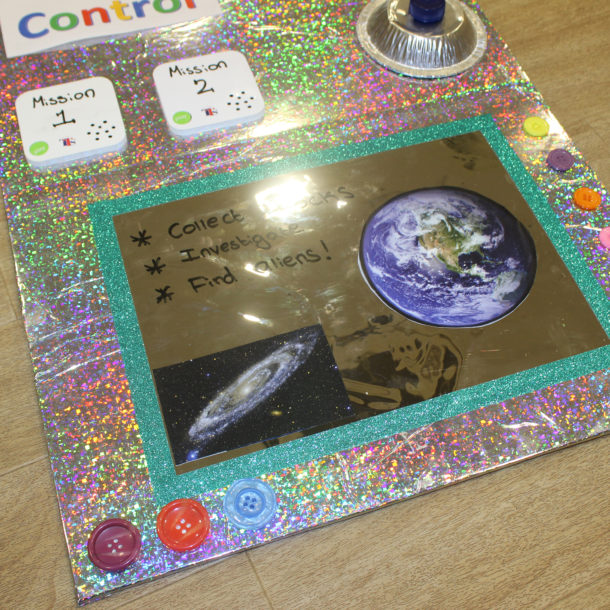
How to make your own Mission Control Panel
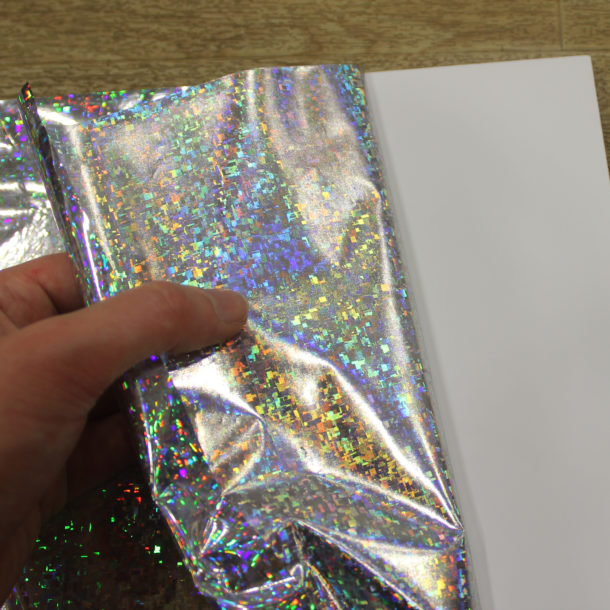
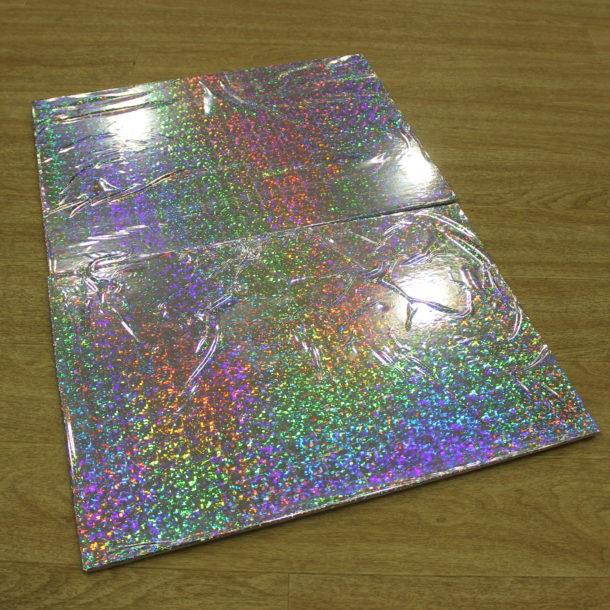
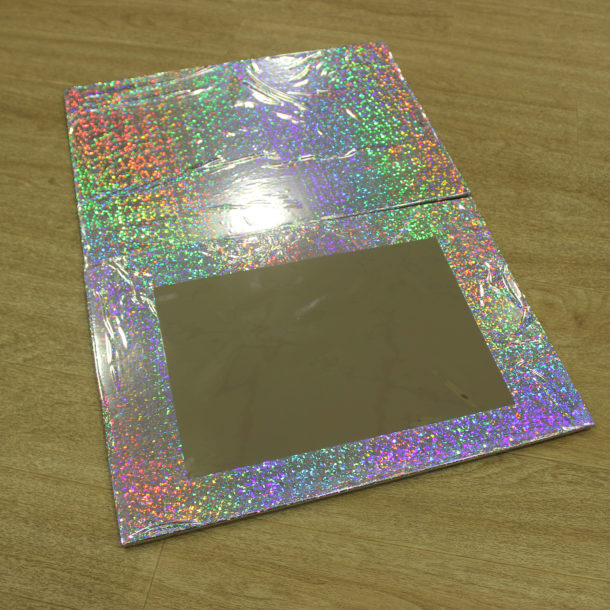
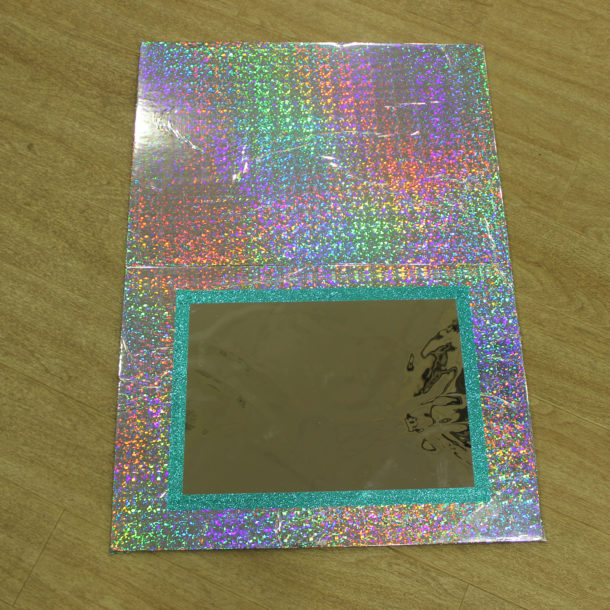
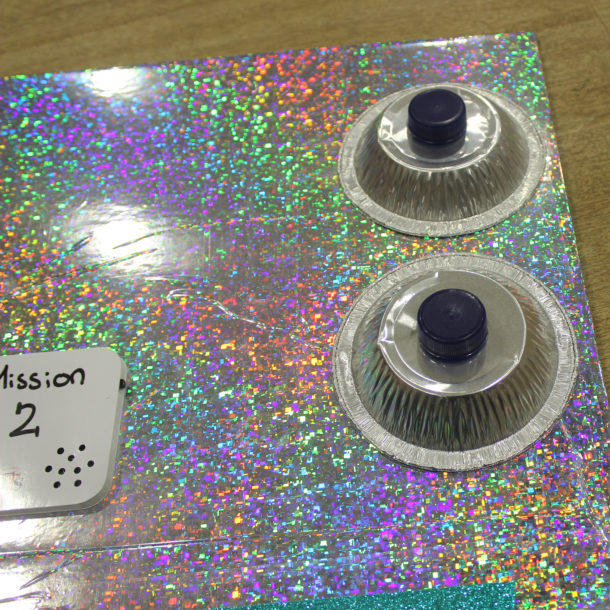
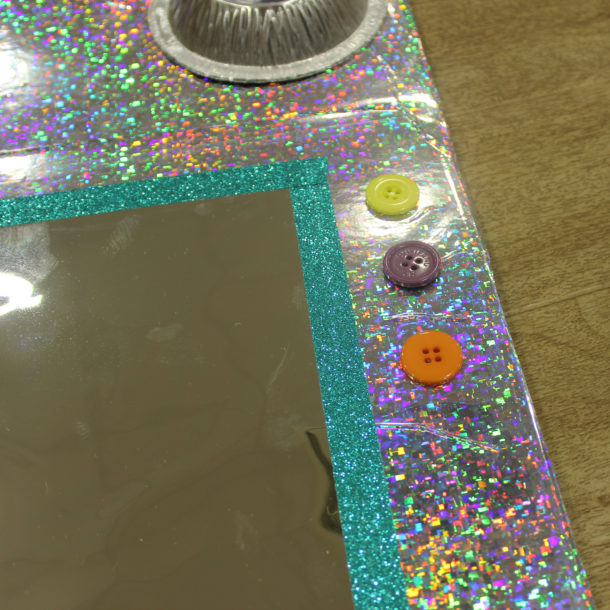
Use A3 foam board as the base for the panel and cover with silver holographic self-adhesive foil.
Stick a self adhesive plastic mirror to the bottom half of the board creating an exciting reflective surface and mark making area. Edge the mirror using glitter tape.
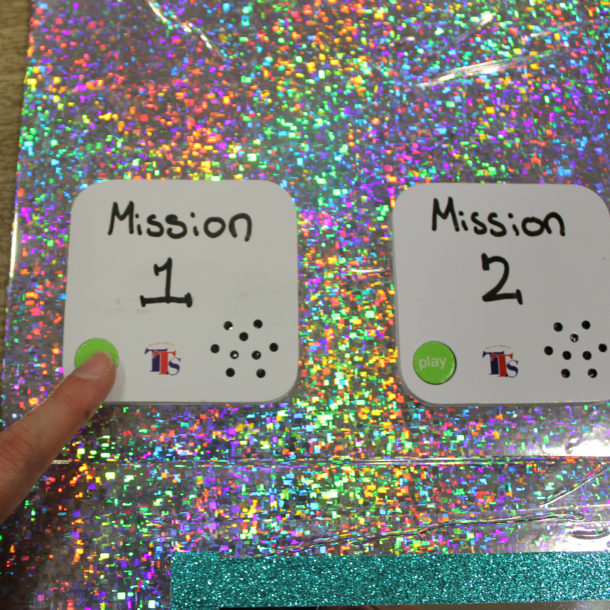
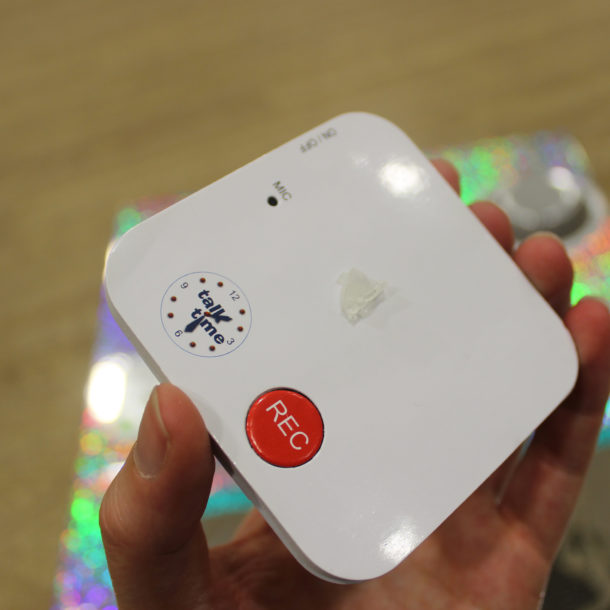
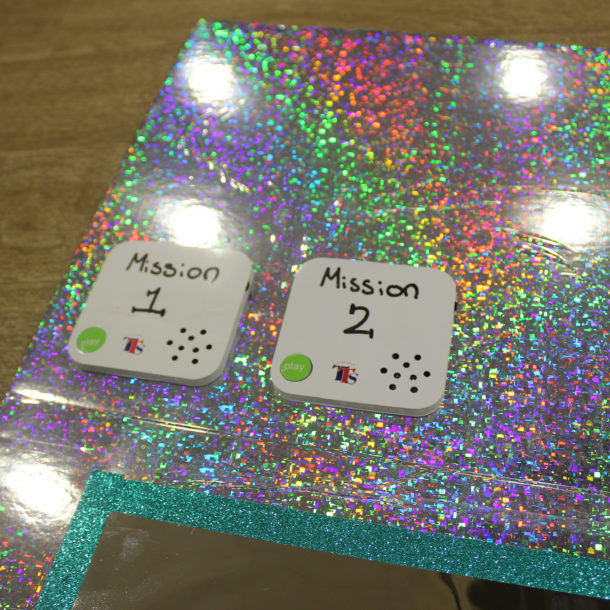
Bring an ICT element to the board by using recordable Talk-time Postcards so you can record exciting space missions for the children to complete.
Decorate using buttons, collage resources and small foil trays to create the control area.
How to Make a Mirrored Mark Making Board
Create your own transportable intergalactic writing board by simply sticking a sheet of self- adhesive plastic mirror to the plastic clip board. An exciting mark making alternative to chalkboard/whiteboards. Use chalkboard markers, whiteboard markers or paint sticks then simply wipe clean at the end of each mission!
With thanks to our art expert Nicky Mountcastle and her team for creating this fantastic space- themed learning location.
Journey into Space with Eden Project throughout July 2017. Read more here.
Have you seen our other fantastic learning locations – see below for more inspiration:
How to create a dinosaur themed immersive environment display
How to create a woodland castle themed immersive environment display
How to create a winter antarctic themed immersive environment display
How to create a Narnia winter themed immersive environment display
How to create a woodland cave themed immersive environment display
How to create a polluted beach themed immersive environment display
How to create a Christmas themed Gingerbread House immersive environment display


