Christmas How To
Celebrate this Christmas with a range of fun festive art projects. With easy-to-follow instructions there are plenty of art and craft ideas for Early Years and beyond.

Enjoy our ‘quick makes’:
Mini Christmas Tree Decorations
Christmas Rudolph Picture Frame
Personalised Christmas Hanging Decoration
Have fun Making cards:
Printed Christmas Decoration Gift Card
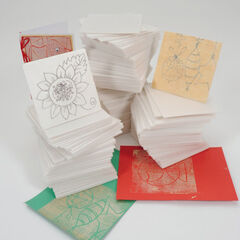
Monoprint Christmas Cards
Get creative with other decorations:
Printed Layered Christmas Decorations
Easy Puffy Paint Christmas Decorations
Foil Printed Collaged Christmas Picture
Christmas Countdown Puffy Paint Calendar
Christmas Arts and Crafts
Here are the step-by-step instructions:
Mini Christmas Tree Decorations – Quick Make
Quick to make twinkling Christmas trees perfect for a take home decoration or seasonal addition to festive small world play using basic stockroom and recycled materials.

What you will need:
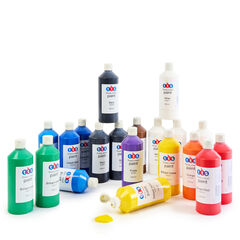
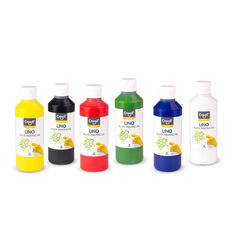
TTS Ready Mixed Paint Yellow/Green/Blue/Red
Recycled Egg Boxes
Craft extension resources:
How to Make:
Step 1
Cut up the egg box removing all tall dividing ‘pyramid’ parts, then cut around the base to shape it to look like hanging branches when the tree is constructed.
Step 2 
Use a mixture of colours of ready mixed paint i.e. green/yellow/blue/red to create different shades/tones of green to make the tree look more interesting when ‘stacked’. Leave to dry.
Step 3
Stack the egg box layers one on top of the other using as few or many as you like.
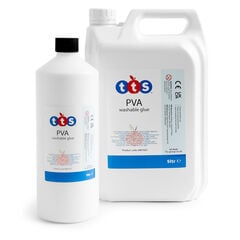
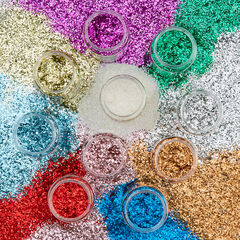
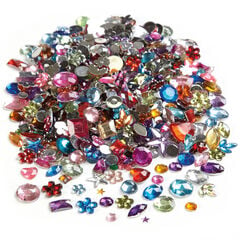
Tip: to help space each layer either glue something like a pony bead on top of each piece before stacking or simply twist the top shape around on an angle until it sits higher on the shape below. Use a good blob of PVA glue to stick each layer of tree in place. Children can enjoy adding decoration using glitter, gems etc to complete the miniature Christmas tree decoration.
Project Extension
If you’d like to have your tree with a trunk and in a pot, take these steps:
Step 4
Paste PVA glue and brown tissue paper on to a paper dowel to make it look like a tree trunk.
Step 5
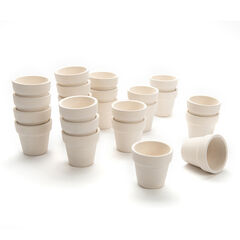
Place the tree onto the ‘tree trunk’ and stick with PVA glue. Wedge the trunk in place using clay/tack then add a layer of scrunched tissue paper on top to cover and fill the pot. You could also add some Christmas sparkle to the pot and paint and decorate it!
Christmas Rudolph Picture Frame – Quick Make
A fun little Christmas themed keepsake that could be made as a fundraising craft for schools and nurseries or given as a festive gift to take home!
What you will need:
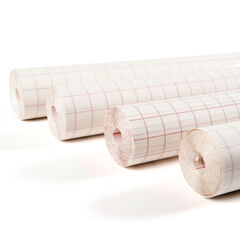
Clear Sticky Back Book Cover Roll
How to make:
Step 1
Print off a favorite picture/photograph (this was approx. 8 x 8.5cm) and cut out. Cover the picture with sticky back plastic to laminate and protect the image. The plastic needs to be wider on the sides (by approx. a lolly stick width).
Step 2
Stick the excess film onto two lolly sticks (trimming to neaten if necessary). Turn over onto the ‘front’, apply PVA glue the length of both lolly sticks and place another lolly stick exactly on top sandwiching the photograph in place. Leave to dry.
Step 3
Add 4 dabs of PVA on the lolly sticks and place two more lolly sticks, top and bottom, across the others to complete the ‘frame’.
Step 4
Cut out the face, ears and hooves from coloured card. Draw eyes and mouth on the face, add a fluffy pompom ‘Rudolph’ nose and stick all in place using PVA glue.
Step 5
Bring a bit of nature into the creation and try and use twigs for gnarly Reindeer antlers!
Step 6
Use a low melt glue gun (under supervision or simply completed by an adult) to add a lolly stick at the back to prop the picture frame up and it’s finished and ready to be cherished!
NB. Children could also colour/paint/collage the lolly sticks before the frame is constructed for a truly personalised finish.
Personalised Christmas Hanging Decoration – Quick Make
An easily constructed festive craft for children that can be personalised through decoration and imagination! Ideal as a take home gift or fundraising idea.

What you will need:
Large Wooden Craft Lolly Sticks
How to make:
Step 1
Take five large wooden lolly sticks and plan the shape of your decoration. Here I’ve created a ‘birdhouse’ shape to frame the hanging ‘bauble’ photograph. (Before the next step, children may decide to paint, collage/colour the plain wooden sticks). Use blobs of PVA glue to stick them together. Leave to dry.
Step 2
Choose a colour of card for the ‘bauble’ draw a circle with a small ½ circle at the top for the cap and cut out (mine is approx. Dia 7cm). Use a single hole punch to make a hole for hanging up the decoration in the middle of the lolly stick frame.
Step 3
Use a glue stick to stick the picture onto the card bauble. Brush red/black PVA over all the front of the bauble to strengthen, seal, glaze and protect the image. Leave to dry then use a metallic marker to add extra decorative touches.
Step 4
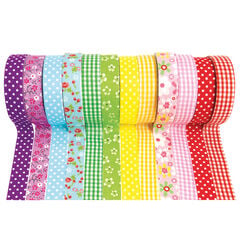
Add extra decoration using cut-out shapes e.g. holly leaves from card, craft buttons for berries etc. Make a little ‘banner’ by sticking a length of colourful fabric tape to the frame with a message written on white card stuck over the tape leaving a colourful border around the edge.
Printed Christmas Decoration Gift Card
Combine process art, sensory play, creativity and simple step-by-step instructions to make this Christmas card with removable decoration that can be given as a greetings card and enjoyed as a decoration in the future.

What you will need:
Rosemary Twigs
How to make:
Step 1
Squeeze yellow, red and blue ready mixed paint onto a paint tray. Next choose two colours of green card to decorate.
Step 2
Dip sprigs of fresh Rosemary (such a sensory activity, the classroom will smell amazing!) into the paint and press, drag and flick paint onto the card to give the impression of pine tree needles, adding pattern, texture, dimension and colour to the Christmas decoration. When the card’s surface is covered leave to dry.
Step 3
Draw circles on the decorated card, approx. D6.5cm, and cut out. You will need six pieces for the decoration. Fold the circles in half.
Step 4
Choose a light and dark green circle and put together 3 pairs to form the shape of the tree. Using a glue stick, stick together each pair of circles forming a ‘point’ at the top, overlapping the front edges.
Step 5
Stick all the layers together using PVA placing one pair of circles inside the other over lapping slightly to form the final Christmas tree shape. Slightly curl the top pieces of each layer of the tree to give it more shape gently bending the card upwards.
Step 6
Stick part of a wooden lolly stick inside the last layer of circles (decide the length and trim off any excess with scissors) to make the tree truck and add decoration using glitter, beads and mirror backed gems. Stick a loop of ribbon on the back to tie the decoration up with.
Step 7
Turn the removeable decoration into a ‘gift’ card using an A4 piece of coloured card. Fold the card in half and use a single hole punch to make a hole at the top of the front piece of card. Tie the decoration onto the card using a bow so it can be removed easily and used as a Christmas tree decoration in the future.
Monoprint Christmas Cards
Explore a basic technique of printing to design and produce decorative printing tiles that children use to create personalized greetings cards.

What you will need:
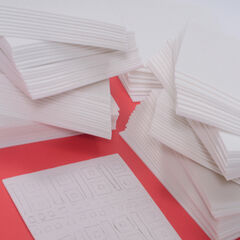
Safeprint Foam Printing Sheets
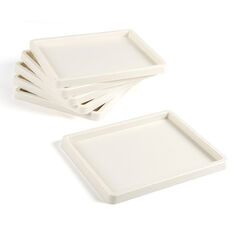
Paint and Inking White Plastic Tray
Pencil /Ballpoint Pen
How to Make:
Step 1
Decide on the size of your design and cut the polystyrene tile (also called Safeprint or Pressprint) to size. Scissors are fine for this as the polystyrene sheets are quite thin and easy to cut.
Step 2
Using a slightly blunt pencil/ball point pen either draw directly onto the plain foam sheet or draw your design beforehand on paper then trace onto the polystyrene sheet. Use a pencil to draw/carve your design into the press print sheet. Take care, this needs to be deep enough to make a clear impression (and therefore a crisp print), but you must not push all the way through the sheet. NB. It takes a little practice to get the pressure right so perhaps try mark making on a spare piece of tile first to understand the marks that can be made and the pressure needed.
Step 3
Squeeze the printing ink onto the inking tray, you don’t need much, start with a ‘dollop’ the size of approx. a 5p (if it’s not enough you can always add more). Using the ink roller, roll into a smooth even layer. (When the ink has an ‘orange peel’ look and makes a ‘rasping’ sound it’s ready for use!). Roll an even layer onto the Pressprint tile making sure the surface is fully covered for a full, clear print.
Step 4
Once inked up, put the sheet ink side down onto a piece of coloured card/paper and using your hand apply a firm even pressure to the whole of the sheet. Anchor it in place with your other hand to ensure the sheet doesn’t slip and smudge your design. Gently peel back the polystyrene sheet to reveal the printed design. NB. Experiment with different colours of ink, paper/card to see which combinations you prefer.
Step 5
Once dry, choose your favourite prints and cut them out. Decide what colours of card to layer them on to make the finished handmade Christmas cards. Use a glue stick to stick the print onto a folded piece of card. Add extra texture and sparkle by adding glitter, gems, metallic pen etc using PVA glue.
Printed, Layered Christmas Decorations

What you will need:
How to make:
Step 1
Explore a range of ways to make marks with paint. Do a texture hunt and collect a range of items to print with e.g. textured sponges, lolly sticks, bubble wrap, cardboard wrapped with elastic bands, pan scourers etc. Dip into the ready mixed paint then cover an assortment of coloured card in a rainbow of patterns! Leave to dry.
Step 2
Decide on the shape and size of your Christmas decorations and create a card template to draw around. As these are layered decorations (for interest to create movement) you will need least 3 of the same shape per decoration. Draw and cut your shapes from the printed sheets and any other coloured /patterned card you want to include in your decoration e.g. metallic/holographic card.
Step 3
To plan your design start with the back layer this needs to be the ‘whole’ shape so all it needs is a hole for threading. If your hole punch can cut through a few layers, try to do this at the end to ensure the layers of the decoration are aligned. For your second and third layers you need a ‘portion’ of the shape (cut or tear to size depending on the effect you like), the second larger than the third etc to create the layered finish.
Step 4
Use glitter/metallic pens/gems etc to add extra sparkle. Lay one layer on top of the other lining up the top and punch a hole through all layers.
Step 5
Easy Puffy Paint Christmas Decorations
What you will need:
Shaving Foam (NB This is being used as a paint but possibly opt for hypoallergenic shaving foam in case of allergic reactions).
How to make:
Step 1
To make the puffy paint mix equal(ish) amounts of shaving foam and white TTS PVA glue. The bubbles in the foam make the ‘paint’ light and fluffy. (To make coloured paint you could also add a little ready mixed paint, food colouring or liquid watercolour).
Step 2
To make the Christmas baubles draw some large shapes on thick card to be ‘filled in’ with the PVA/shaving foam mix.
Step 3
‘Scoop’ the mix onto a brush and pile it into the drawn shape, smoothing off the top and shaping the edges slightly.
Step 4
Use a range of collage materials to add to the decoration. Gently press beads, mirror backed gems, glitter paper shapes, sequins etc into the surface of the Christmas decoration and finally add a sprinkle of glitter. As the foam mix contains PVA glue they will stick to the surface. Leave to dry overnight. The mix may puff up then shrink slightly as it dries to a slightly spongy soft touch finish.
Step 5
When it is completely dry, cut out the shapes then glue some ribbon to the back so they can be hung in pride of place on the Christmas tree!
Foil Printed Collaged Christmas Picture

A simple multi-sensory children’s art and craft Christmas activity to explore pattern, printing and collage.
What you will need:
White Plastic Tray or Paper Plate
Cotton Wool
Tinfoil
How to Make:
Step 1
Take a slightly larger than A4 piece of tinfoil and use masking tape to stick down onto your work area to keep it securely held in place.
Step 2
Squeeze your chosen colours of ready mixed paint onto a paper plate or plastic tray. To get a fluffy snow effect I’ve used large pom poms to ‘print’ the snowman and the handle end of a paint brush for the snow onto the foil putting the paint on quite thickly, so it transfers well onto the background. Don’t allow the paint to dry!
Step 3
Taking a piece of blue coloured card place it on top of the painting and rub gently to ‘print’ the picture onto the surface. Peel back carefully to reveal the print that’s been created. Leave to dry.
Step 4
Add some texture using a thin layer of cotton wool and glitter in places (as you don’t want to fully cover up you lovely print!) sticking down with PVA glue.
Step 5
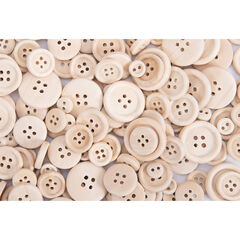
To bring the snowman to life children can explore a variety of collage/craft resources. Here I’ve used sticky back fabric tape for the scarf, wooden buttons, wiggly eyes (of course!) coloured card for the carrot nose and hat etc.
NB. Some ‘foraged’ resources from nature could be included too e.g. twig arms and wood for the tree trunk!
Christmas Countdown Puffy Paint Calendar
What you will need:
Shaving Foam (NB Consider opting for hypoallergenic shaving foam in case of allergic reactions).
How to Make:
Step 1
To make the puffy paint mix equal(ish) amounts of shaving foam and white TTS PVA glue. The bubbles in the foam make the ‘paint’ light and fluffy.
Step 2
To make the Snowman shape draw two circles (one smaller than the other to make the Snowman’s head and body) on thick coloured card to be ‘filled in’ with the PVA/shaving foam mix. Remember you need to allow space at the bottom of the card for the Christmas countdown dates!
Step 3
Using a paint brush ‘scoop up the mixture and pile it into the drawn shapes, smoothing off the top and rounding the edges slightly.
Step 4
Cut a scarf from craft felt, carrot nose, mouth and hat from thick card adding wiggly eyes to bring fun & character to the face. Press gently into the foam/PVA mix making sure it has good contact with the surface without squashing the shape, the mixture contains glue therefore they should stick and stay in place.
Step 5
Complete your snowman by making arms out of pipe cleaners (or forage some sticks!) and add texture and a little shine using white glitter. Leave to dry to a soft touch, spongy texture.
Step 6
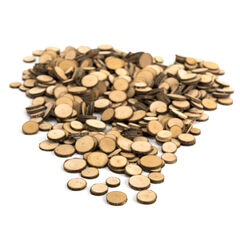
Create the Christmas countdown by choosing 24 wooden tree flakes and write 1-24 on them using a permanent maker, stick down with PVA glue.
Step 7
Once your snowman has dried, shake off the excess white glitter. Dot PVA glue on the background and add more glitter (I used a mix of white and silver) to make a snowy sky. To keep the calendar from curling I glued a lolly stick centrally on the back at the top of the card and using a heavy-duty hole punch put 2 holes in stick and made a ‘hanger’ using a pipe cleaner. NB. Or if you want to strengthen the card but not add the lolly stick, add a couple of layers of clear tape to the area you are punching through.
Hope you have enjoyed these creative Christmas crafts ideas.
Happy Christmas.
For more Christmas craft ideas see our Christmas Characters blog.
Blog created by Rachel Betteridge with art activity ideas written by Nicky Mountcastle.
Rachel is a Content Editor for TTS. She is a qualified Primary School Teacher with 26 valuable years of experience, teaching from Early Years to year 6.
Nicky is a Content Editor for TTS for Art & Commodities. With a love for art & craft from a young age Nicky trained in Art & Design and has enjoyed a variety of creative jobs throughout her career. Making, discovering and sharing ideas is one of her favourite things to do!


