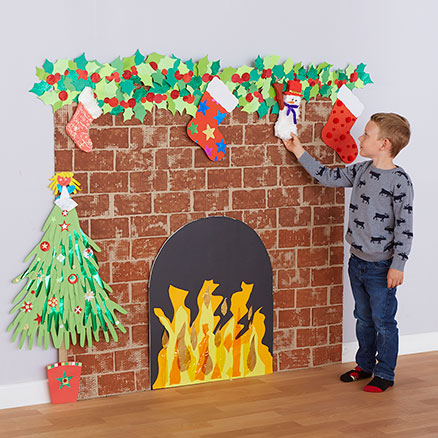
This simple step by step guide is designed to give you a base on which to build upon to create a Christmas fireplace and hearth for your setting, using a variety of art materials and techniques. The end result is almost as magical as Christmas Day itself!
Step 1
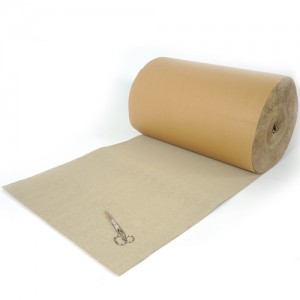
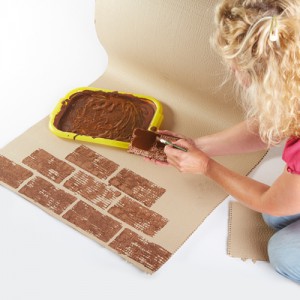
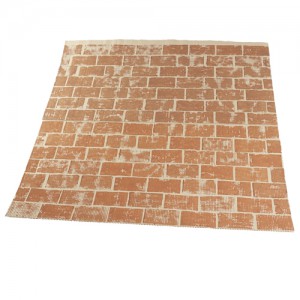
Choose a spot for your fireplace, maybe it is for a classroom or to brighten up a corridor or school hall. Using cardboard on a roll measure how big you want your fireplace to be and cut to size. To create a realistic look, cut brick shapes out of press print and then paint with brick coloured paint. Stamp or press onto cardboard and then allow to dry.
Step 2
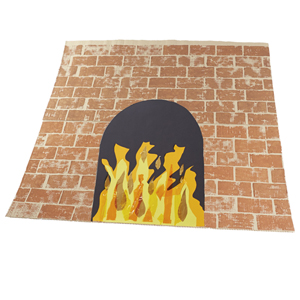
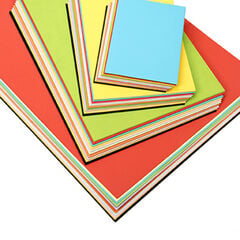
Get a collection of collage materials together to create a cosy and realistic fire, rainbow card, cellophane and metallic rolls are perfect for this. Stick the flames onto a black card background to make them look vibrant. Centralise your fire and stick onto the brick background to form your fire place.
Step 3
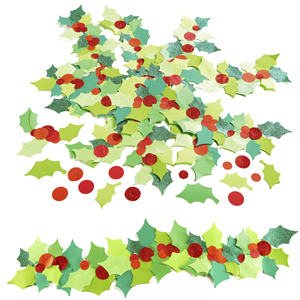
To make gorgeous garlands, stick holly and berries paper shapes onto strips of card then attach to your mantelpiece.
Step 4
For a finishing touch, ask children to draw around their hands onto rainbow card and cut out. Stick these together to create your own class Christmas tree to go next to your hearth.
Now, you can gather your class around the fireplace and read Christmas poems…
Twas the night before Christmas, when all thro’ the house
Not a creature was stirring, not even a mouse;
the stockings were hung by the chimney with care,
in hopes that St. Nicholas soon would be there.
Why not take a look at our other ‘Christmas How to…’ activities:
Christmas Fireplace and Hearth
Blog Updated: First published October 2015


