
Associated resources:
- Periscope lesson plan
- Periscope PowerPoint
- Periscope worksheet
- Periscope worksheet – suggested answers
You will need:
Tools and consumables:
- 30 cm ruler
- Marker pen
- Sticky tape
- Scissors
- Low melt glue gun
- Acrylic paint (optional)
- Other decorations (optional)
Step 1
Use the marker pen and scissors to mark and cut out two rectangles of greyboard 7cm x 10cm. Mark and cut out two rectangles of mirror 7cm x 6cm. Peel off the backing and stick the mirrors to the greyboard as shown (Note that both the greyboard and the mirror can be cut with scissors). Peel the plastic film off at the front of the mirror.

Step 2
Using the scissors, carefully cut the periscope box template along each of the solid lines. This includes cutting out the rectangular and circular holes. In order to make a hole to start the cut, you can place the template on a lump of poster task and push down into it with a pencil to make a hole. This will then allow you to insert the scissors to cut out the holes. If you want to paint your template then do it now, and leave it to dry. Use the ruler and one blade of the scissors to score along the dashed lines. You want to score just deeply enough so that the box will fold neatly along the dashed lines.

Step 3
Fold into a box shape with the score lines on the outside.

Step 4
Open the box out flat. Use the protractor and ruler to mark four lines 7.5 cm long at 45° as shown. Use the scissors to cut slots roughly 2 mm wide along these lines. These will be used to mount the mirrors.

Step 5
Turn the box over. Fold down the four narrow flaps and tape in position. This is to reinforce the ends of the slots when the mirrors are fitted. Don’t block the slots with tape.

Step 6
Fold the box up along the fold lines. First fold it into a long square tube, then fold in the ends in the order shown. The dashed lines should be on the outside. Tape up all the seams with transparent sticky tape. Be careful not to block the slots with take (Note: If you have painted the periscope, it is recommended to glue up the seams instead; the sticky tape doesn’t stick as well to paint).

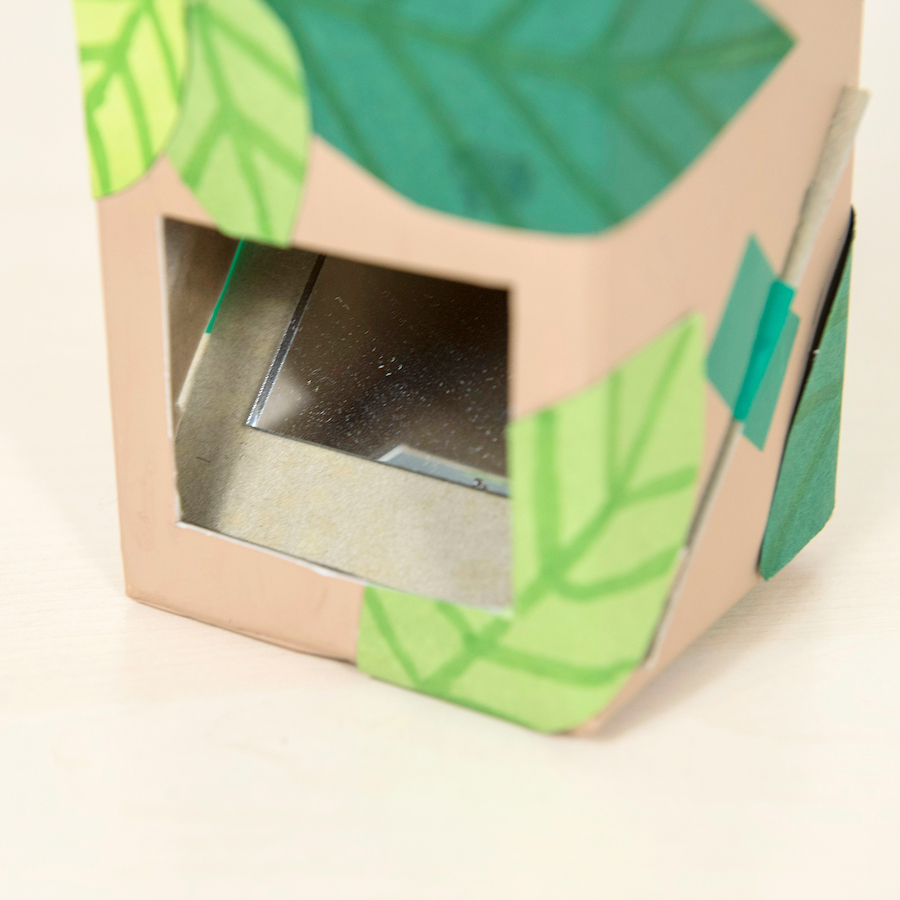
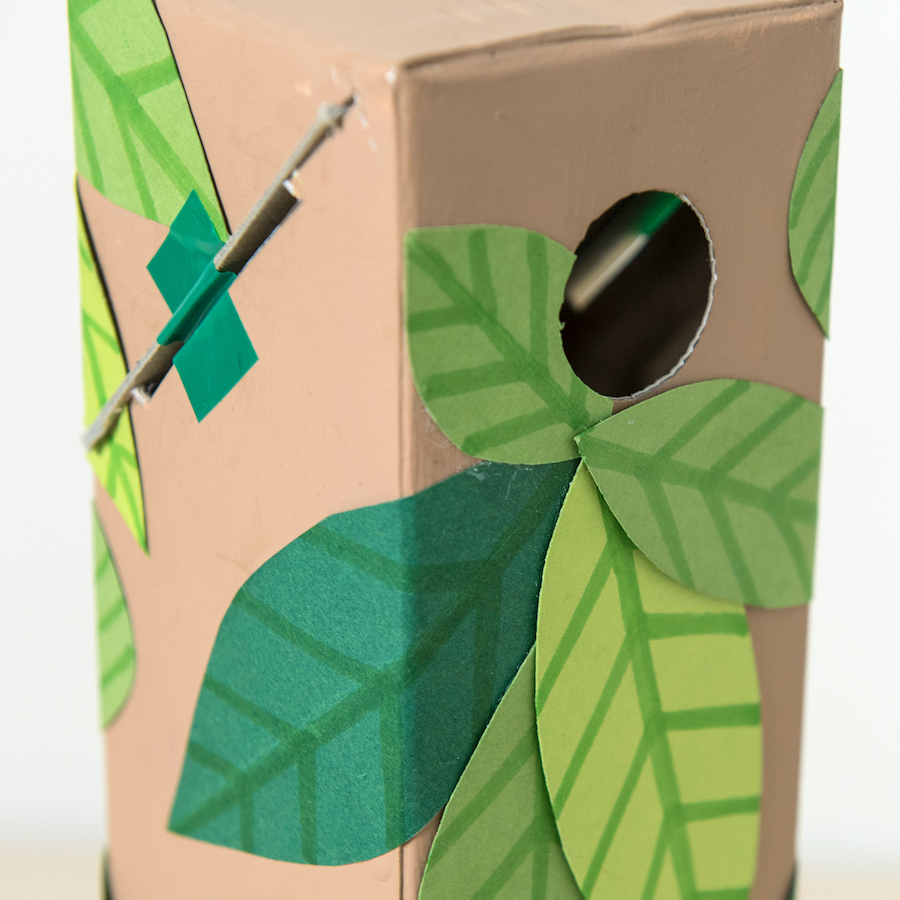
Step 7
Slide the two mirror units into the slots. If the slots are too narrow then cut them a little wider. It is important to make the slots wide enough to avoid disturbing the greyboard and mirror. One mirror should be facing the rectangular hole, and the other mirror facing the round hole. Tape the ends of the greyboard to the box to hold the mirror units in place.

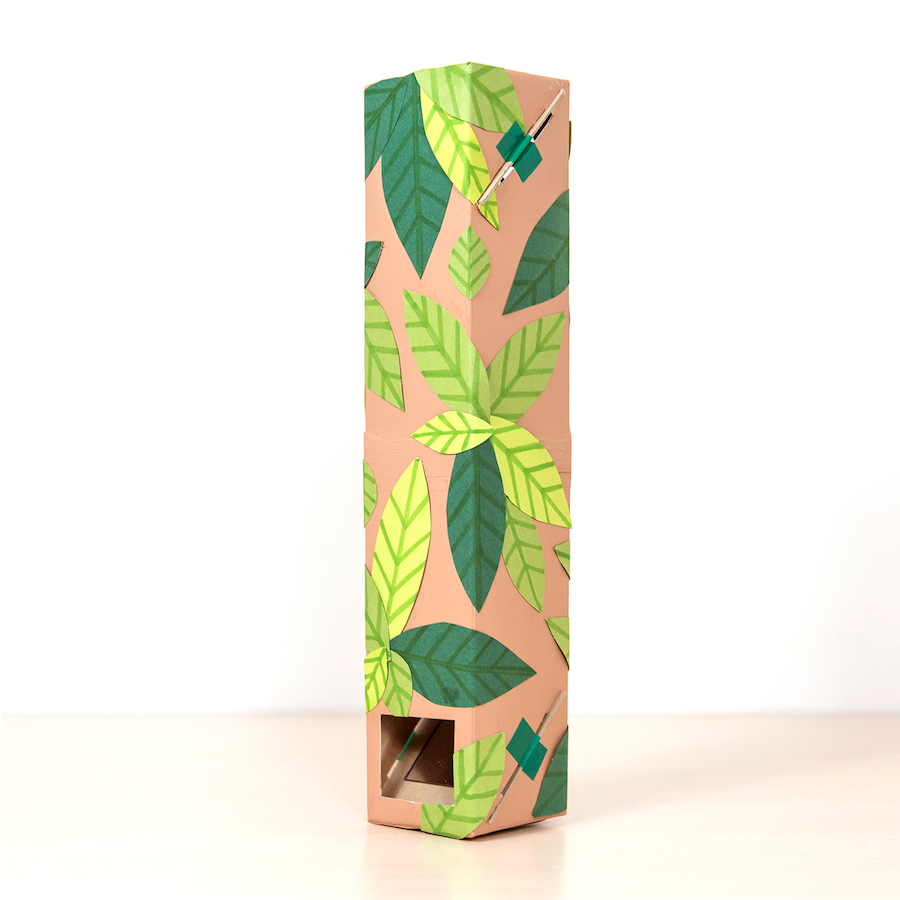
Step 8
Decorate your periscope. You could glue on the foam leaves to camouflage it. You could also use other decorations such as felt tip pen, paint, coloured card, left-over wrapping paper etc.

Step 9
Try out your periscope!

Click here for a downloadable copy of the instructions for making a periscope.
With thanks to Caroline Alliston, Technology for Fun, for writing this blog.
Caroline Alliston, is a professional engineer and technical author with a degree from Cambridge and twenty four years experience in industry. Whilst on a career break to spend more time with her two boys, she started a club at their school to enthuse children about science and engineering. Before long there were more children on the waiting list than in the actual club!
Caroline now spends her time running hugely popular workshops for teachers, pupils, home educated children, holiday clubs, Scout groups etc. Unable to be in three places at once, she has written the Technology for Fun series of books incorporating her favourite and most successful projects, to give even more children the opportunity to have fun making things that really work.

