

You will need:
- Burger boxes or cardboard box
- Balloon pump
- 20ml, 10ml & 5ml syringes
- Round balloons
- Tubing
- Straight connectors
Purchase the complete class kit.
Investigations:
The children can blow air on their hands and feel the flow of air. If balloons are blown up the force of the air coming out is stronger. Let the children feel the force of air that comes out of a squeezed washing up liquid bottle, a bicycle pump, foot pumps etc.
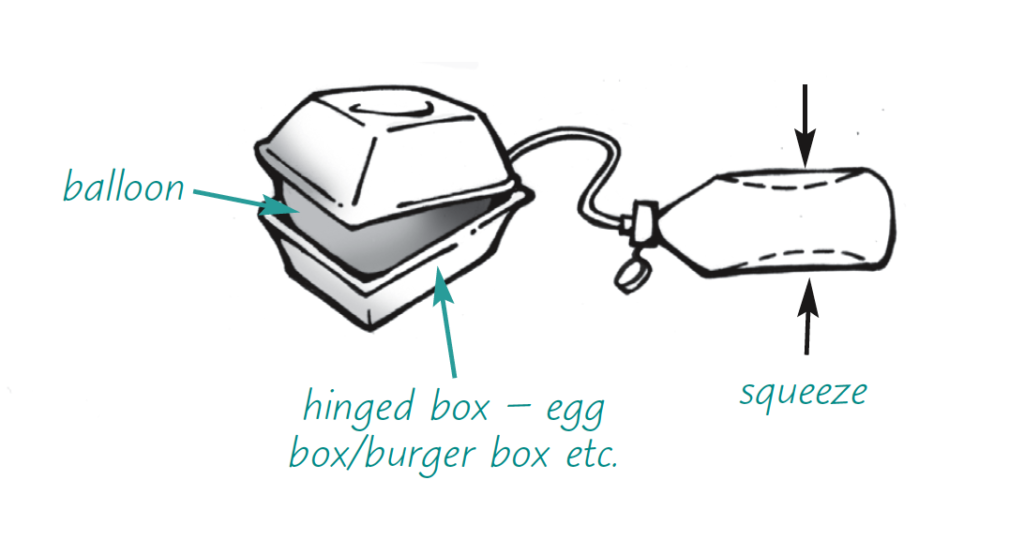
Tip: The balloon needs to be securely fixed to the tubing. Use a tight elastic band wound several times or use masking tape. A tight fit is also needed when attaching the tubing to the syringe, otherwise, air will escape. If the tubing is difficult to get onto the syringe, soak the end in hot water to allow the plastic to soften slightly – it will tighten as it cools down.
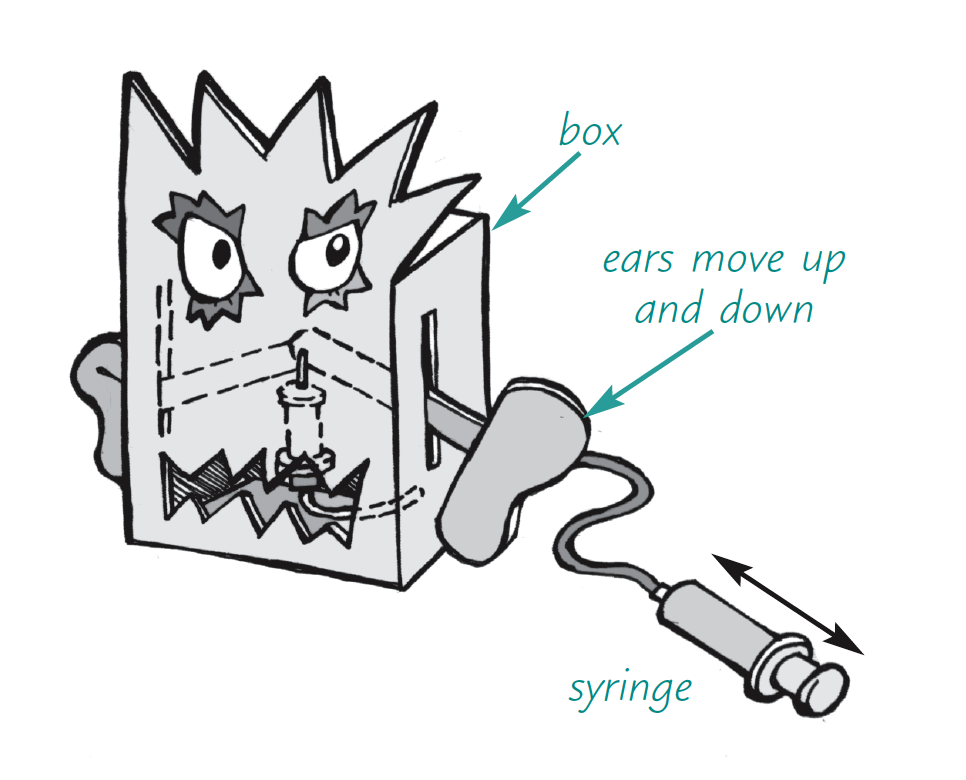
Syringes come in a variety of sizes. Experiment with two different sized syringes to observe the movement, taking care not to point them at anyone! The movement may be slow. This is because the air is being compressed inside the tube. When it can be compressed no more, it pushes out the opposite plunger. Join the two syringes so that one is fully compressed and the other is slightly compressed. This will ensure that the syringes do not push out of the tubing. Put a balloon or syringe inside an egg box and the children can make the hinged lid move up and down. The syringe can be tried in different positions to observe the movement.
WARNING – Never use syringes that have been used for injections. A large syringe can push out a smaller one with great force.
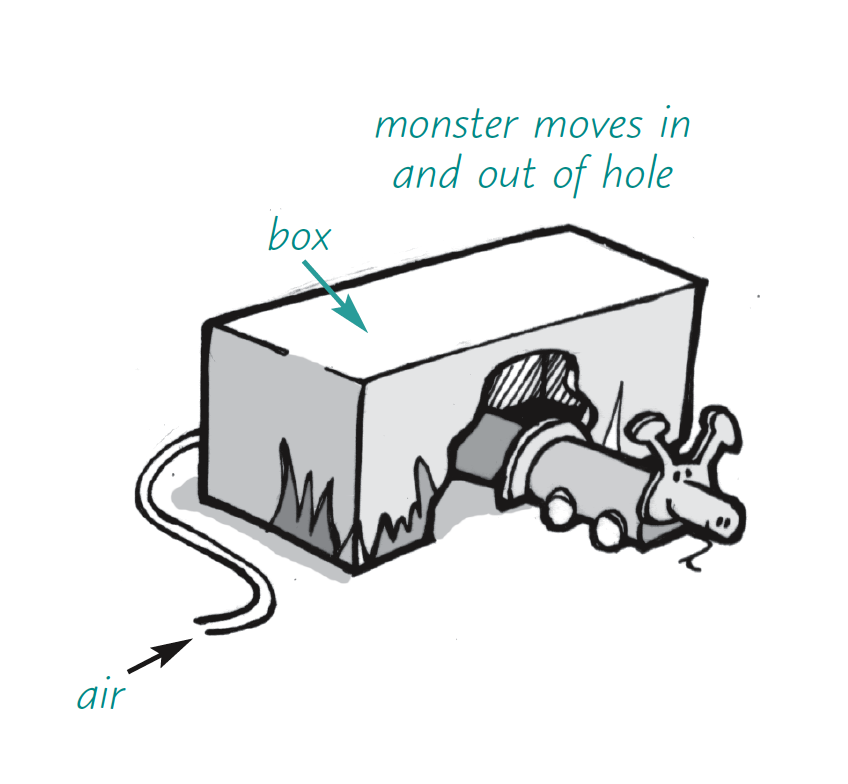
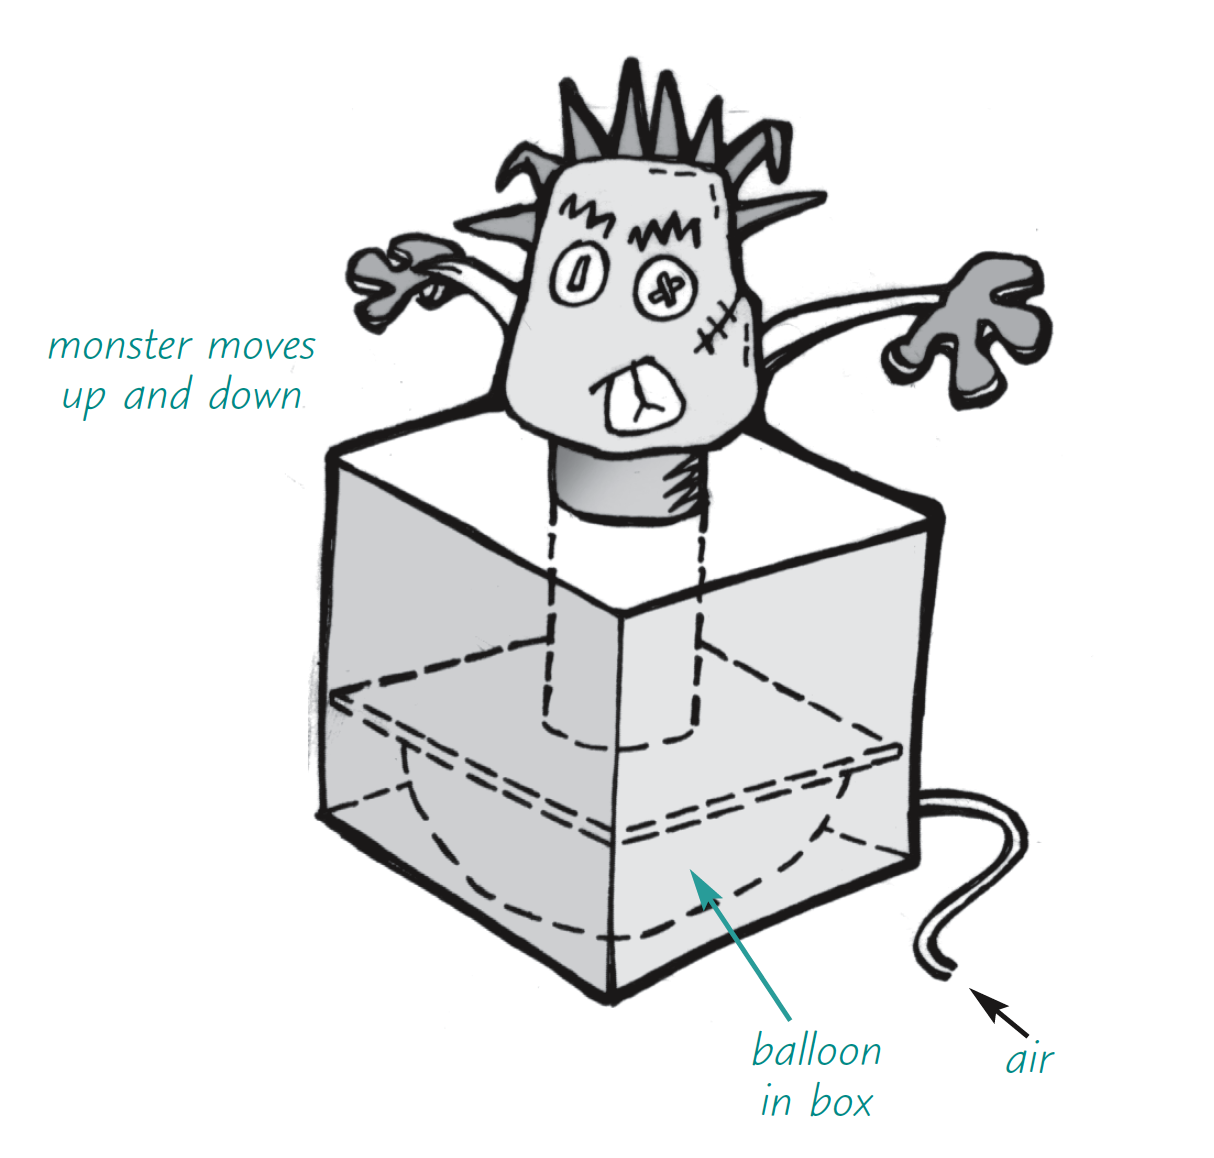
A box could be used to house the pneumatic mechanism. Lids can be attached with a hinge so that they lift up and down, or holes could be cut in the box for something to move up and down or in and out. Children will need to make a list of materials that they will use. In their sketches, they can show which part of the monster moves and how they will make it happen. A storyboard made at the end of the assignment allows the children to reflect on how they made their model and the skills they needed and acquired during the process.
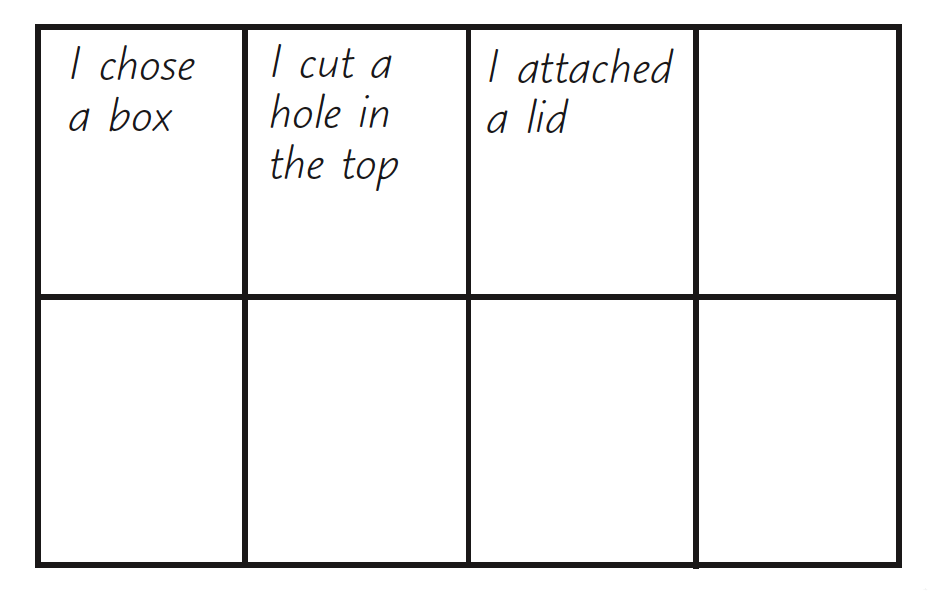
Example Storyboard:
Homework activities
Look for pictures of monsters in story books. Sketch toys which use mechanisms. Collect materials to use with the model, such as bottles, boxes, scraps of fabric etc.
Top Tips:
✔ Build up a collection of washing up liquid bottles, egg boxes and other boxes well before starting the project. Make sure that the bottles are empty and washed out before using them. Local take away shops may give away a few clean food containers. These can be covered in thin papier-maché and painted.
✔ When brainstorming ideas about monsters, encourage the children to think of ways in which their bodies move – arms, legs, tongues – by jumping up and down.
Glossary:
- Compressed – something that is squashed, such as air in a tube.
- Input – what goes into a system.
- Lever – a beam which turns about a point.
- Output – what comes out of a system.
- Pivot – a point about which a lever turns.
- Pneumatic – a system that works using gases (air).


