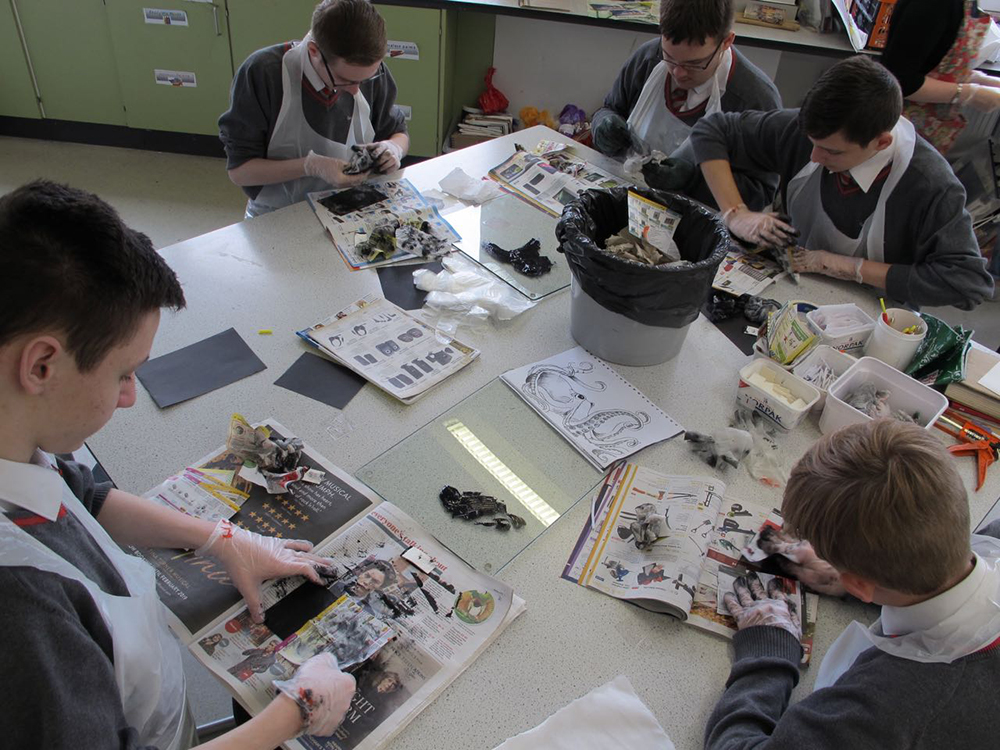
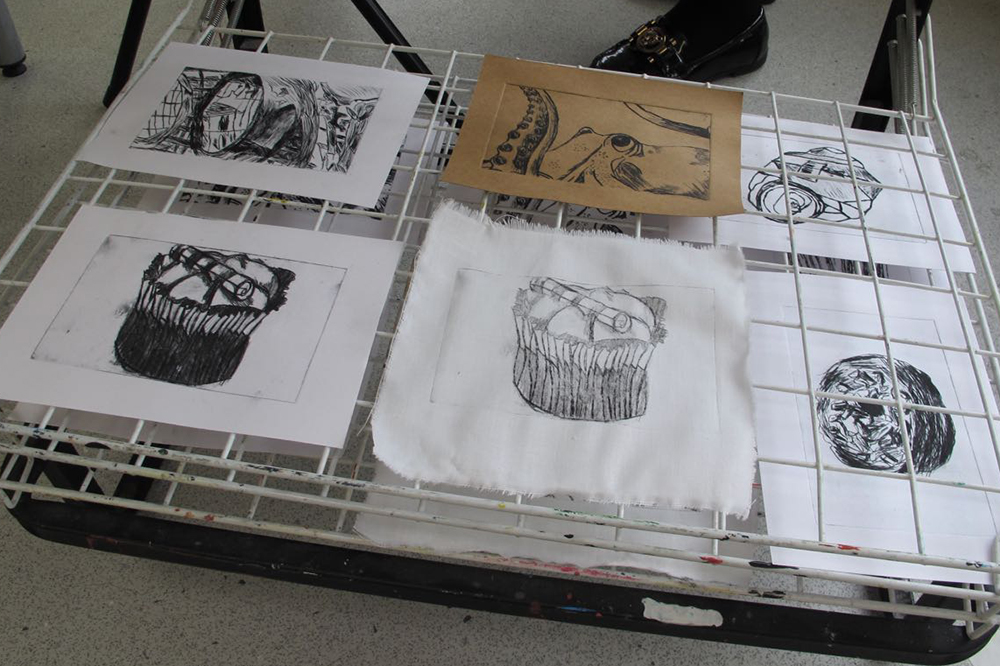
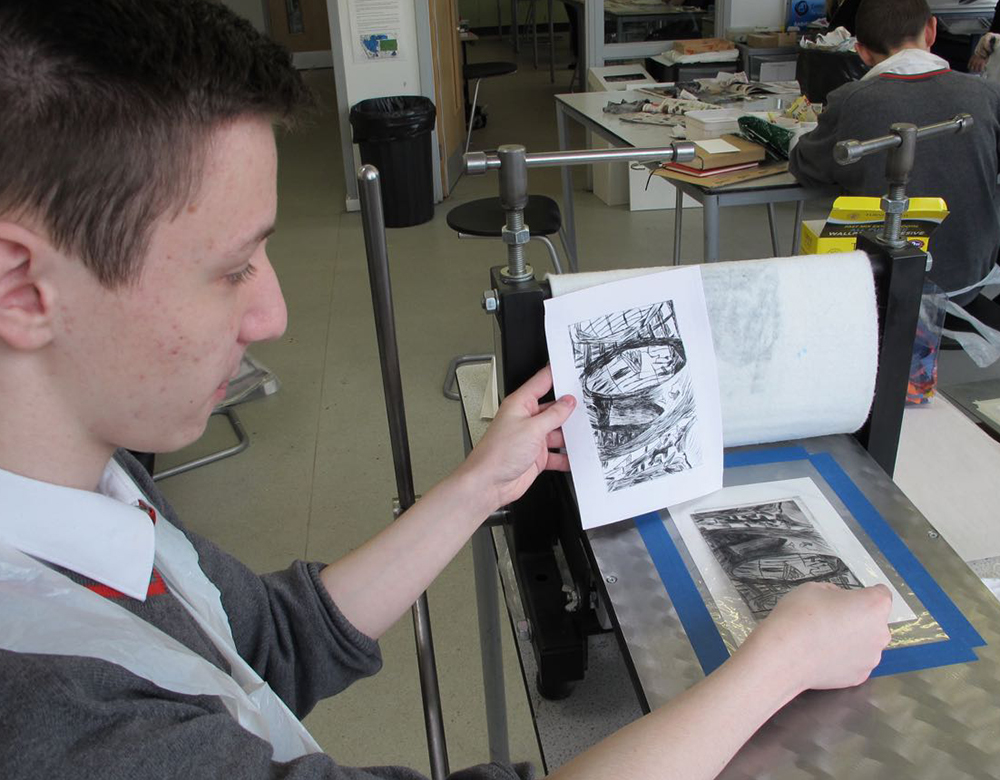
So, what are the issues? Perceived value of the subject, socio-economic differences, gendered teaching, parental/student expectations, school/government expectations? We can’t address all of them, but a vibrant, dynamic approach to Art teaching will lead to greater uptake of Art at GCSE, A-level and higher/further education. I strongly believe that the greater the range of creative experiences that students are exposed to (both boys and girls), the more likely they are to take it further. In my 12 years’ experience as an art teacher, printmaking was one topic that KS3 and 4 boys really loved and kept going back to.
While it is possible to create boy-friendly projects by subject (for example, units based on technology, tools, robots, cars, sport, graffiti), a lot of it is to do with approach and philosophy of teaching, rather than just the subject matter alone. A project on robots can be as boring as a project on flowers if it is taught in a way that doesn’t engage the students (Lipsett, 2009).
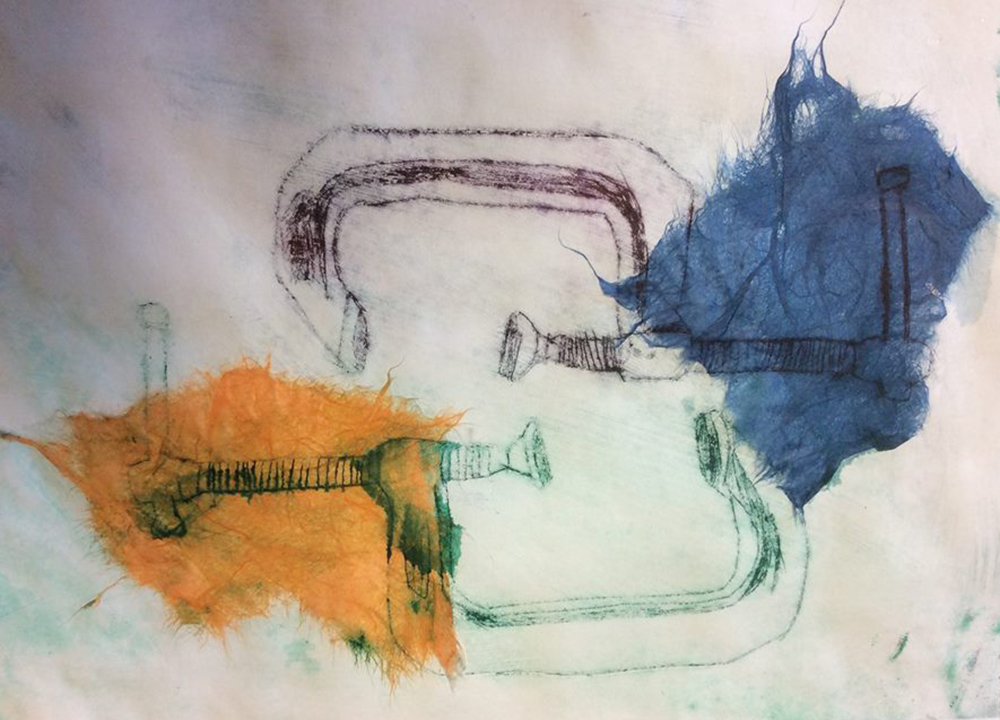
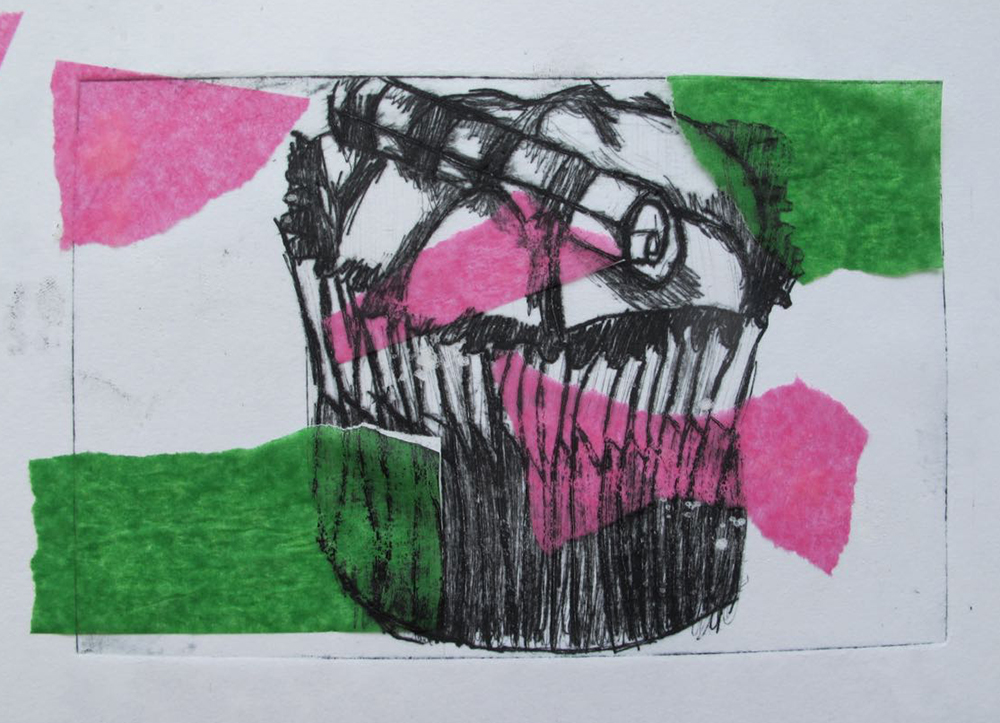
(Year 9 boy, drypoint and chine collé, image courtesy of Nichola Waltho, Bideford College)
Overall, I don’t want to reinforce gender stereotypes but there are certain things that are proven to work with boys (but that girls benefit from doing as well):
- Projects with a big impact – real-life commissions, over-size work, competitions both local, national and even international
- Raise the bar, increase the challenge/risk – don’t start with an expectation of how the final thing should look
- Contextualise Art – studio visits, careers talks. Keep it contemporary and current, be prepared to discuss controversial topics and the role of art in society. And bring it back to how they can create work that goes some way to contributing to that debate.
- Technology and process – highly technical processes and the acquisition of skills give them the confidence to be ambitious.
- Physical and messy – something to keep them moving around, not just sitting drawing for hours
- Problem-solving – graphic design/illustration and also targeted questions will keep them thinking
- Give them choice – you know your students, be prepared to trust them to be independent and find things out for themselves
- Collaborative – as long as they can evidence their own input, there is no reason why collaborative projects can’t be used for assessment at KS4 and 5
- Time-limited – keep the pace – a project in a week, a day or even one lesson!
- Three-dimensional work, video, installation, gaming, work with an interactive element… (Coles, 2015)
Another thing I have found is that sketchbook work doesn’t always suit boys. Some boys may be extremely methodical, good at annotation and conscientious about keeping sketchbooks, but we shouldn’t penalise boys who work in a different way.
Possible alternatives to working in sketchbooks:
- Ditch the sketchbook and throw everything (but make sure it is named and dated) including sketches, thoughts and brief notes on ongoing process in a big box. Sort it out at the end by making a book. I know this is a high-risk strategy but one to think about if you’ve tried everything else.
- Video/audio recordings, private blogs on VLEs
- Photography and digital presentations
- Big, strong 4-ring ring binders (but reinforce sheets) and keep the ring binders in school. Only allow the boys to take individual pieces of work home.
So where does Printmaking fit into all this?
Here are some quotes from educators who use printmaking in the classroom:
The boys are very adept at it and do well as it is a process and they like the immediacy of it. You can make many by changing certain parameters. I like it as it is layered – if you make a mistake it can be hidden by the next layer, you get 2 or 3. There is an element of risk. Also, block colours so solid. No colouring involved. (Gwen Amey)
My Year 10 boys currently are enjoying taking their own photographs, editing them and then being able to use them for etching for that ‘worry free’ factor of being able to put the photo under the acetate. The ability to create multiple prints quickly has given them a boost to be more experimental and creative with developments too. (Clare Mills)
It is process led…. which engages them, it is physical and kinaesthetic, it’s fun, it means you can move around, it’s intriguing as a process as outcomes are not always predictable. (Susan Coles)
Going back to sketchbooks – it is easy to generate work that clearly fits the GCSE/A level specifications because it is process-led. The variations and lessons learnt during the making of prints allow students to show how their work has developed and changed. They can present experiments (and failures) and explain how they got from one print to the next. And that is something that is not easy with a single drawing or painting unless there are lots of preliminary practice pieces (which that boys are not fond of – they just want to get stuck in).
Drypoint Printing
Drypoint is a technique that is very accessible as it doesn’t require a lot of preliminary design work or planning. It is more akin to drawing with fine liner, except that students will be using a sharp point to scratch into transparent plastic.
Artists:
Rembrandt van Rijn, Tony Bevan, James Abbott McNeill Whistler, Peter Howson, Käthe Kollwitz, Max Beckmann, Mary Cassatt, Rick Bartow have all used drypoint in their work.
Equipment you will need:
- Drypoint printing kit (plastic, sharp points, ink)
- Image or drawing (reversed)
- Apron and gloves
- Printing tray or glass for mixing and spreading ink
- Palette knife
- Newsprint for blotting and protecting press
- Small strips of mountboard/stiff card (for spreading ink)
- Scrim (or soft lint-free rags for removing ink)
- Printing press suitable for etching
- Squares of phone book and tissue paper (about 10 x 10 cm)
- Cotton buds (with cardboard sticks!)
- Printing paper cut to size, with a 4 cm border larger than image
- Template, the same size as your printing paper, draw around your piece of plastic so that it is centred
- Soap and water for cleaning, or vegetable oil if using oil-based ink
Instructions
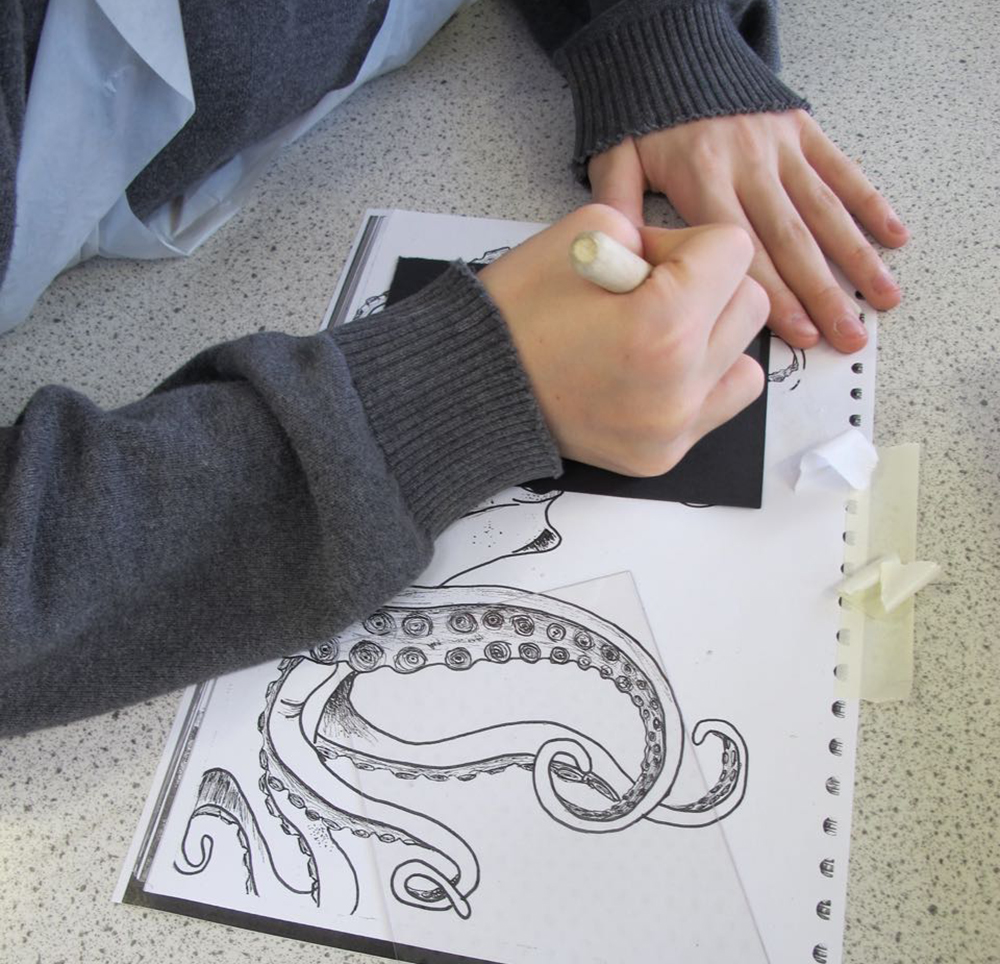
- Tape drawing down and then tape plastic over the top. Start scratching! The deeper the scratch, the darker the line will be, encourage the students to think about mark making, not just hatching and scratching. You can cut the plastic to shape with scissors/sharp blade if you don’t want a rectangular plate mark. A small piece of black card is useful for seeing the work progress – place under the plastic to see the marks more clearly.
- Check the pressure of the press. Run your un-inked plate through with a piece of newsprint. You should see a plate mark and a very faint impression of your scratched lines but not much more. Soak printing paper (about 5 mins, no air bubbles).
- Put gloves on. Mix a small quantity of ink (about ½ tsp) on a tray with a palette knife. With a strip of card, spread a small amount of ink onto your plastic, spreading the ink into the scratches. Remove any excess ink with a strip of card at right angles to the plastic. Do not use the palette knife or this will scratch the plastic. At this point, the plastic should be completely covered with ink.
- Start to remove excess ink and further work it into the scratches, by wiping with scrim, using small circular motions.
- With phone book/tissue paper continue to remove ink. Twist off very gently using the soft pads of your fingertips. It should start to feel ‘powdery’. You should take care not to drag ink out of grooves or remove too much ink.
- You should now be able to see the scratches. Use a cotton bud to clean the areas you want to remain completely white. Don’t forget to clean the back and edges of the plastic with a clean piece of scrim.
- REMOVE GLOVES (to keep the printing press and paper clean).
- Blot the printing paper with a few sheets of clean newsprint. Make sure there is no water left on the surface of the paper, but it should still feel damp.
- On the bed of the press, lay down your template first, then put your plastic inky side up, then printing paper. Cover the paper with a sheet of newsprint to protect the blanket. Lastly, lay the blanket down carefully over the top of everything.
- Turn the handle SLOWLY to send your print through the press just once.
- Lift up the blanket and newsprint, carefully peel the paper back from the plastic, pinning the plastic down with one hand.
- If you want to print again, you will need to re-ink the plastic. You will be able to get about 10-15 prints from the plastic before the scratches get too worn and don’t hold the ink.
- Clean the plastic and tools and tray with soap and water. Remove template from bed of press and keep for next time.
- Your prints will take 2-3 days to dry. Interleave between sheets of clean newsprint, weighted down with something heavy like some big books. You may need to swap the newsprint every day to avoid the prints getting mouldy.
References
Coles, S. (2015). Where have all the boys gone? Arts and education, [online] (7, Summer/Autumn 2015)
Downing, D. and Watson, R. (2018). School Art: What’s in it?. [online] a-n.co.uk. Available here. [Accessed 3 Jul. 2018].
Gender and education (2007). Nottingham: DfES Publications. Hazell, W. (2017). Gender stereotypes are alive and kicking in the classroom, poll shows | Tes News. [online] Tes.com. Available here. [Accessed 2 Jul. 2018].
Lipsett, A. (2009). Ofsted finds boys not stimulated by art lessons. [online] The Guardian. Available here. [Accessed 1 Jul. 2018].
With thanks to Vega Brennan for writing this post. Vega runs Linden Print Studio, a friendly, creative space for people interested in learning about printmaking, from beginners to experienced artists. Contact Vega by email here or visit her website for more information and courses available.
Also, a big thanks to Miss Carter and students at the fabulous Art Department at Richard Rose Central Academy, Carlisle for allowing me to run a printmaking workshop there. Thanks also to the ‘Lets Hear it for the Boys!’ NSEAD Facebook Group for their comments on printmaking and Nicola Waltho of Bideford College for additional images.


