 Cross-curricular STEM class kit – making a fan boat
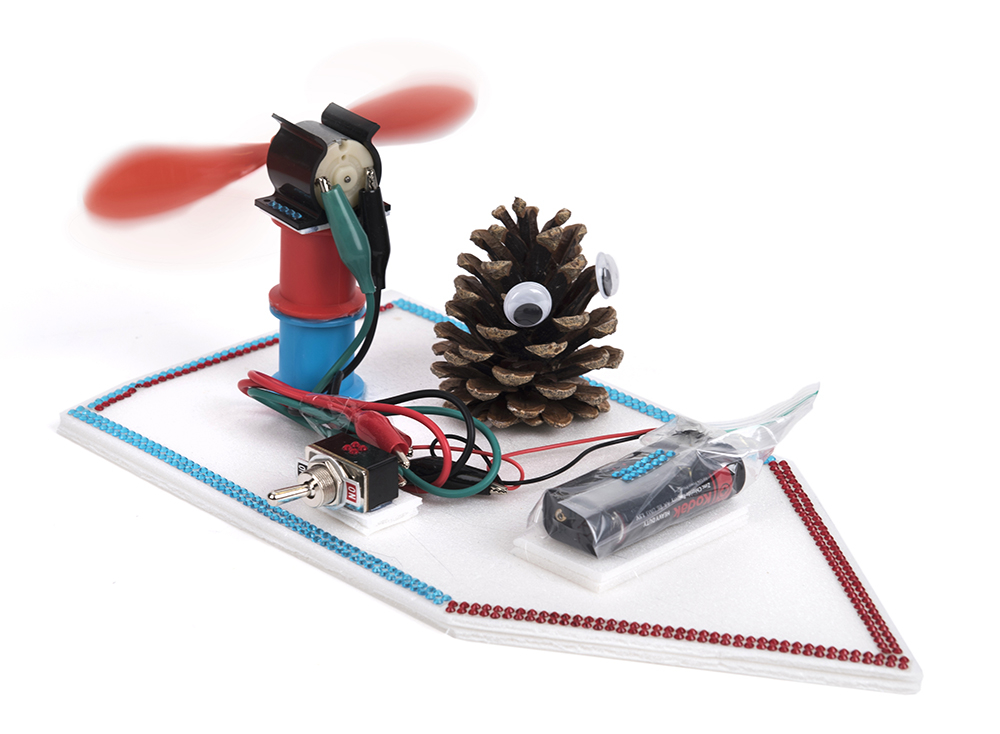
This cross-curricular STEM class project is ideal for pupils to design, build, test and improve their very own fan-driven model boat, allowing students to apply their knowledge of electricity, materials and forces. The fan boat uses a simple series circuit mounted on a polystyrene foam base. The fan boat project is great fun, incorporating a wealth of science and DT learning opportunities. Here is a quote from a head teacher:
Absolutely brilliant! The children’s squeals of delight when they launched their boats was a moment not to be missed. The children said they had ‘the best day ever’. They were talking about streamlining and modifying their models and were obviously gripped by the experience.
Head Teacher
You will need:
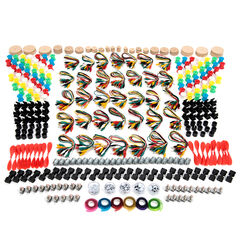
Parts: (all included in the class kit)
- 1 sheet of polystyrene foam
- 1 battery holder
- 1 snap battery connector
- 2 AA cells (zinc chloride, not alkaline or re-chargeable)
- 1 small plastic bag (not included in class kit)
- 1 toggle switch
- 1 motor
- 1 motor mount
- 1 propeller
- 3 crocodile leads
- 2 cotton reels
- 1 pine cone
- 2 wiggly eyes
- Rhinestone craft tape
Tools and consumables
- Ruler, pencil and felt tip pen
- Large scissors
- Sheet of A4 card
- Sellotape
- Low melt glue gun
Step 1
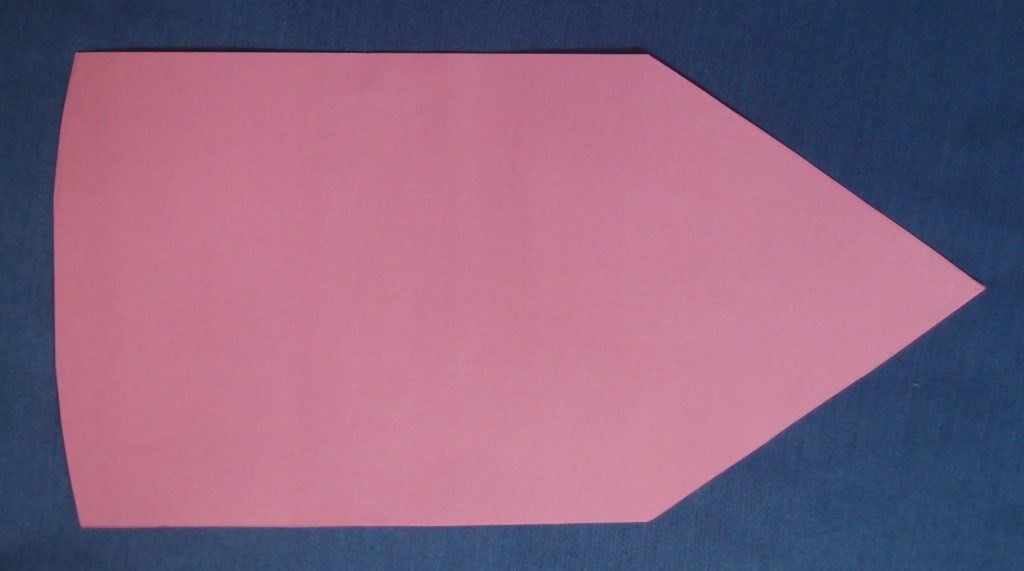
Use the ruler and pencil to draw a boat shape on the A4 card. Make it 15 cm wide and use the full length of the card, as this will make a stable base for your boat. Cut out your template.
Step 2
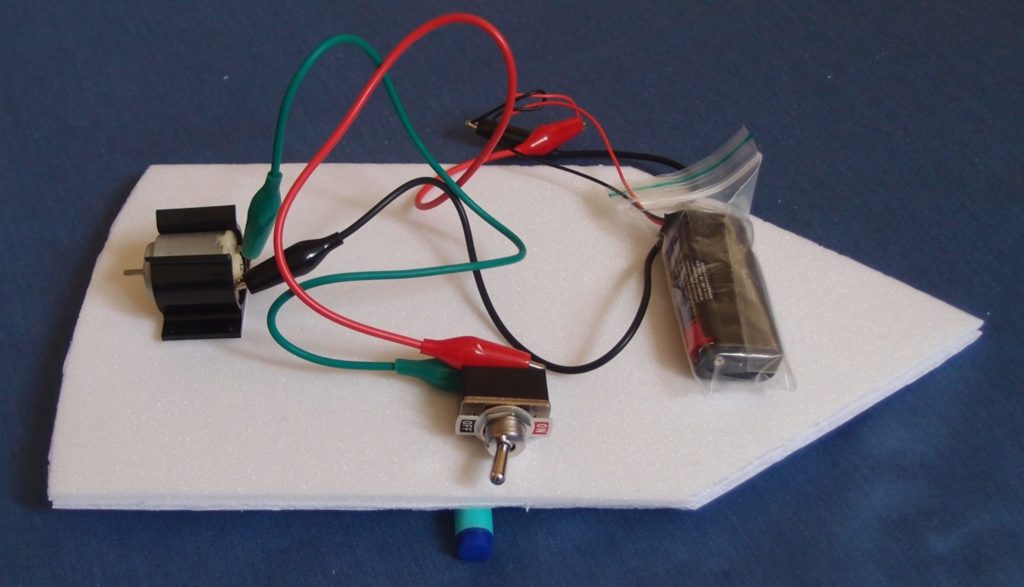
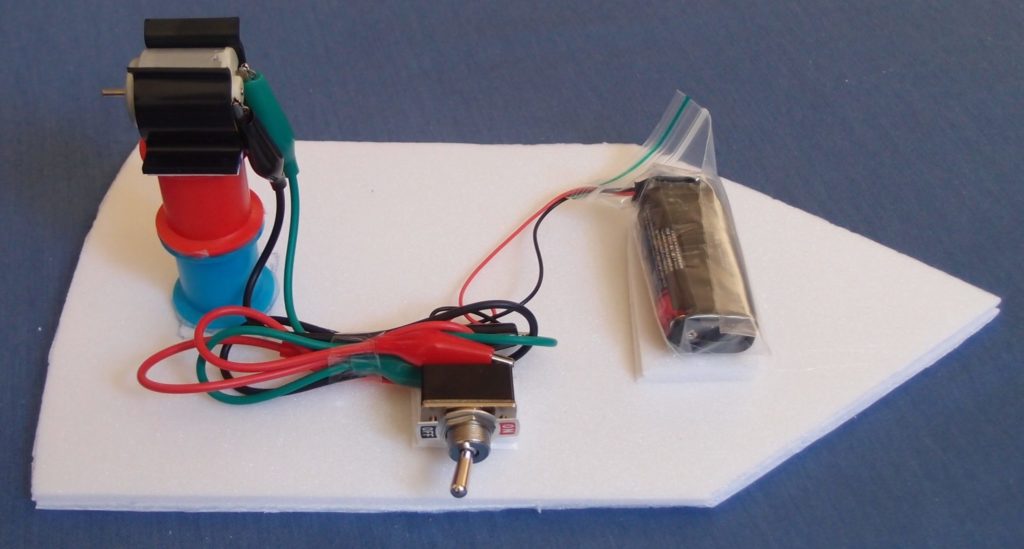
Make the circuit shown below and check that the motor shaft goes round when you switch on. Be careful not to short circuit your battery (i.e. connect the wires from your battery directly together) – they must go via the motor. Tie the wires from your battery snap in a reef knot as shown on the right – then you are less likely to accidentally short circuit your battery.
Step 3
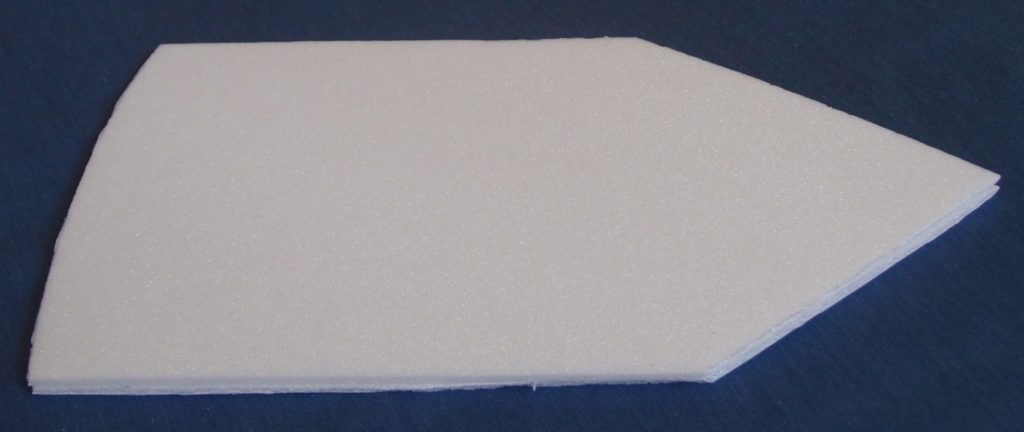
Cut one of the polystyrene foam sheets in half, then draw round the template on each half and cut out. Glue the two halves together. Keep the template in case any of your pupils get into difficulties with their own designs and need to borrow it.
Step 4
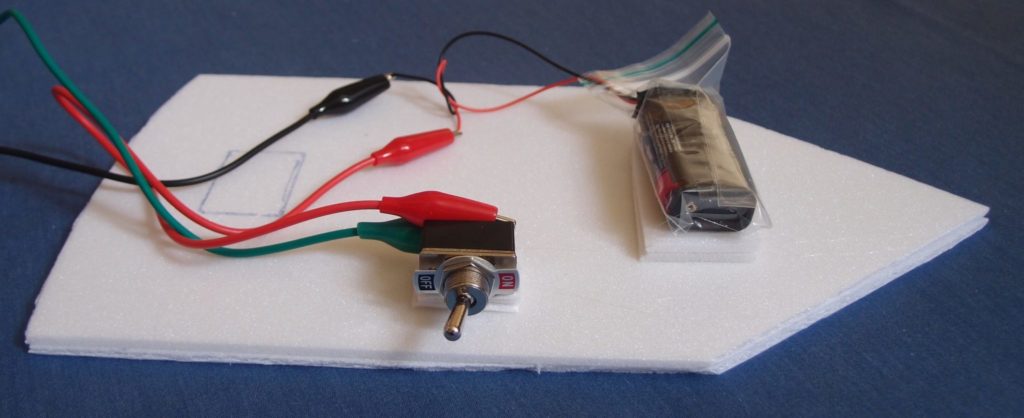
Clip the motor into the motor mount. Place the battery inside the plastic bag with the wires sticking out, and Sellotape the bag tightly round it. This is to help prevent the battery getting wet. Place the felt tip pen or pencil under the middle of the boat as a pivot, and position the electrical parts so that the boat is roughly balanced. The motor can be at the front or the back. Mark the positions of the electrical parts on the boat base.
Step 5
Use the foam offcuts to make a double thickness platform for your battery, and another for your switch, to help prevent them getting wet. Glue these onto the boat base, then glue on the battery and the switch.
Step 6
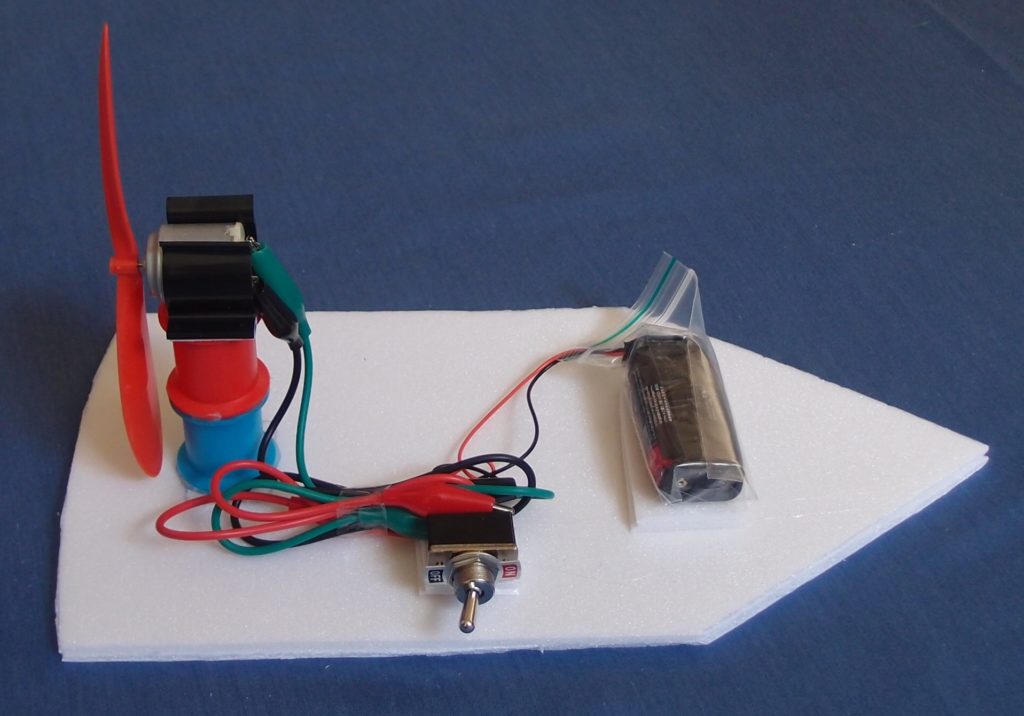
Glue one of the cotton reels to the base where your motor will be fitted. Glue the second cotton reel on top. If the motor is at the front then fit it with the shaft facing forwards, if at the back then facing backwards, to avoid the propeller catching on the wires. Remove the plastic film from the self-adhesive pad on the motor mount and stick it onto the top of the cotton reel stack. Neatly fold and tape the wires in position.
Step 7
Try to work out which way round the propeller should be fitted on the motor shaft. It should push air towards the back of the boat. The propeller blades are curved to ‘scoop up’ the air, so the inside of the curve should be facing the back of the boat. Hold the motor and push the propeller onto the motor shaft. Turn the propeller all the way round with your finger, to check it doesn’t touch the cotton reels. If it does then slide the motor in its mount until there is a gap between the propeller and the cotton reels.
Step 8
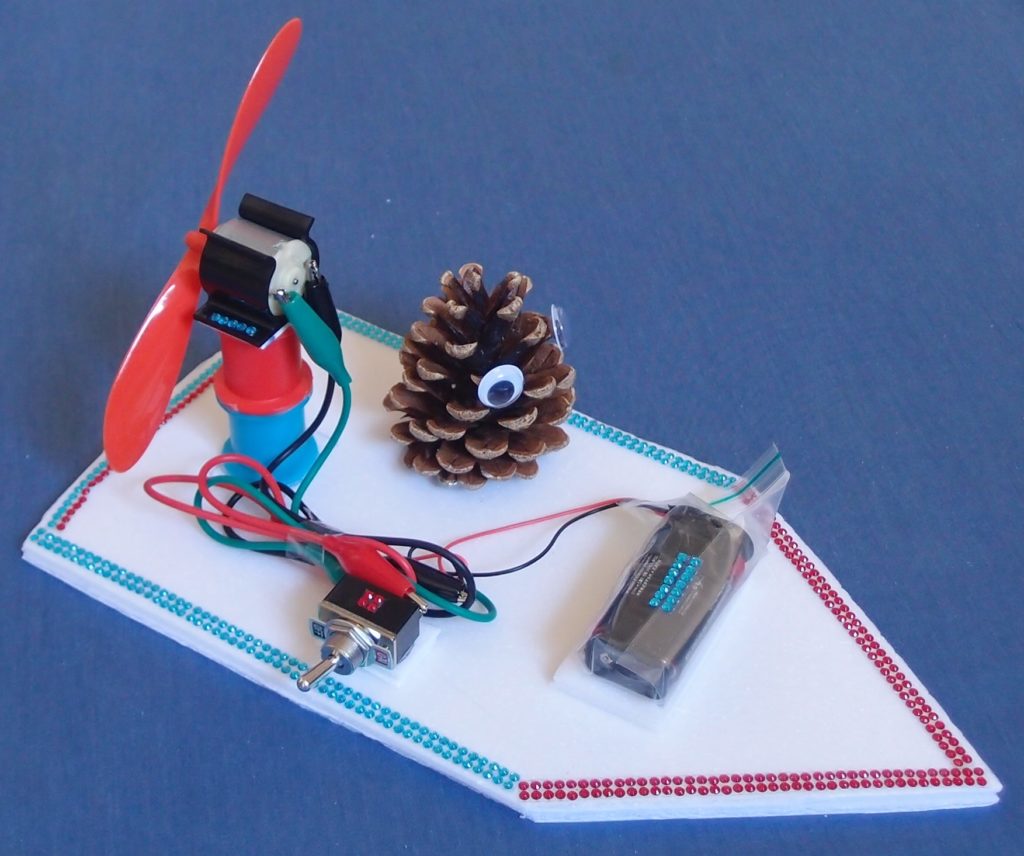
Switch on and check the propeller blows air towards the back of the boat. If it blows air towards the front then swap over the two crocodile clips attached to the motor contacts, so that the motor turns the other way. Make a pilot for the boat using the pine cone and wiggly eyes, then decorate with rhinestone craft tape.
Step 9
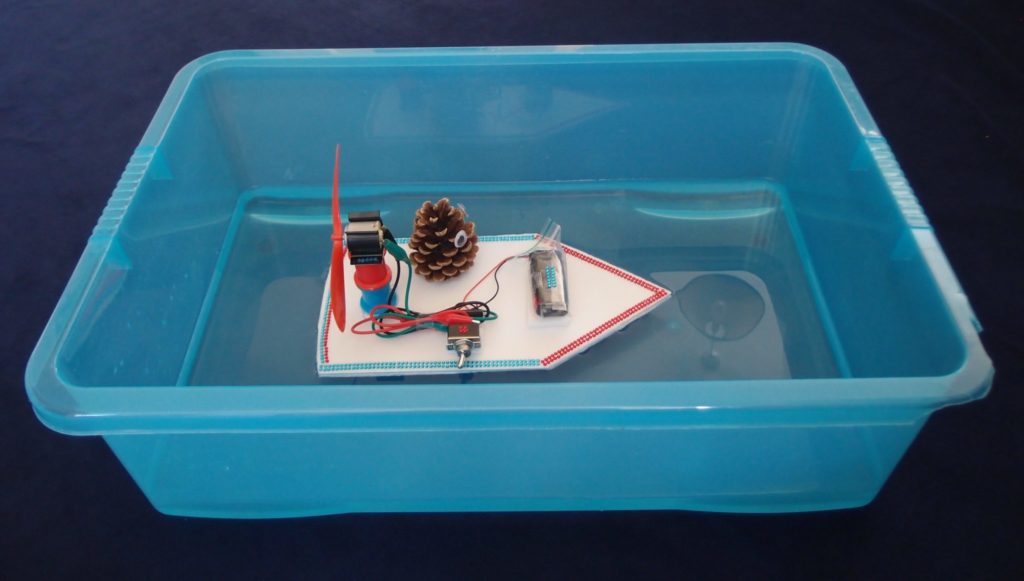
Test out your boat in a paddling pool, water tray, sink, bath, shallow plastic box or similar.
STEM Links
- Science: electrical circuits, materials, forces acting on a fan boat
- Technology: mechanical systems, electrical systems, designing and making
- Engineering: design purposeful, functional, appealing products based on design criteria, build, test and improve products
- Mathematics: drawing 2-D shapes, measurement
Curriculum Learning Objectives – it is recommended to cover these topics prior to the exercise so that the pupils are reinforcing their knowledge and understanding, rather than meeting the topics for the first time.
With thanks to Caroline Alliston, a mechanical engineer and award winning STEM educator, for writing this post. Caroline is best known for her successful “Technology For Fun” series of books. After 25 years working in industry, she decided to use her knowledge and skills to develop fun, exciting design and build projects to inspire a new generation of scientists and engineers. Caroline also runs hugely popular workshops for children, teachers and STEM ambassadors.


 Cross-curricular STEM class kit – making a fan boat


