

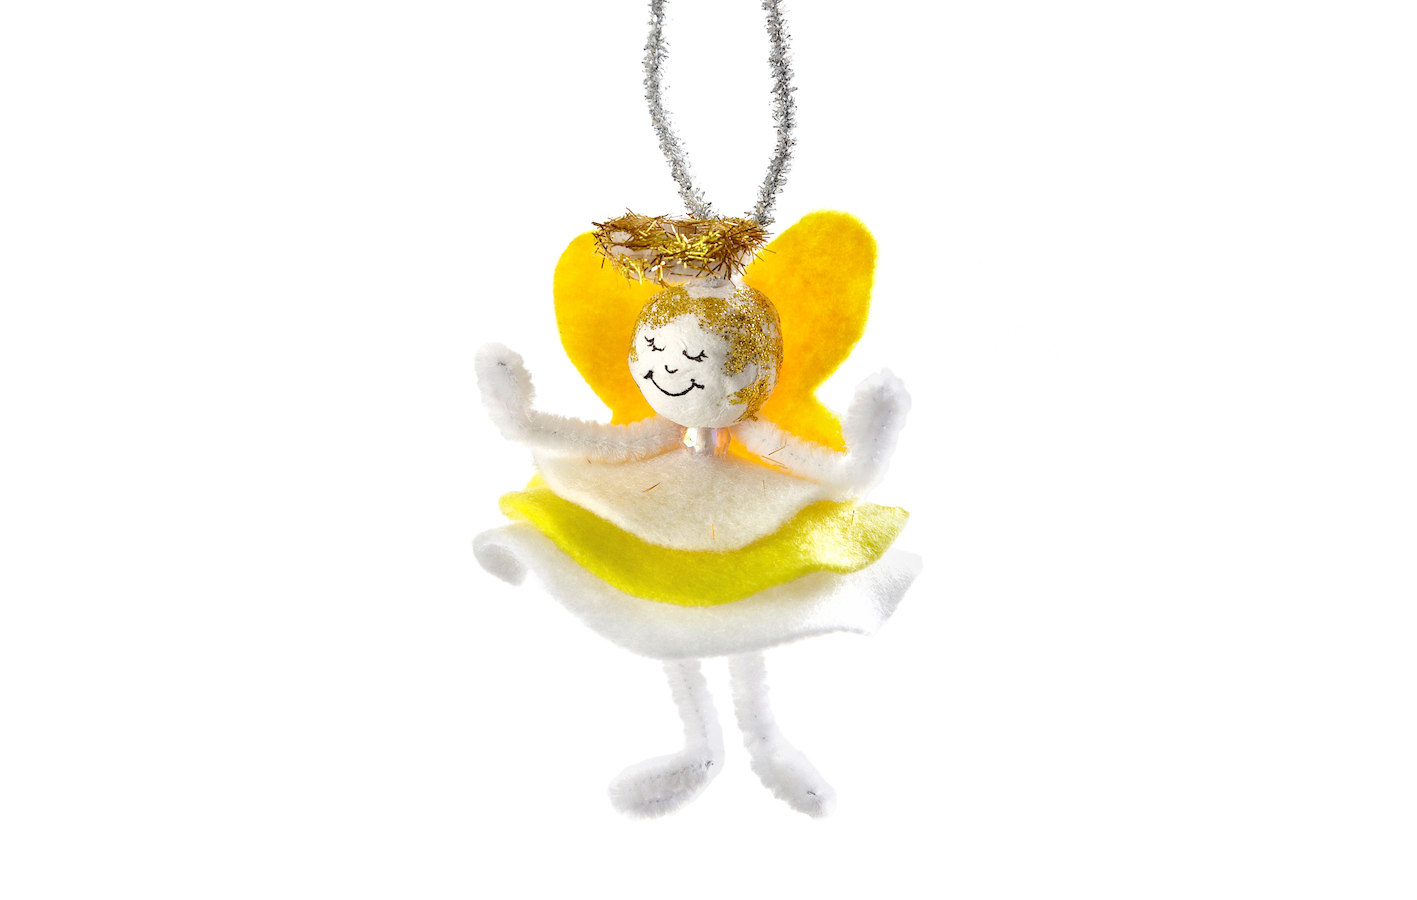
This felt fairy is super simple to make with very little craft materials needed. You could make any character you wanted including an Elf, and blue Ice Queen or even Mrs Claus.
You will need:
- Felt
- Pipe Cleaners – metallic and regular
- Thin tip Pens
- Bio Glitter
- PVA Glue
Step by Step:
Step 1
Make the fairy’s body by bending, shaping and twisting together 3 pieces of pipe cleaner as shown. One for the body, one for the legs and one for the arms. Before twisting the arms onto the body. You need to add 3 felt circles for the dress. The largest part of the skirt needs to be 7cm, the second 5cm and the third 3cm. Each felt circle needs to have a tiny hole or ‘nic’ cut into the centre to allow it to be threaded onto the pipe cleaner body.
Step 2
Once the skirt is on the body, bend and twist the arms around the top to secure them. Then, bend the ends over and back on themselves for the hands and also for the feet.
Step 3
Add some PVA glue to the top of the head and add bio glitter or wool for the hair. Then draw on a face and once dry, add a blob of glue to the top of the neck on the tip of the pipe cleaner and then push the head onto the neck of the body. The blob of glue will help to secure the head in place.
Step 4
Make a small circle using gold metallic pipe cleaner for the Fairy Angel’s Halo, twisting the ends together to secure the circle. Tie a piece of ribbon of around 15cm long to the circle to create a hanging loop. Then, glue the Halo to the top of the head – leaving it to dry fully before lifting it up by the hanger.
Step 5
Finally, cut out a butterfly shape for the wings and stick to the back of the Fairy.
For a selection of other easy festive craft ideas, along with easy to use decoration kits, visit us online.


