

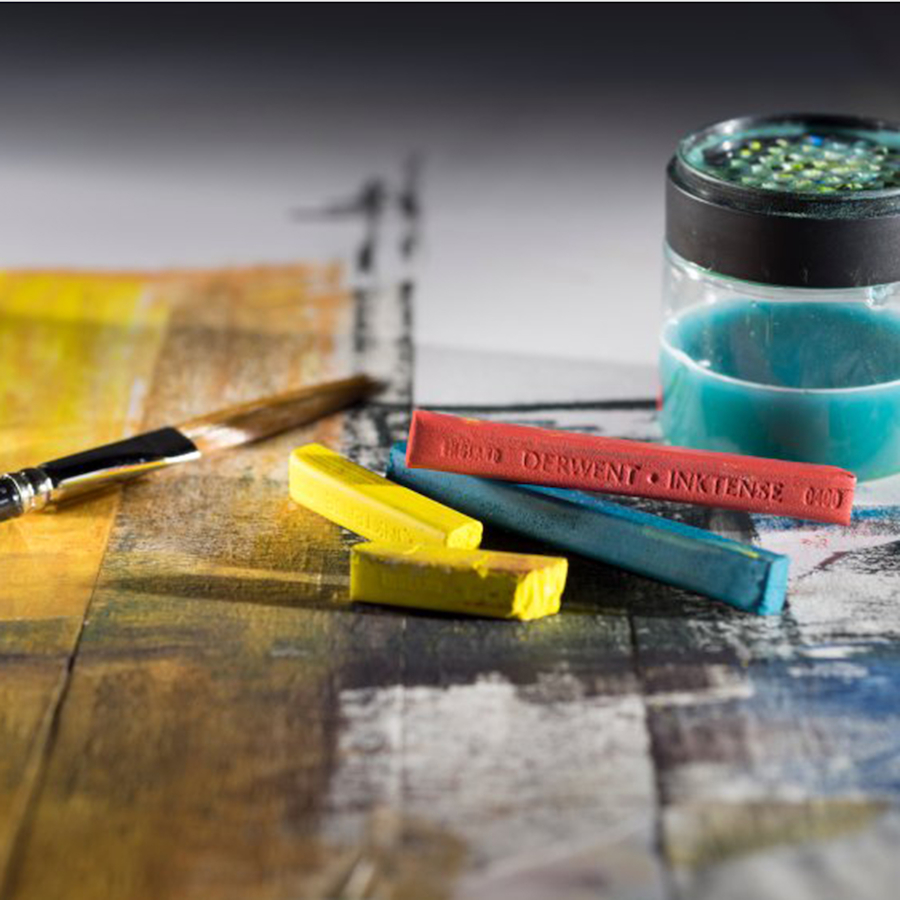
Preparation
- Inktense blocks can be used on any fabric but it is advisable to consider how coarse or smooth the surface of the fabric is. Smoother fabrics are much better for fine detail and precise application of colour.
- It can be helpful to tape the fabric down so that it is taut.
- Always wash new fabric to get rid of the dressing applied by the manufacturer.
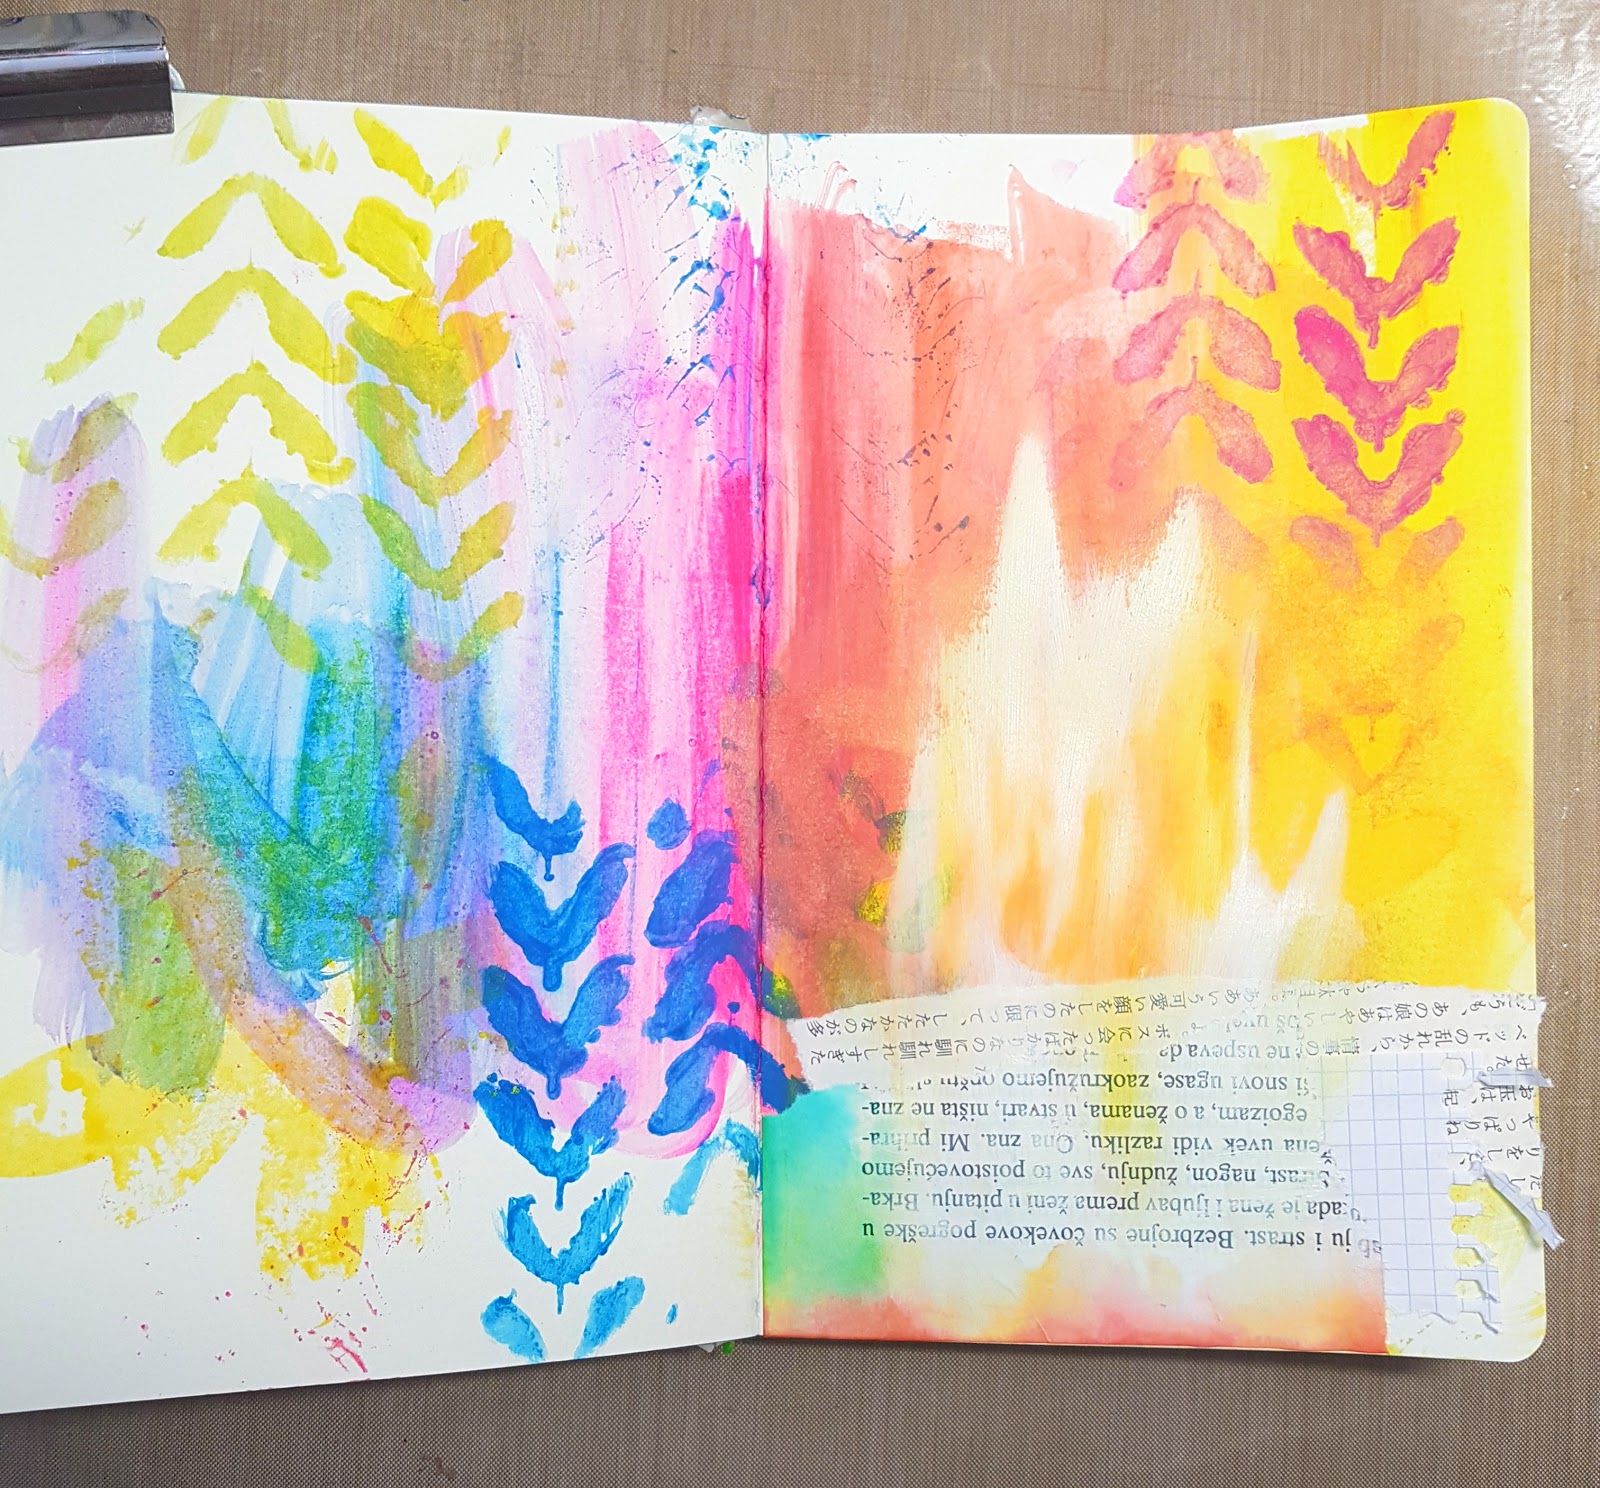
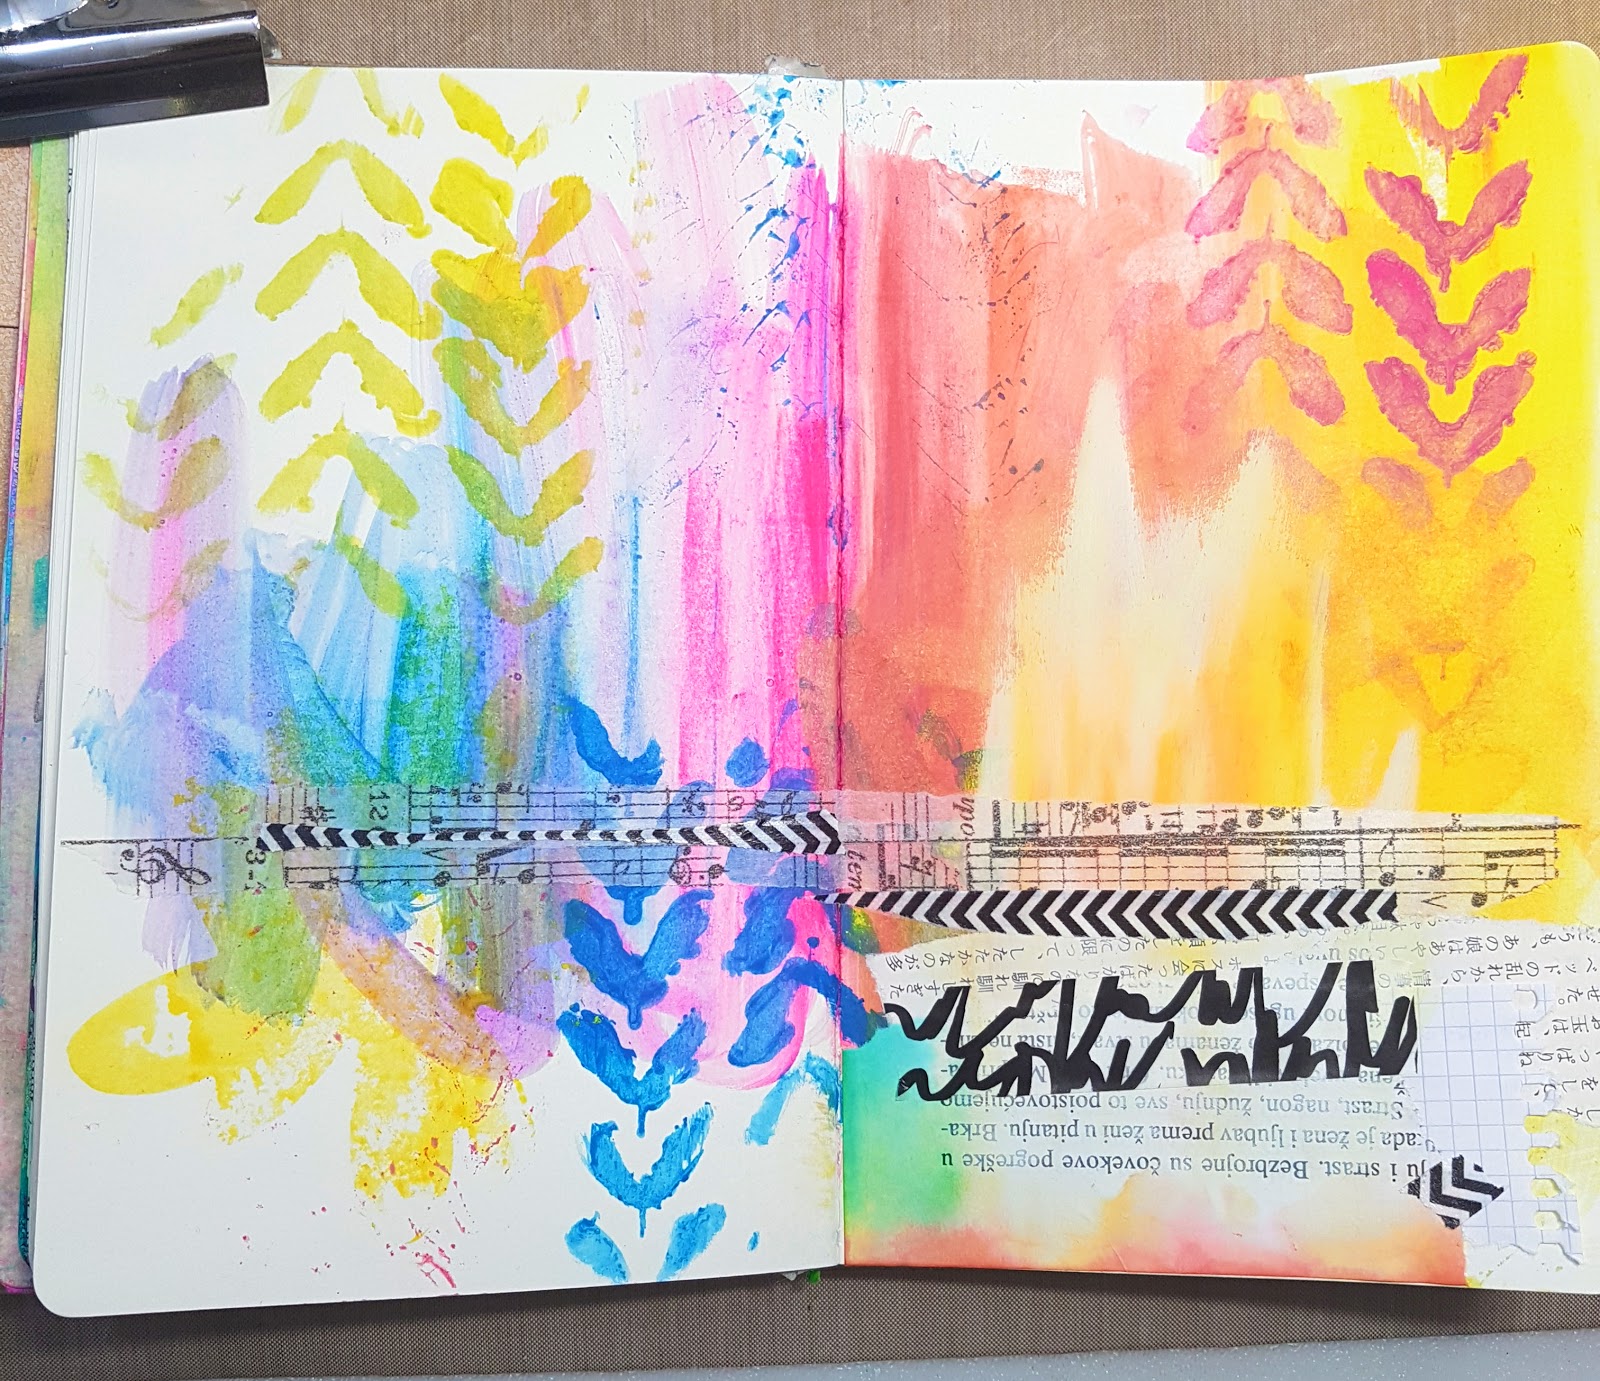
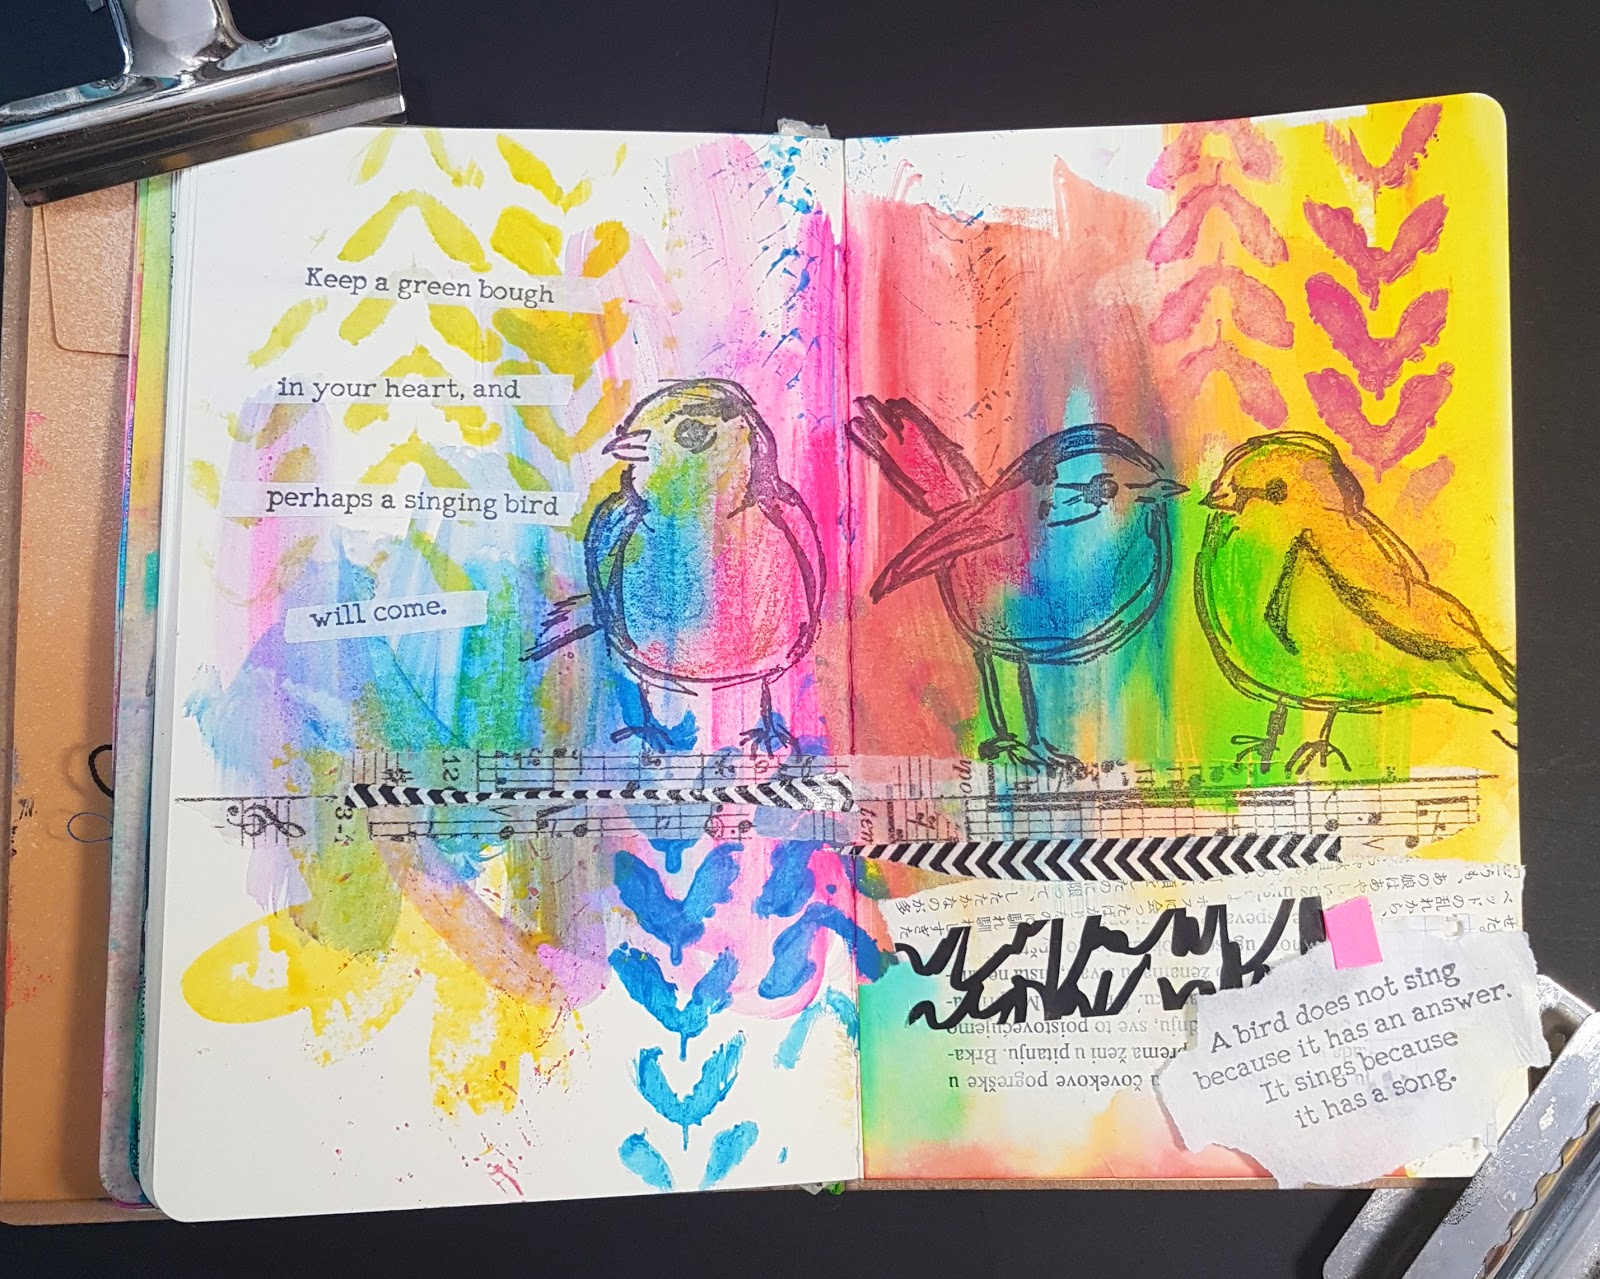
Some step by step inspirational sketchbook work below using Inktense blocks – thanks to Branka and her inspirational blog post:
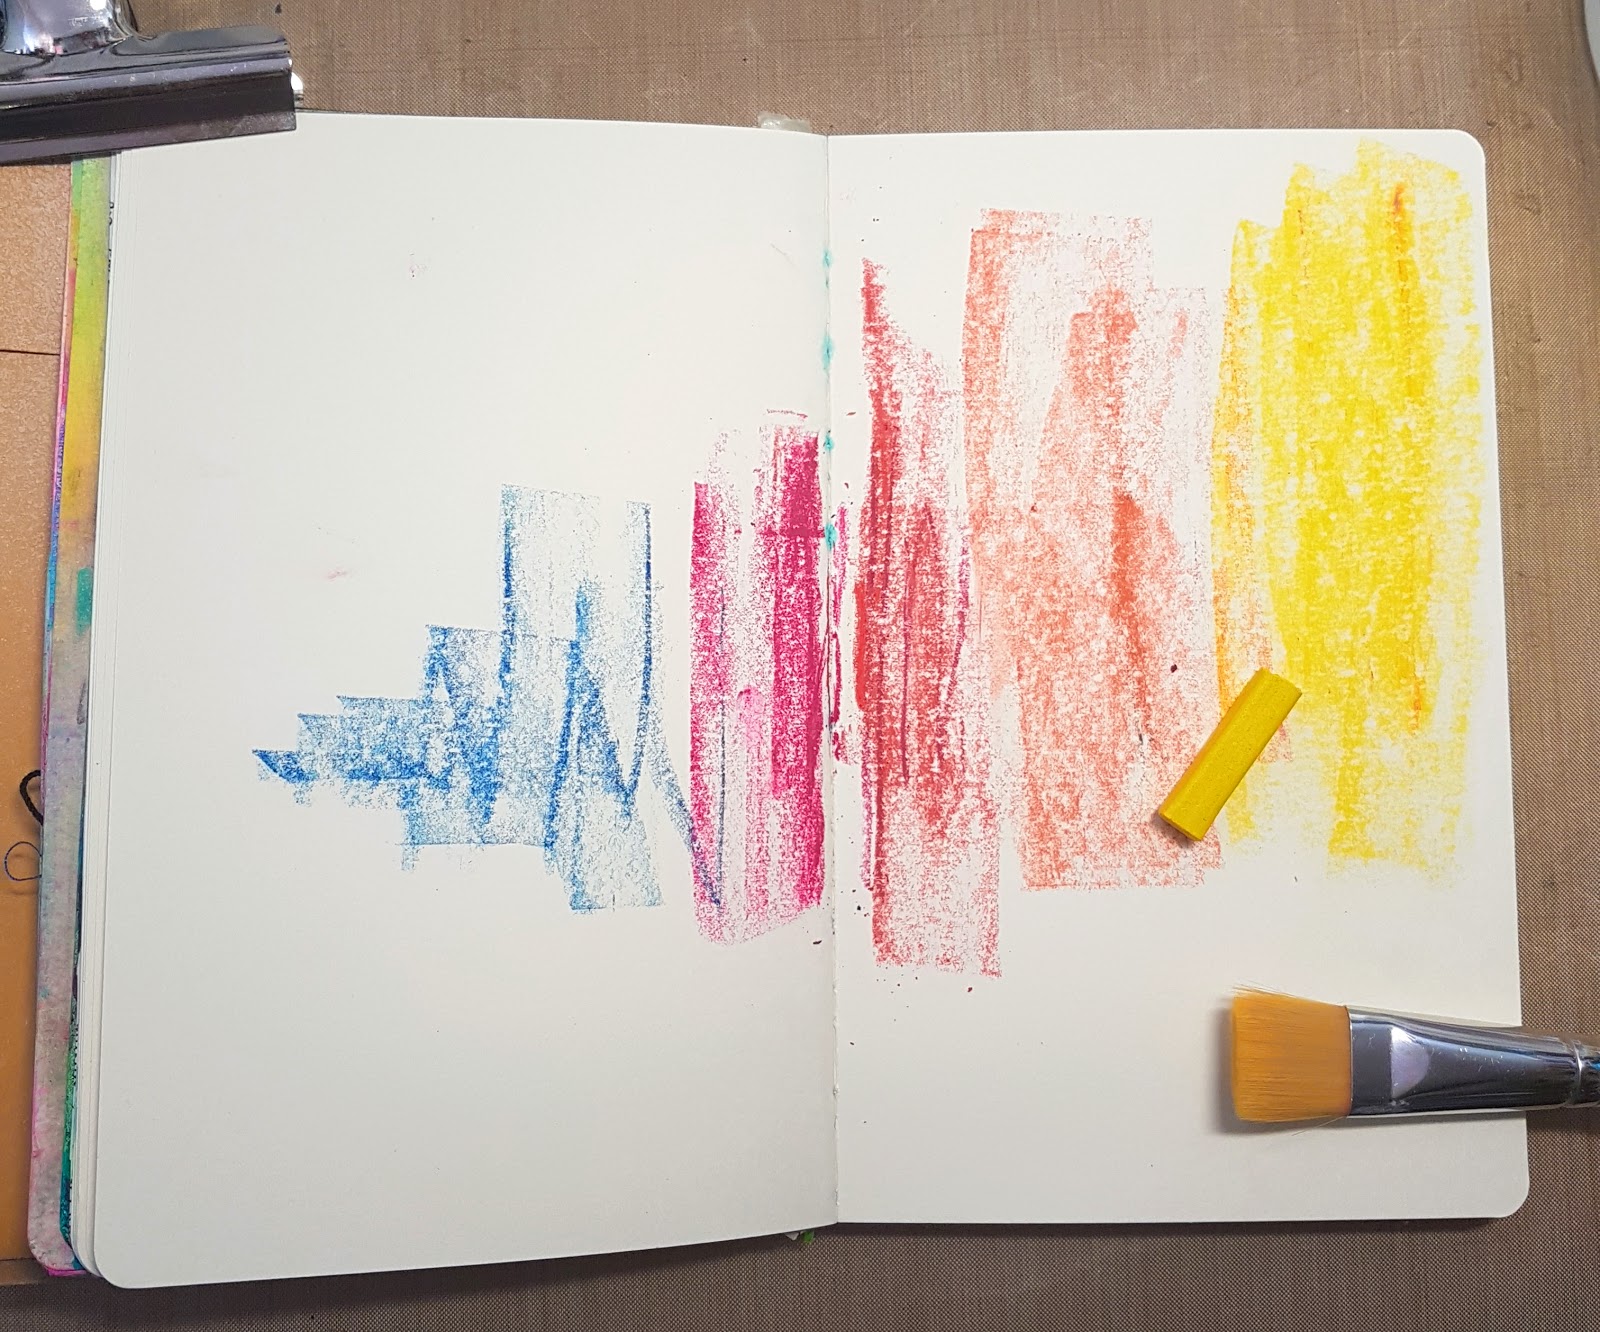
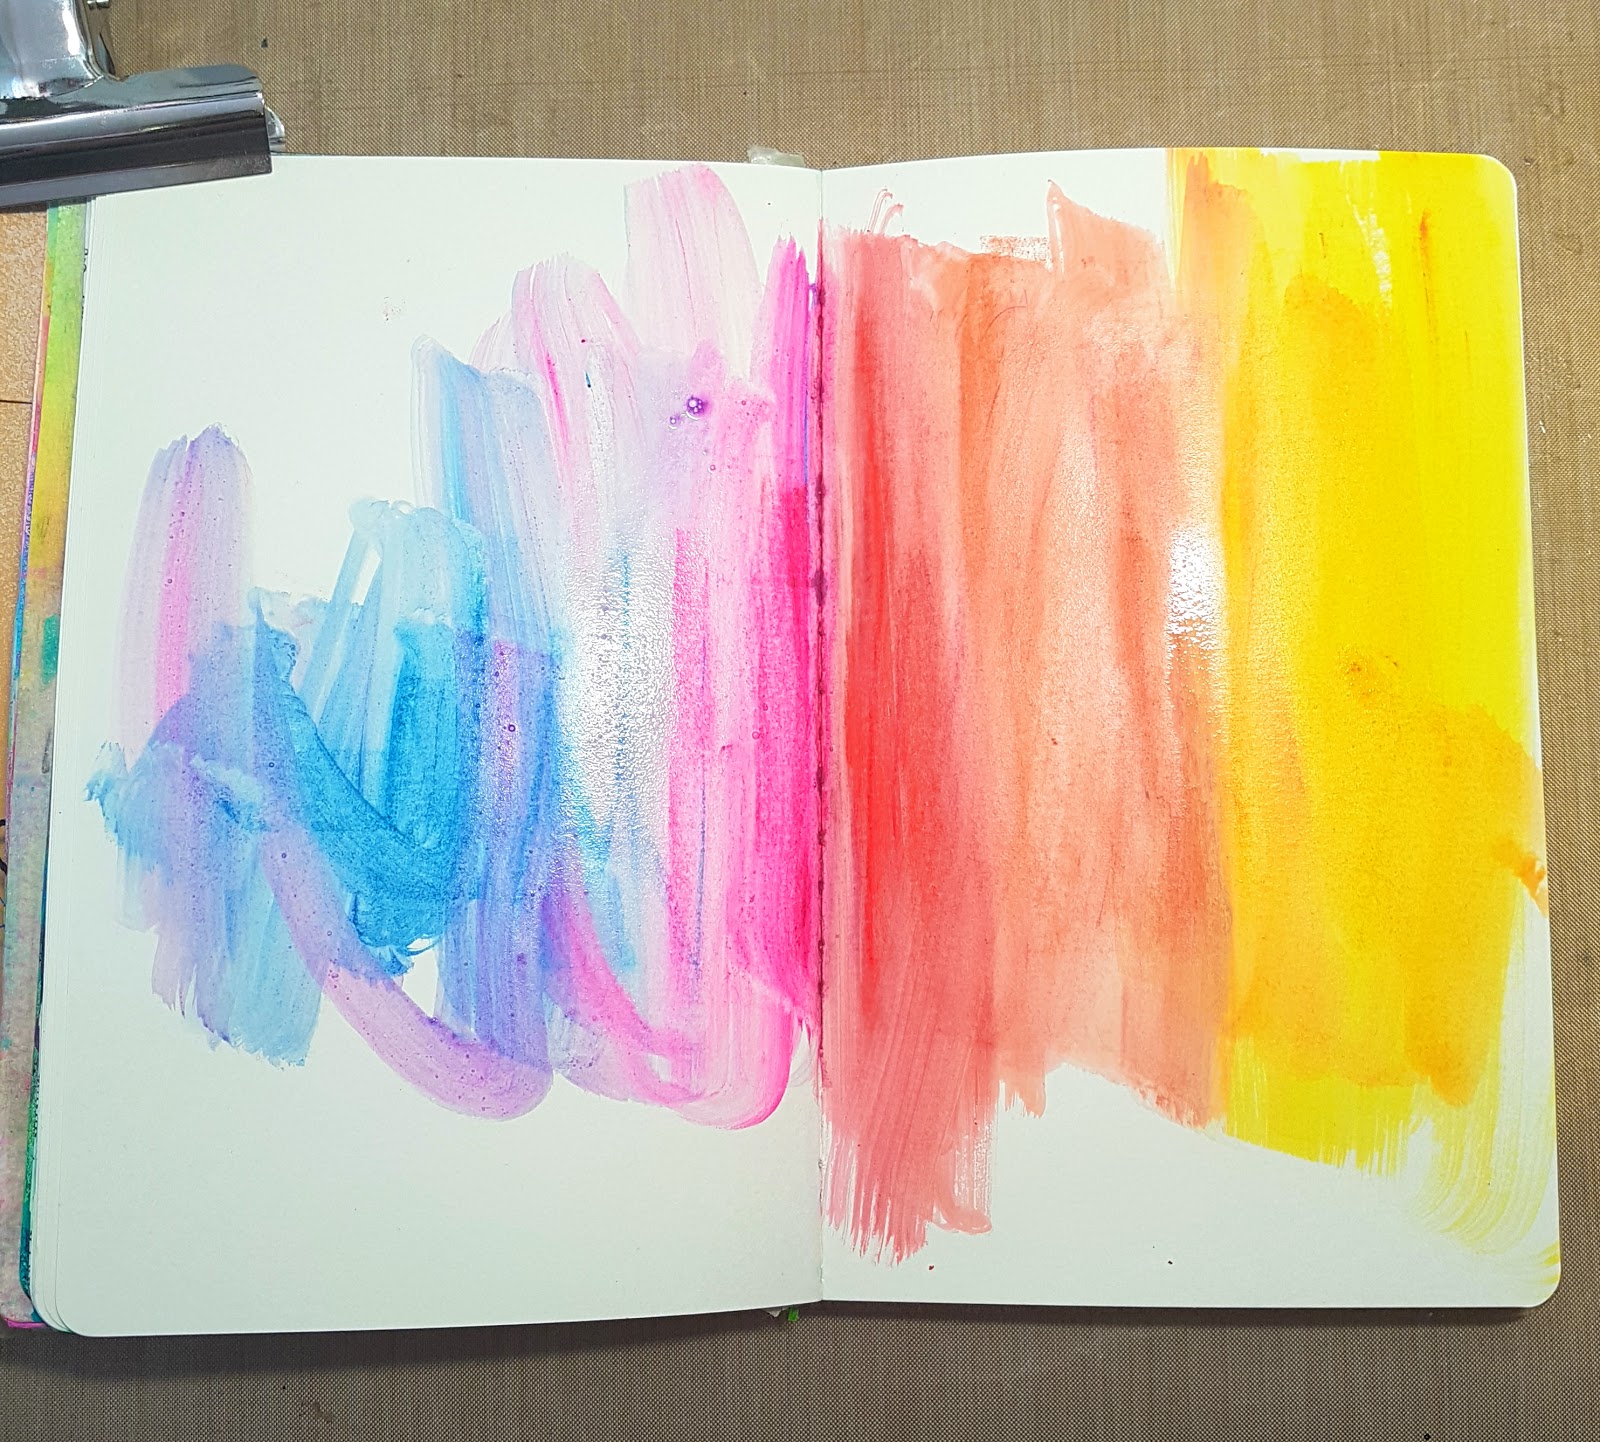
Dry Blocks with Added Water:
Water
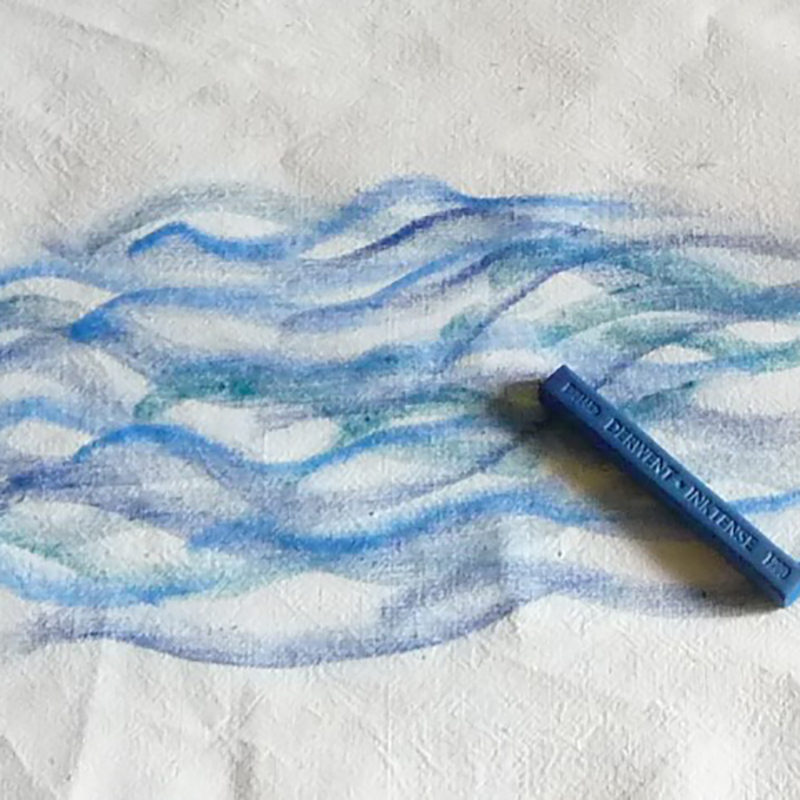
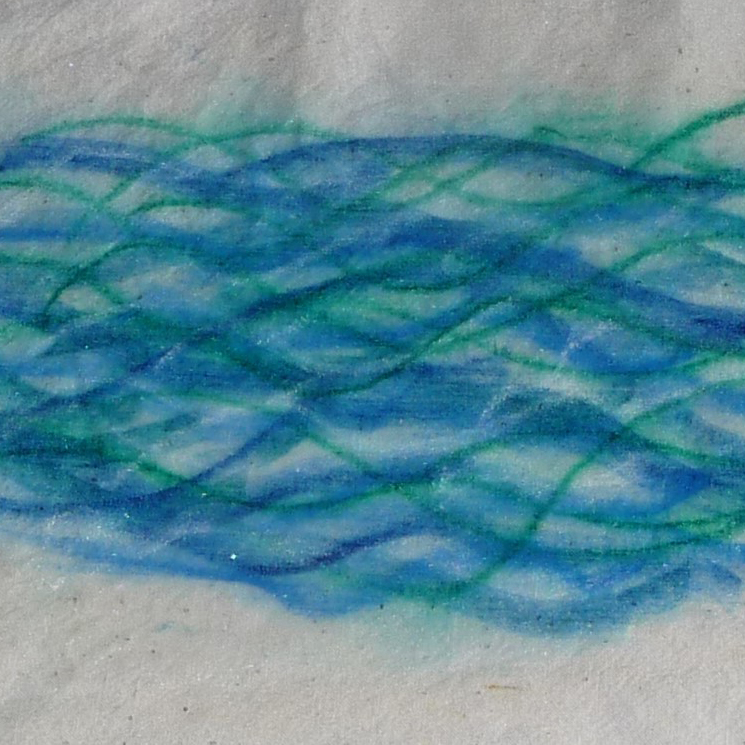
Step 1
Apply the edge of the block to fabric to draw some wavy lines. Use a variety of shades of blues and greens as desired.
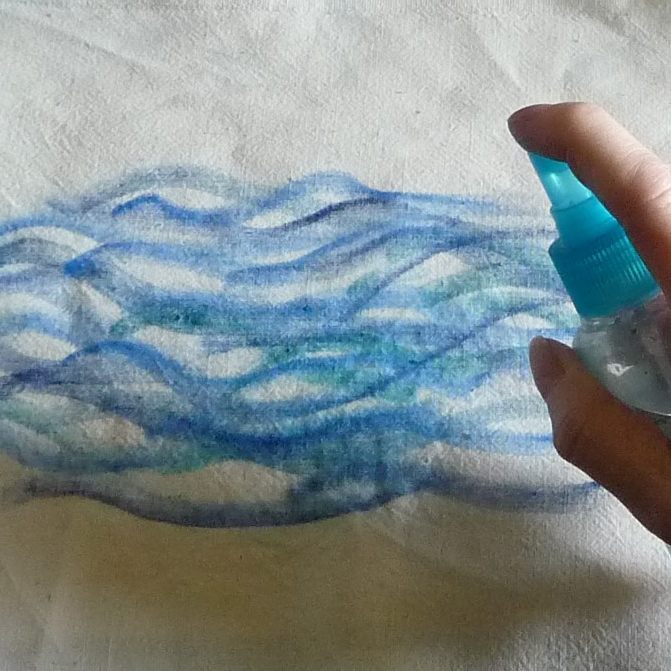
Step 2
Spray the fabric with water and allow to dry.
Step 3
You can apply more colour and spray again with water until you get the result you want.
Flower
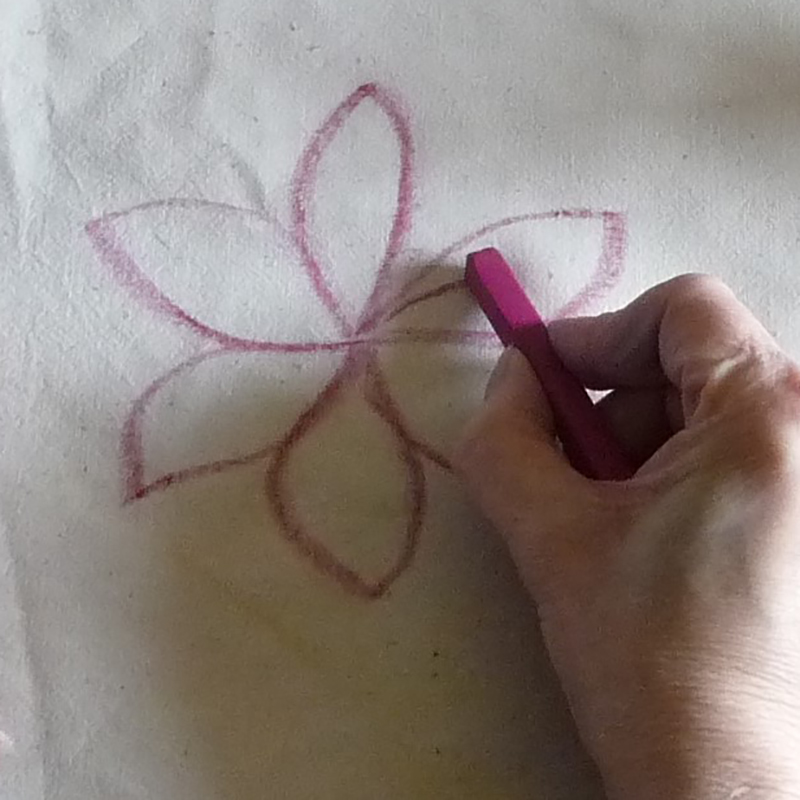

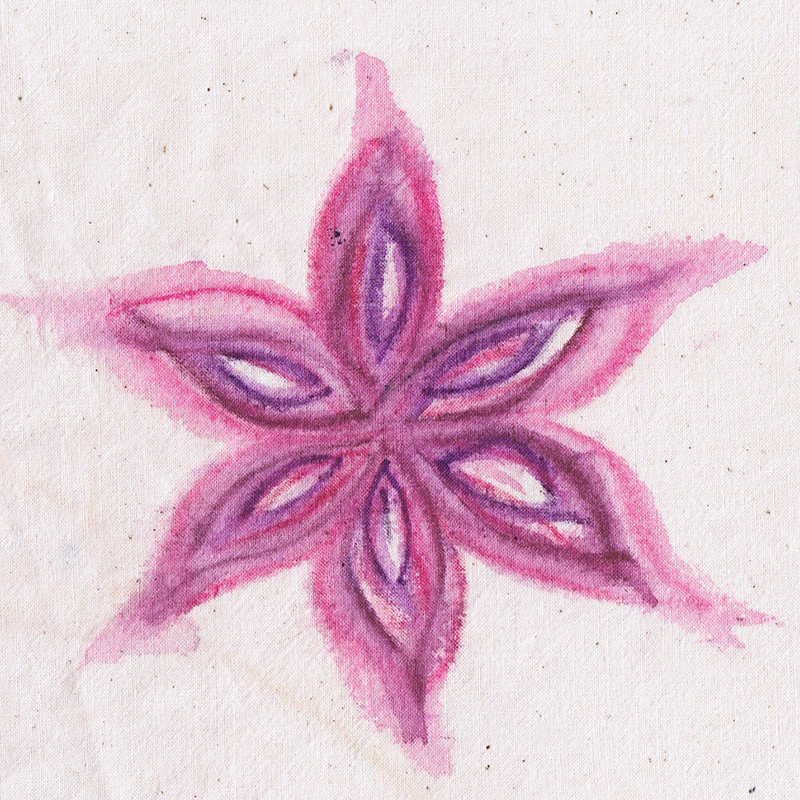
Step 1
Choose 3 toning colours for your flower.
Step 2
Draw the outline of the petals with the first colour.
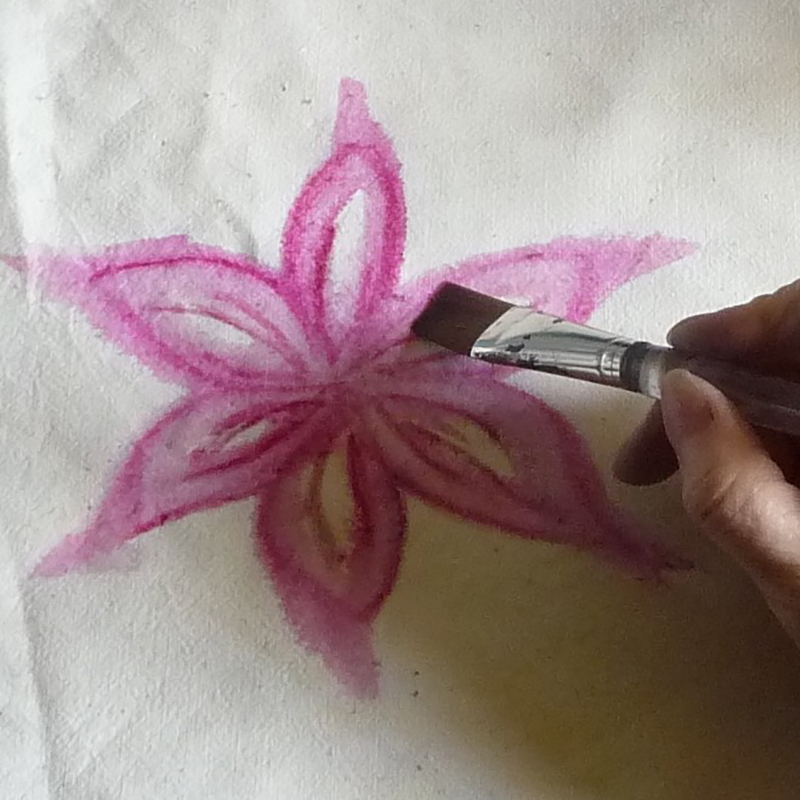
Step 3
Use a flat paintbrush, dip it into clean water and brush it across the line of colour you have drawn. When this is done across all petals, leave to dry.
Step 4
Add lines into the petals using the second colour and repeat painting with water. Allow to dry.
Step 5
Repeat the process with the third colour until you are happy with the results.
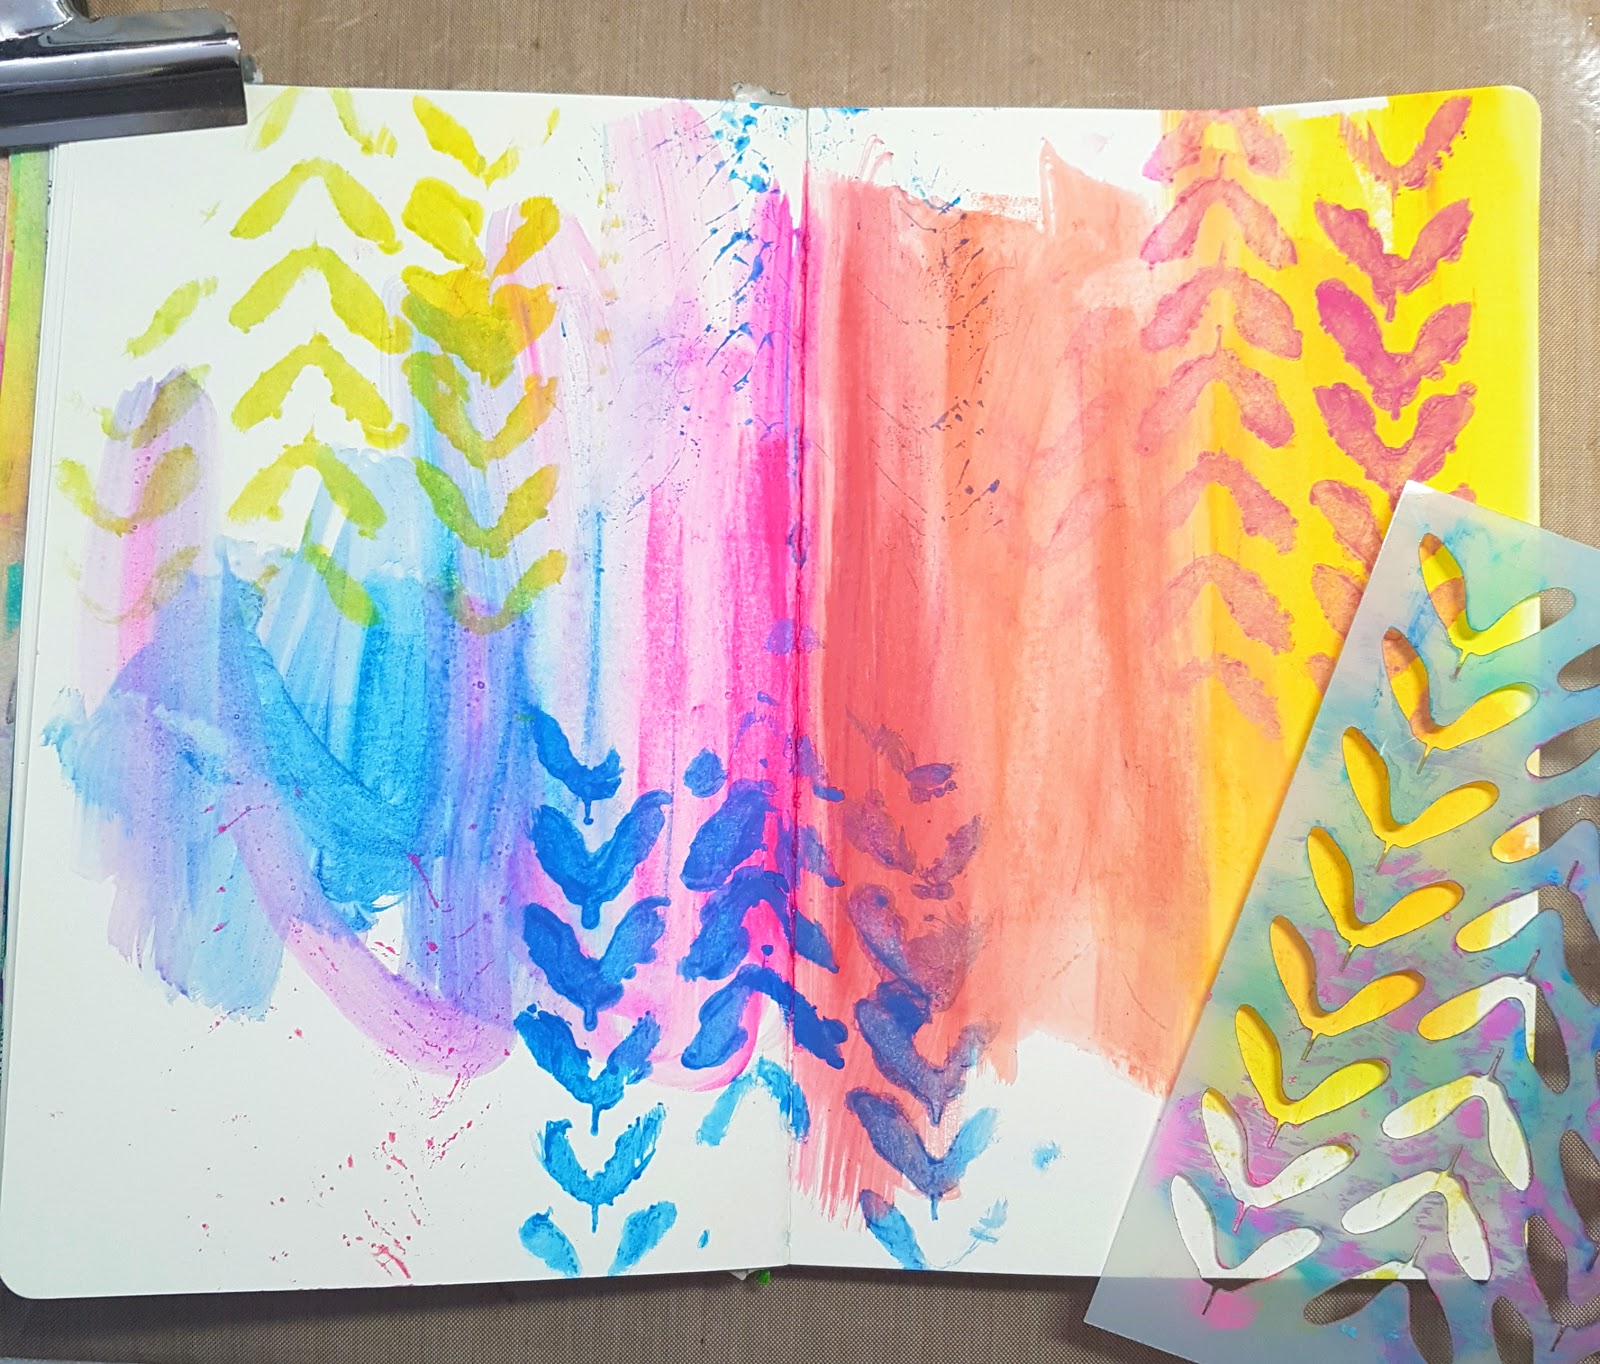
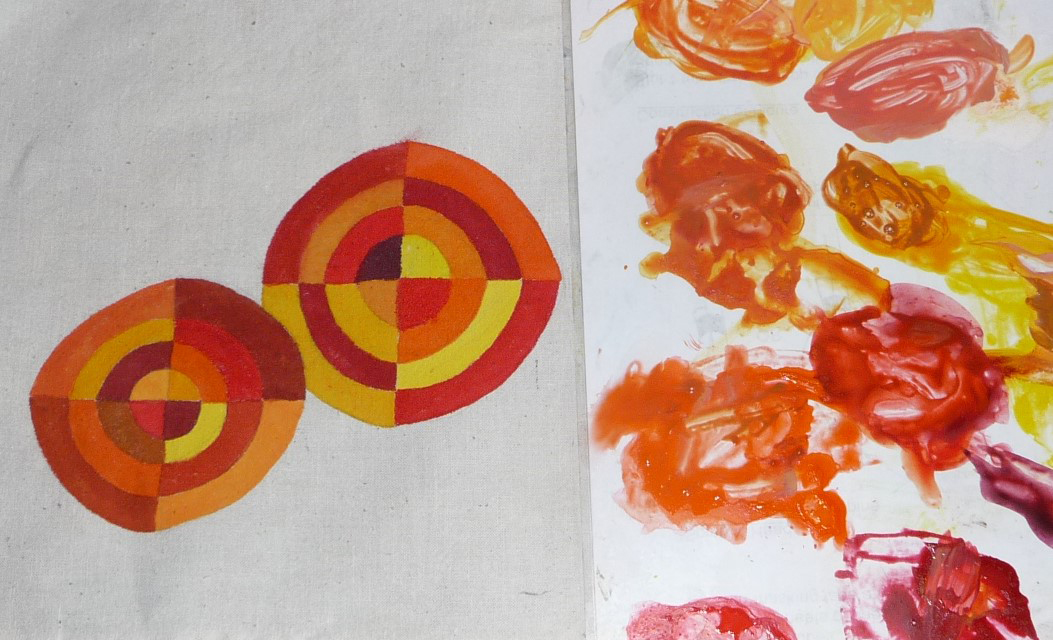
Abstract
Step 1
Use the flat edge of the block and make several patches of colour on fabric using toning colours.
Step 2
Dip a flat paintbrush into clean water and draw narrow lines across the fabric. Allow to dry.
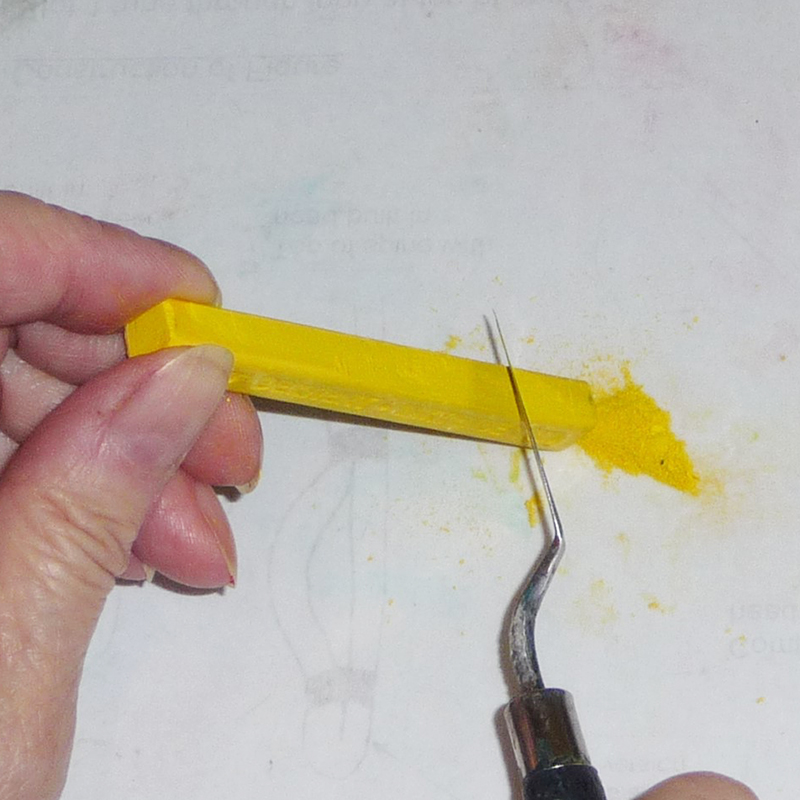
Step 3
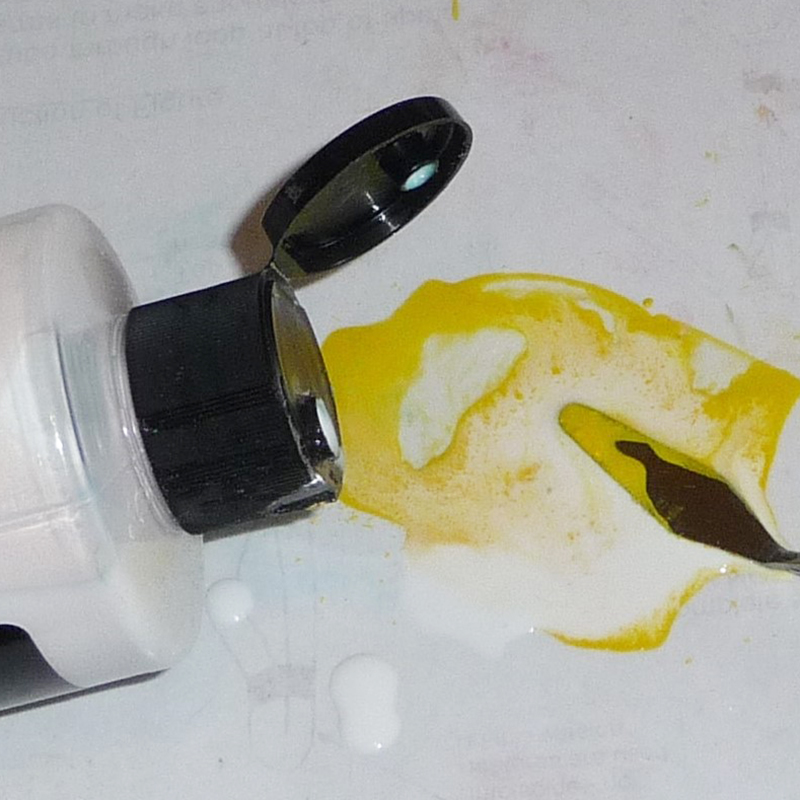
At this point, you need to mix up some paint made from the Inktense block. You can use a wet brush to take the paint from the block but the shade can vary with this method. If you want the colour to be consistent use a metal palette knife to scrape a little off the side of the block.

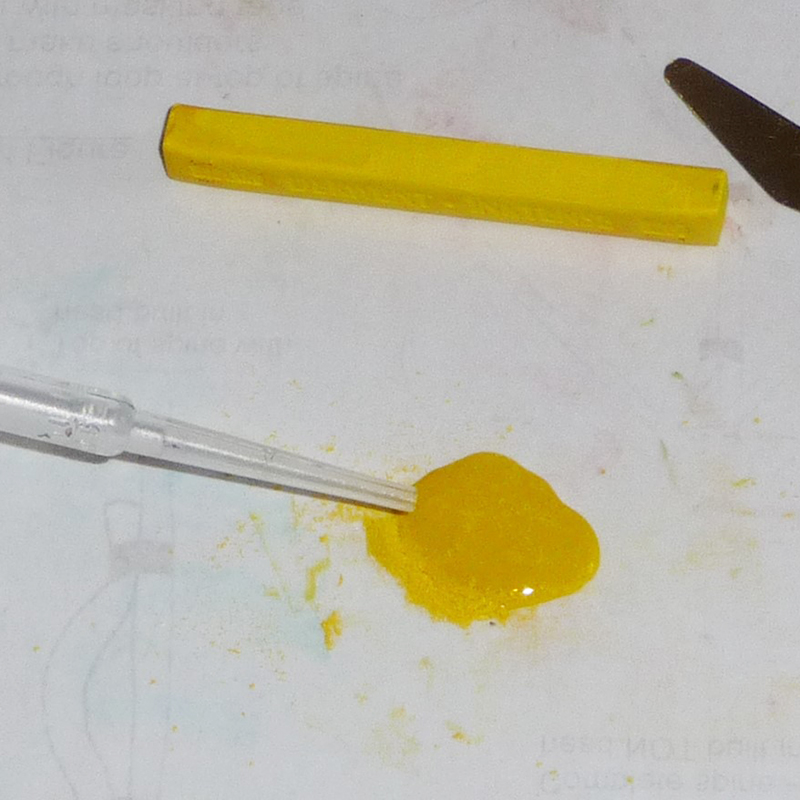
Step 4
Add a very small amount of water, possibly with a pipette, and use the flat of the palette knife to mix the Inktense with the water to create a small puddle of liquid paint.

Step 5
Use a flat brush to paint thin lines across the background. This creates a darker version of the lines made by painting with water.

This can be done with as many or as few colours as you wish.
Step 6
Continue until you have built up an interesting textured image.

Mixing Liquid Painting
Step 1
Take a metal palette knife and scrape a little off the sides.
Step 2
Add a very small amount of water.
Step 3
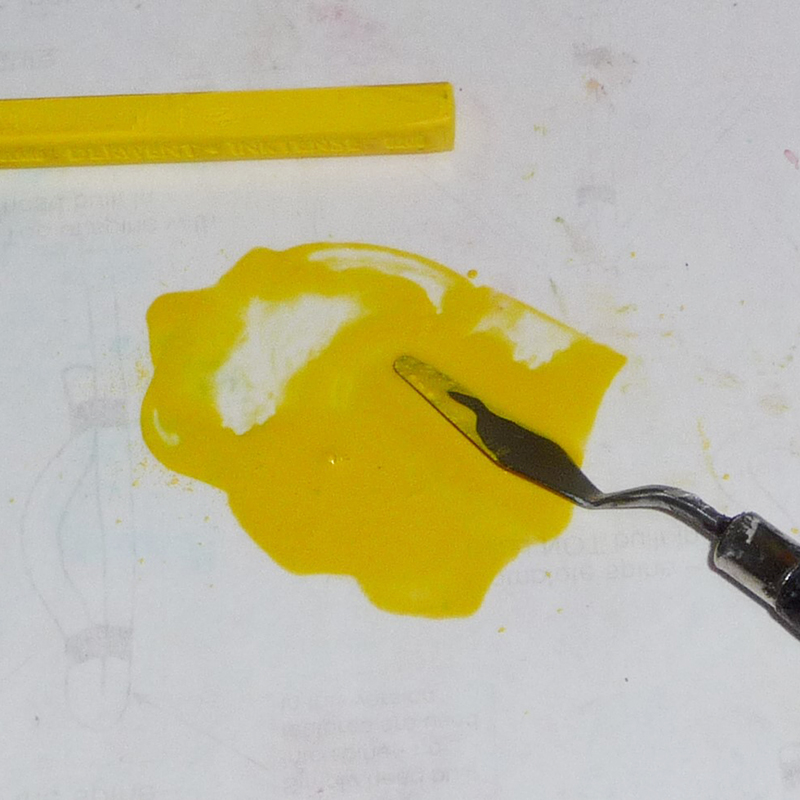
Mix with the flat of the palette knife.
Step 4
Add a little Chromacryl Fabric Medium – roughly 1 part medium to 2 parts paint. Mix well.
Step 5
Repeat this for any other colours you will be using.
Step 6
Avoid mixing up too much paint as it dries very quickly.
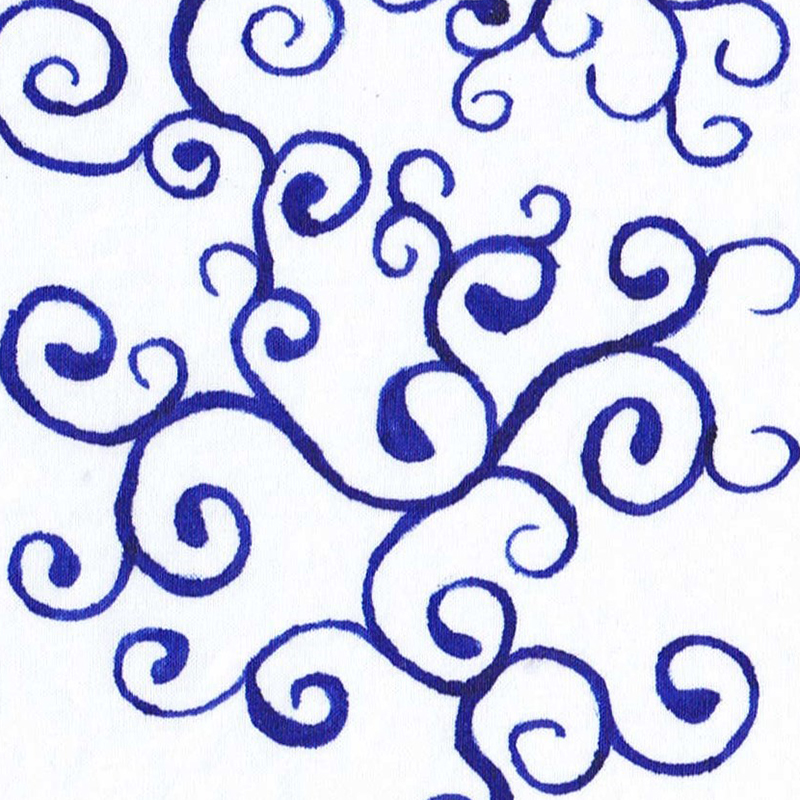
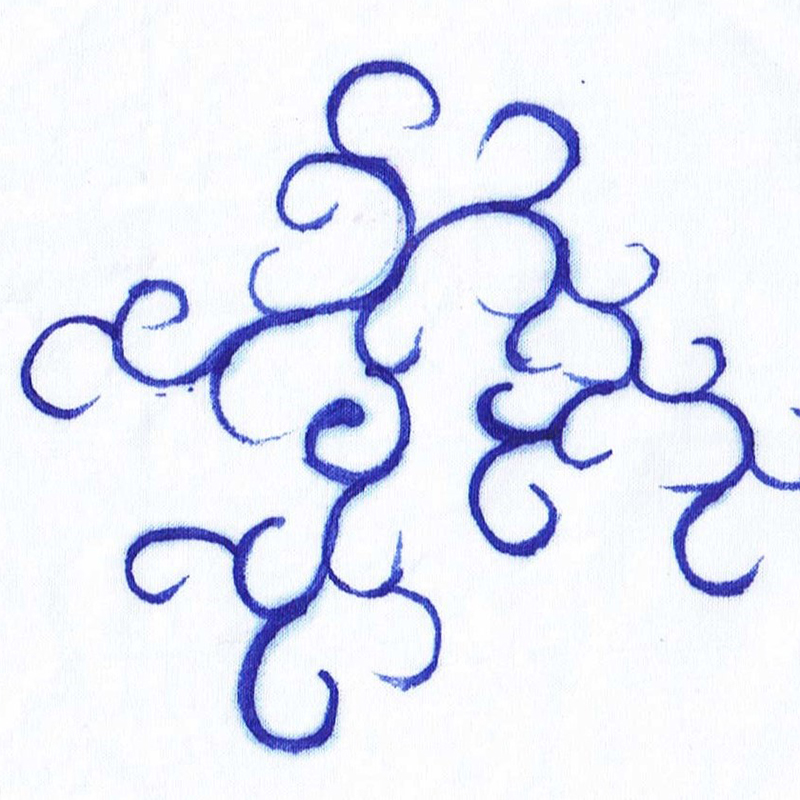
Wet Inktense Painting
To be able to control the paint precisely it helps to add fabric medium. This prevents the water from the paint bleeding out into the fabric. The following two images illustrate this very well. The second photo shows how the water in the paint bleeds out to create a faint shadow next to the painted line. The fabric medium controls how the paint and water behave.
The inspiration for this came from the work of Sonia Delaunay, specifically her painting ‘Electric Prisms’ 1914.
Step 1
Draw the image onto the fabric very lightlywith a pencil.
Step 2
Mix up 4 or 5 colours which will go well together (complementary colours). Further colours can be mixed from these.
Step 3
Take a small brush and paint one section of the painting.

Step 4
Avoid painting the adjacent section as wet against wet tends to make one colour bleed into the other. Instead, paint a section away from the first.
Step 5
Continue to paint around the image.

Step 6
Complete all the sections.

With thanks to Alison Couchman for writing this post. Alison is a former teacher and textile artist. Visit her website for more inspiration.
