Appropriate for: KS3, but is easily adapted for GCSE, A-Level, KS1 and KS2.
The human hand, in manipulation of objects, is the hand in search of a brain; the brain is in search of a hand; and play is the medium by which those two are linked in the best way.
Stuart Brown, Play is more than just fun, TED talk, May 2008
I have to admit that I was a bit wary of gel printing, after watching countless YouTube videos of Mid-Western American women with perfect manicures saying “It’s so easy!” and proceeding to use shop-bought stencils and fancy paints to create pretty patterns for their scrapbooking projects. By all means, watch the videos, but we are art teachers and we need to have some dignity!
So here is gel printing for art teachers.
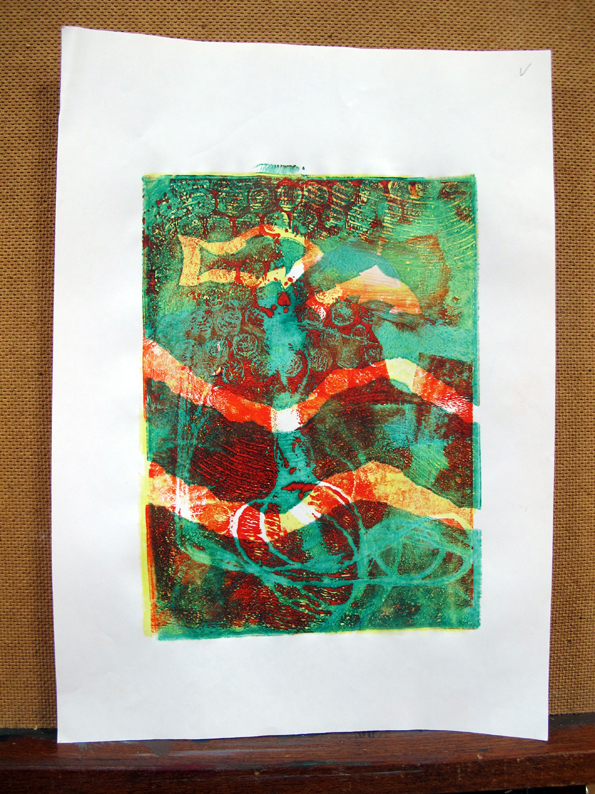
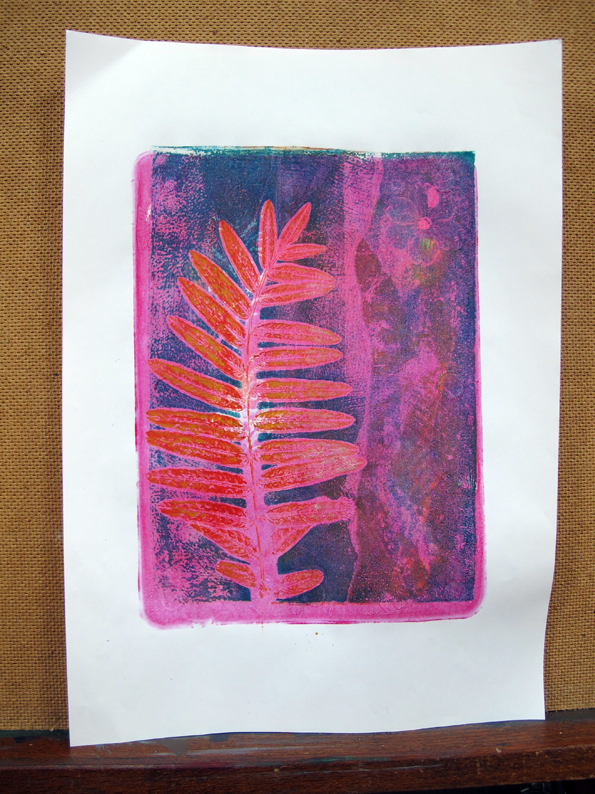
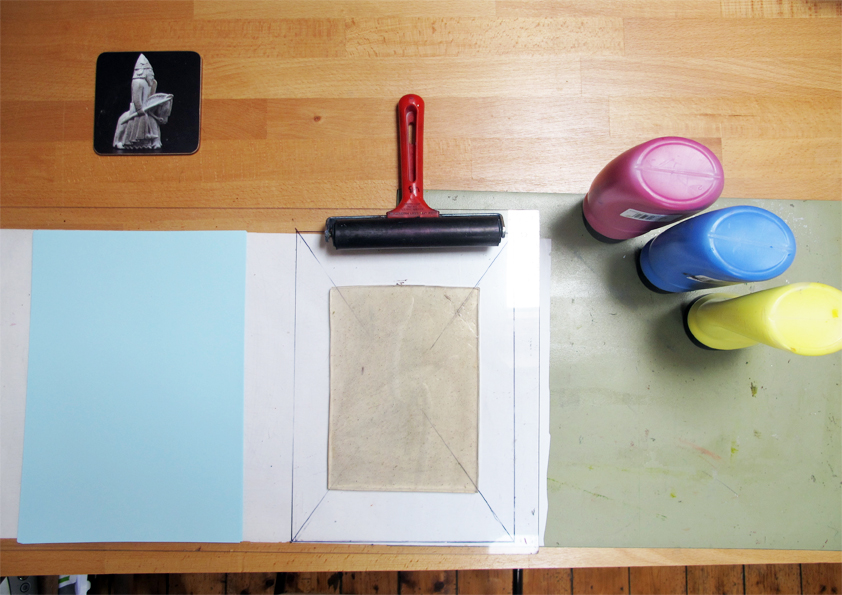
Gel printing uses a soft mineral oil-based pad on which you effectively create monoprints using ordinary acrylic paints. You don’t need a press, you don’t need any specialist printmaking equipment, except for a couple of rollers.
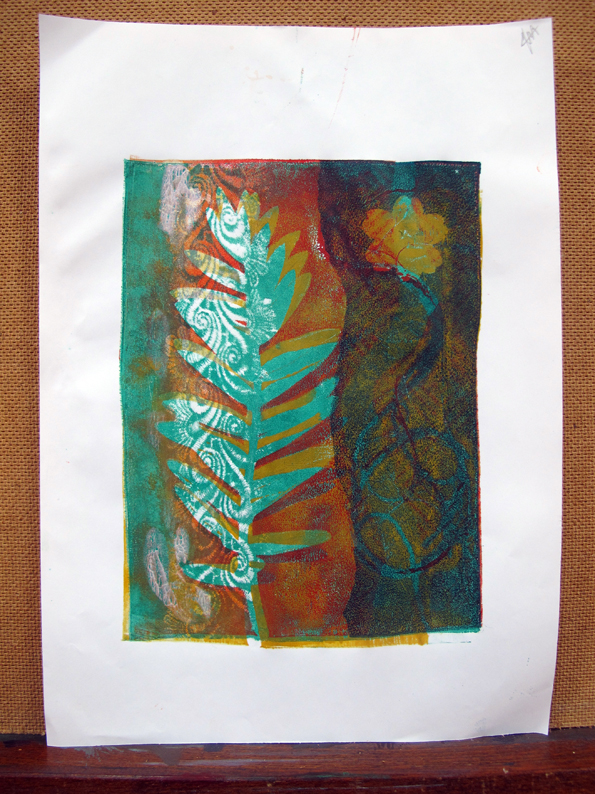
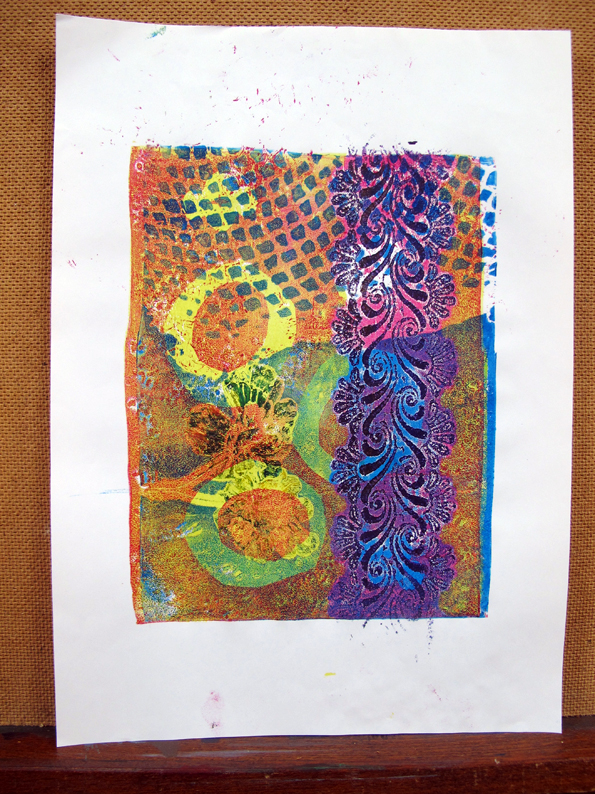
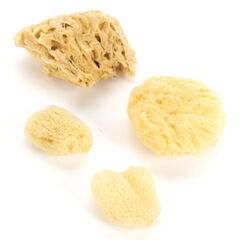
Like monoprinting, you can mask-off and use stencils, you can scrape away and you can press things into the surface of the paint. You can apply the paint with a brush, roller or sponge. You can take ghost prints, using the remainder of the paint once you’ve taken the first print. You can register your prints and print in multiple layers, using the translucency/opacity of different paints to create really stunning visual effects. I won’t do a step by step description of how to do the above because part of the fun is working these things out for yourself.
However, this should get you started:
Basic equipment
- Gel plate
- Acrylic paints
- Rollers
- Paper
- Things to press into paint (see below for ideas)
- Sheet of perspex with registration guide
- Spray bottle for cleaning gel plate, roller and perspex
- Rags for cleaning
- Aprons (acrylic paints can stain)
- Newspaper for protecting table
- Drying rack
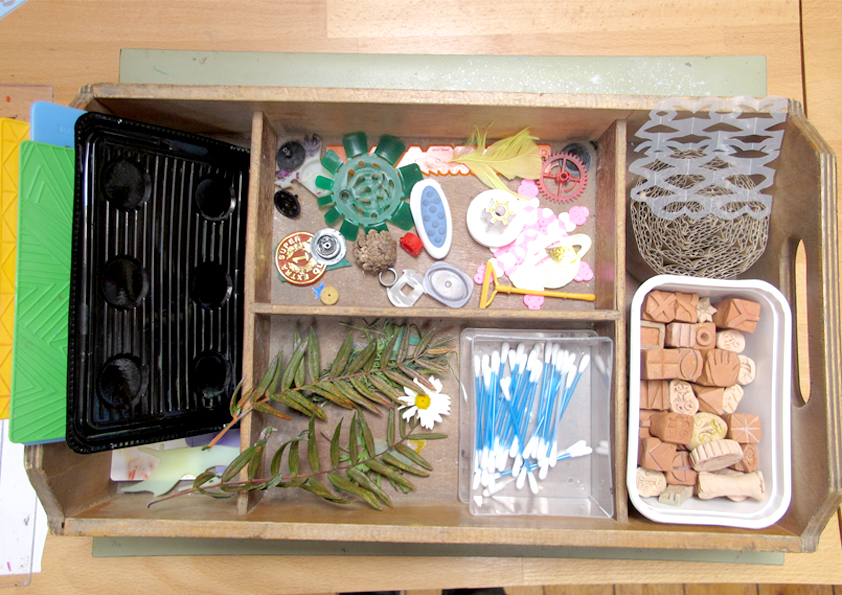
Things to press into the paint:
- Lace and doilies
- Buttons (with interesting raised patterns)
- Netting
- Fabric (knits, too)
- Flowers, leaves, grasses
- Plastic bags cut into simple or complex shapes (fold?)
- Bubble wrap
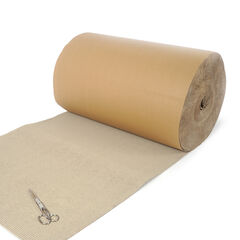
- Corrugated cardboard
- Clingfilm, scrunched up paper/plastic
- Thread, string, wool
- Anything with raised/incised lettering (but needs to be the right way round – think about it!)
- Packaging – plastic food trays often have interesting geometric patterns on them
- Textured wallpaper
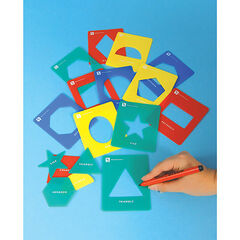
- Stencils
Directions:
- Place gel plate onto perspex.
- Apply paint thinly with a roller.
- Press objects on, scrape the paint away, use stencils to mask off areas.
- Place paper over the top and use gentle hand pressure to make a print.
- Either clean gel plate or lay another colour over the top.
- Repeat with the same piece of paper or use another sheet. Don’t worry, you can print wet on wet.
Tips for gel printing:
- System 3 Acrylics are good for dense, opaque printing, but if you want translucent layers, use Pisces’ own acrylic paints. I also tried printing with block printing inks and found that they rolled out too thinly and the colours weren’t as vibrant but may be good for more subtle effects.
- Consider starting with yellow/magenta/cyan if you want to print layers with colour mixing.
- Use separate rollers for each colour to keep them vibrant.
- I found that the gel plate from Pisces can be easily remoulded if you want a different shape or if you accidentally tear it. Place cut-up/torn pieces of gel plate in a flat-bottomed non-stick cake-tin in a pre-heated oven (108 degrees Celsius) for 12 minutes. It should lift out easily when cool.
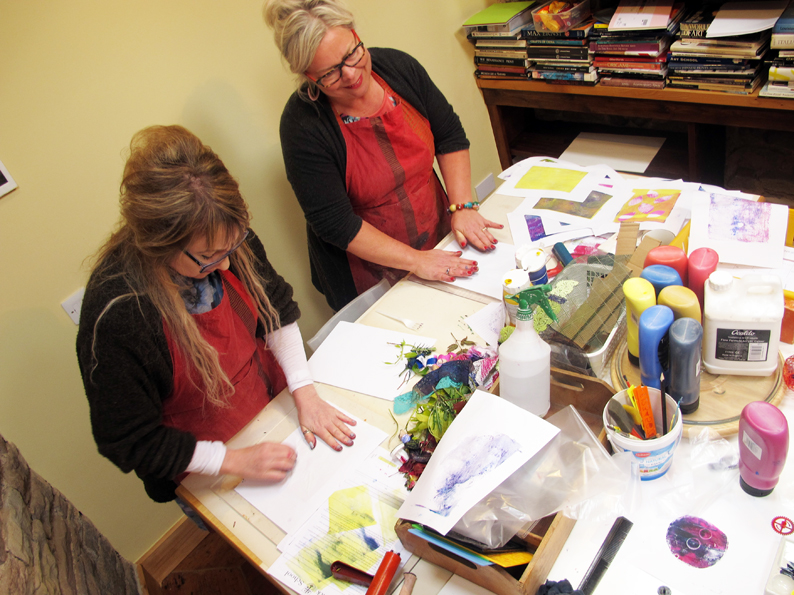
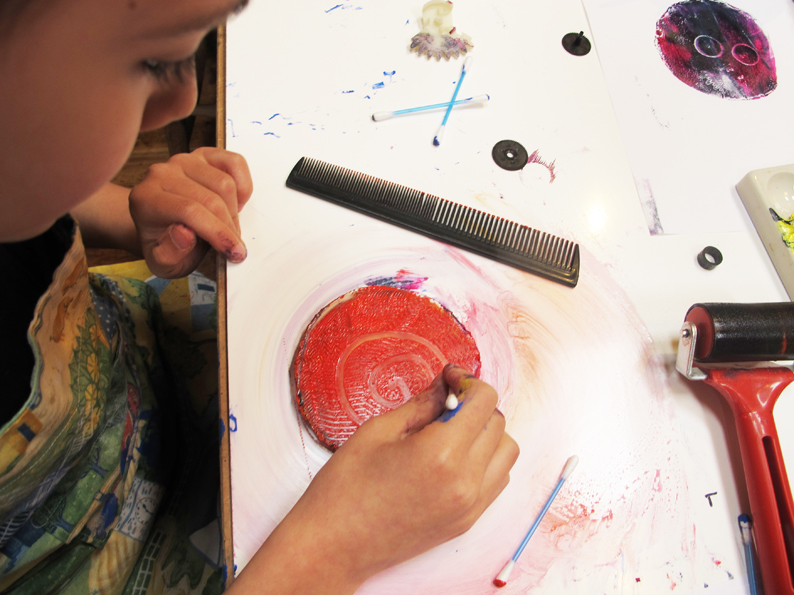
In preparation for this blog post, I invited a couple of art-teacher friends round and we spent the afternoon experimenting and having fun. My son also gate-crashed the gel printing party.
Gel printing has the potential to be great for students who find sitting down and drawing difficult because the results are so open-ended and ‘accidents’ can end up looking fantastic too. It’s extremely tactile and experimental, and the conversations that can be had while printing and post-printing are useful to encourage students to use more formal language about composition and colour.
Watching my son and friends create gel prints certainly made me think about how people can just randomly create stuff that looks good and people who are ‘masters’ of a particular medium. Structured play is somewhere in between and that in itself is delightful. I think I could do gel printing every day for weeks, even months and learn something new each time.
Easy questions
- What colours did you like using?
- What objects did you like using?
- What if you wanted to put writing in your print?
- What worked well?
- What could be better?
Intermediate questions
- What can you tell me about the placing of objects on the plate?
- What makes a good composition?
- What order did you print the layers in? What effect did that have? (opaque/translucent)
Harder questions
- What makes a good gel print?
- Was what you did accidental or deliberate?
- What do you think is more important – how it looks or how it is made?
- What would you like to try/do next time?
- How are you going to use these?
- How easy would it be to repeat, or make your print again?
- What tips would you give someone who was gel printing for the first time?
Make your own stencils!
- Use photocopiable OHP film to photocopy drawings/images/silhouettes and then use scissors or a sharp blade to cut out designs. You could even go one step further and analyse tones, creating several different stencils/masks for the same image.
- Designs made from lines of thick PVA onto pieces of cardboard would, when dry, create raised patterns which then could be stamped into the paint.
- For older students, stencils could also be made from hot-melt glue gun lines onto OHP film and then peeled off. The nice thing about this is that you can place a drawing or an image underneath.
Thanks must go to Miss Bentley and Mrs Bell of Newman Catholic High School, Carlisle for helping me with this blog post. Their enthusiasm is inspiring.
Also, with thanks to Vega Brennan for writing this post. Vega runs Linden Print Studio, a friendly, creative space for people interested in learning about printmaking, from beginners to experienced artists. Contact Vega by email here or visit her website for more information and courses available.


