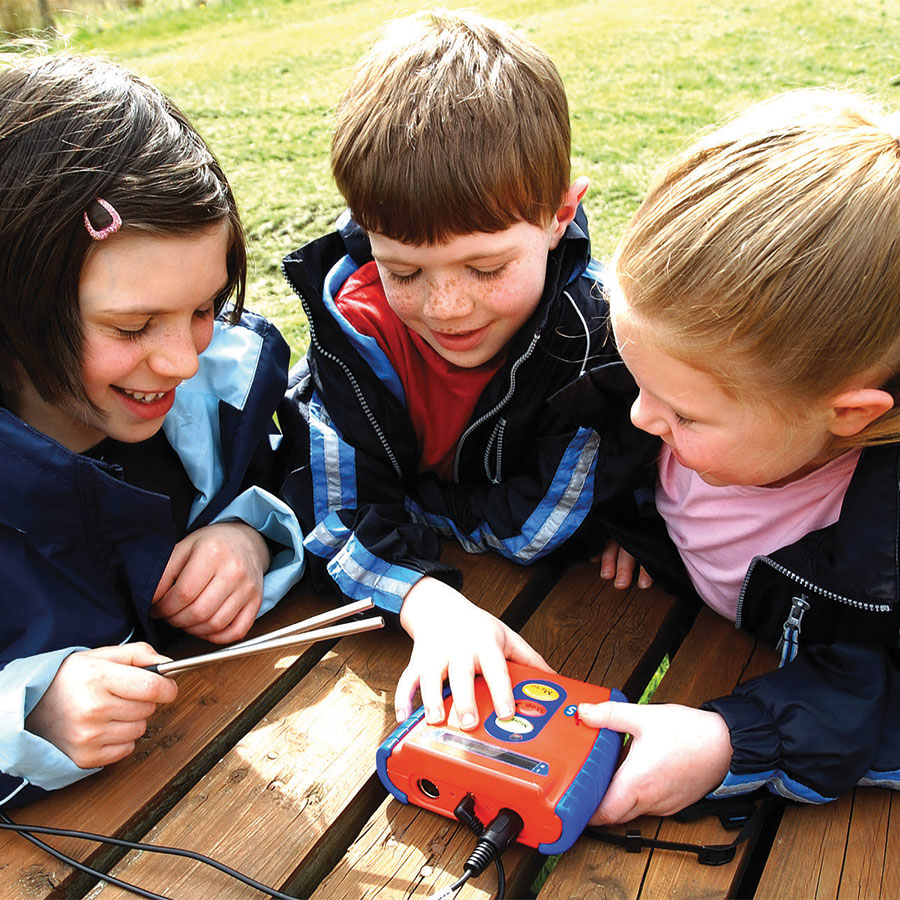
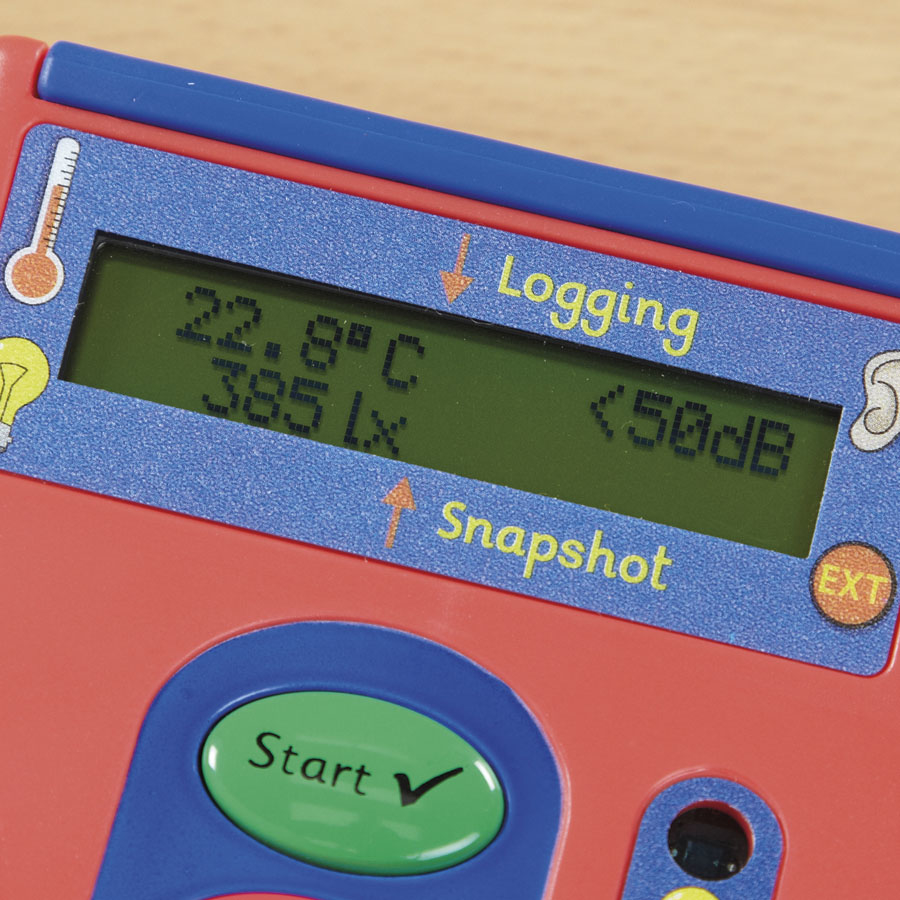
The Log-Box is simple to use – all the sensors are built-in and clearly labelled to avoid confusion – just log in and go! Recordings are easy to view and read, allowing students to choose how their data is displayed in either graph, bar chart, chart or table formats.
3 outdoor projects:
Project 1: What conditions do minibeasts prefer?
Objective: To find a suitable habitat for minibeasts. What sort of habitats do minibeasts prefer and why?
Teaching: Explain to the children they are going to take on the role of an estate agent, but an estate agent for minibeasts! They are going to be looking around the school for places minibeasts could live, but before they can do this they will need to find out what sort of habitat minibeasts live in. Define a habitat as the area where something lives and grows naturally. A zoo is not a habitat because it is not where the animals live naturally.
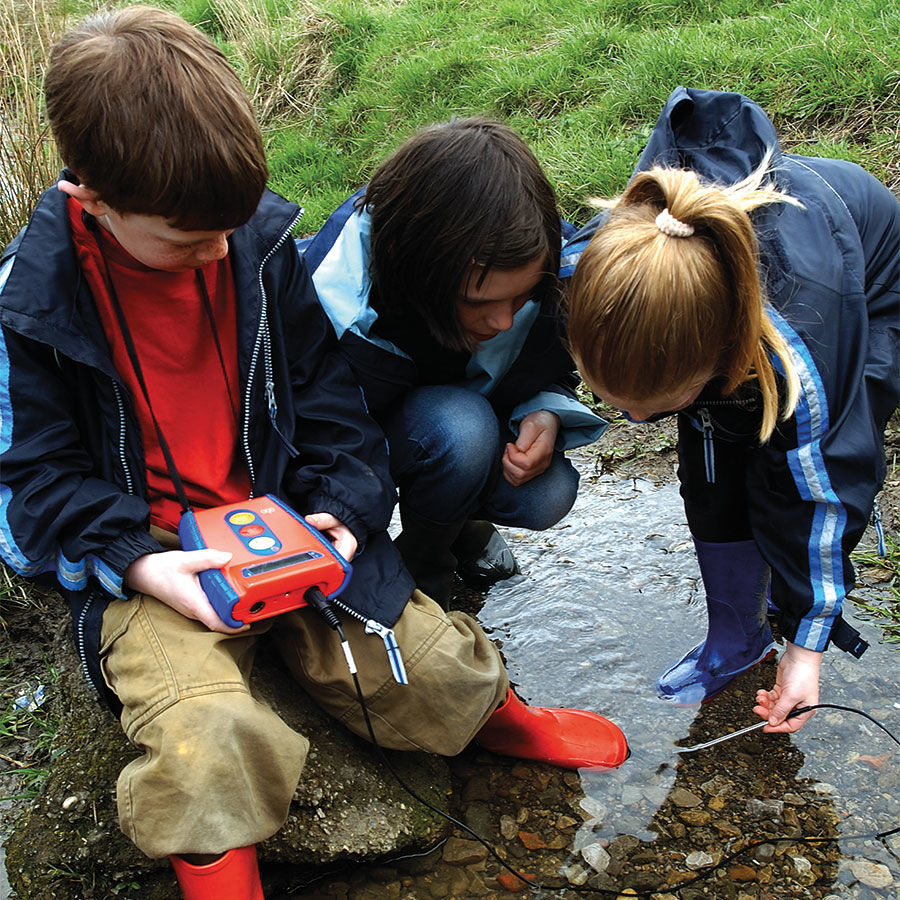
Introduce children to the equipment they will be using. Ensure that they know how to use it before leaving the classroom. Discuss the areas of the school they think they may be able to find minibeasts. Explain they will need to go to these places to test how warm they are and how much light there is using the external probes. To do this they may have to lift rocks and planks of wood. Emphasise the importance of putting things back where they came from. Remind the children they should wash their hands after touching soil. Ask them to record information for 1 minute using a stopwatch; this will give sufficient time to gather accurate information. Warn them not to touch the temperature probe whilst it is recording information, as it will measure the temperature of their hands rather than what they want to record.
Give the children a time limit and send them off to search for habitats. On return to the classroom, download the results to the computer. What sort of temperature do minibeasts like? What do you notice about the amount of light in a minibeast’s habitat? Do all minibeasts like cold, dark, damp conditions? Can the children predict other areas of the school or elsewhere they think minibeasts would live? Could they then test their predictions?
Learning outcomes: Understand minibeasts have preferred habitats. Understand minibeasts need specific conditions in order to survive. Use knowledge gained from the experiment to make predictions.
Vocabulary: Habitat, conditions, damp, darkness, temperature, moisture, shelter.
Cross Curricular links: Literacy – Speaking and Listening, Habitats, Interdependence and Adaptation.
Project 2: How does your body temperature change during exercise?
Objective: To discover what happens to our bodies during exercise.
Teaching: This activity is best carried out as part of a PE session, but is taught as a science lesson. Begin by putting the children into groups. Ask what they think happens to our bodies during exercise. Discuss children’s responses. Explain that during this lesson they will be measuring some of the changes that happen when we exercise. To do this they will need to record body temperatures at different stages throughout. Begin by taking the temperature of one member of each group. This is best achieved by placing the probe under the arm. Record the reading from the data logger. After every reading, the children should clean the probe with anti-bacterial wipes. Alternatively, this can be recorded as a snapshot reading. Continue the lesson with a warm-up exercise. Take the temperature readings again. This should be continued throughout the lesson, taking readings at 10-minute intervals. Take the last reading after the children have cooled down and changed. Analyse the findings from the lesson. Ask, “What happened to your body temperature as you exercised? How did the amount of perspiration change as you exercised?”
Learning outcomes: Understand that as people exercise, their bodies get hotter due to the extra work. Understand that perspiration is produced to help the body cool down.
Vocabulary: Temperature, sweat, body, exercise, cool, warm, perspiration.
Cross Curricular links: Literacy – Speaking and Listening, Science – Keeping warm, Keeping healthy.
Project 3: Monitoring light conditions
Objective: To monitor light levels in two conditions.
Teaching: Explain to the children they will be using the data loggers, in groups, to record the level of light in two locations. Remind them how to use the Log-Box remotely. Explain what unit light is measured in. Use the light sensor to measure light in the room for 30 seconds. Plug the Log-Box into a computer and demonstrate how to transfer data. Did anybody remember so they could demonstrate this and remind the others? Click on the light icon, which shows a graph of the readings. Discuss, interpret and print out the graph.
Differentiated activities: In groups (some with guidance) children are going to start recording the level of light in the classroom and then walk outside onto the playground with the data loggers where they will stop the recordings. Children will check the difference in light levels on the computer and show the marked contrast between the classroom and the playground in graph form. Groups will print out their results. Discuss why the level of light was much higher outside. Would they expect the same result if they did the test at night time?
Outcomes: Children can use a data logger to measure the level of light. They understand that light is measured in lux and that levels of light are different in different locations due to factors such as sunlight and strength of light bulbs.
These data logging activities were taken from the Log-Box datalogger activities book featuring over 25 ready-to-go ideas for using your Log-Box in the context of the school setting.


