What you need:
- Rainforest backdrop
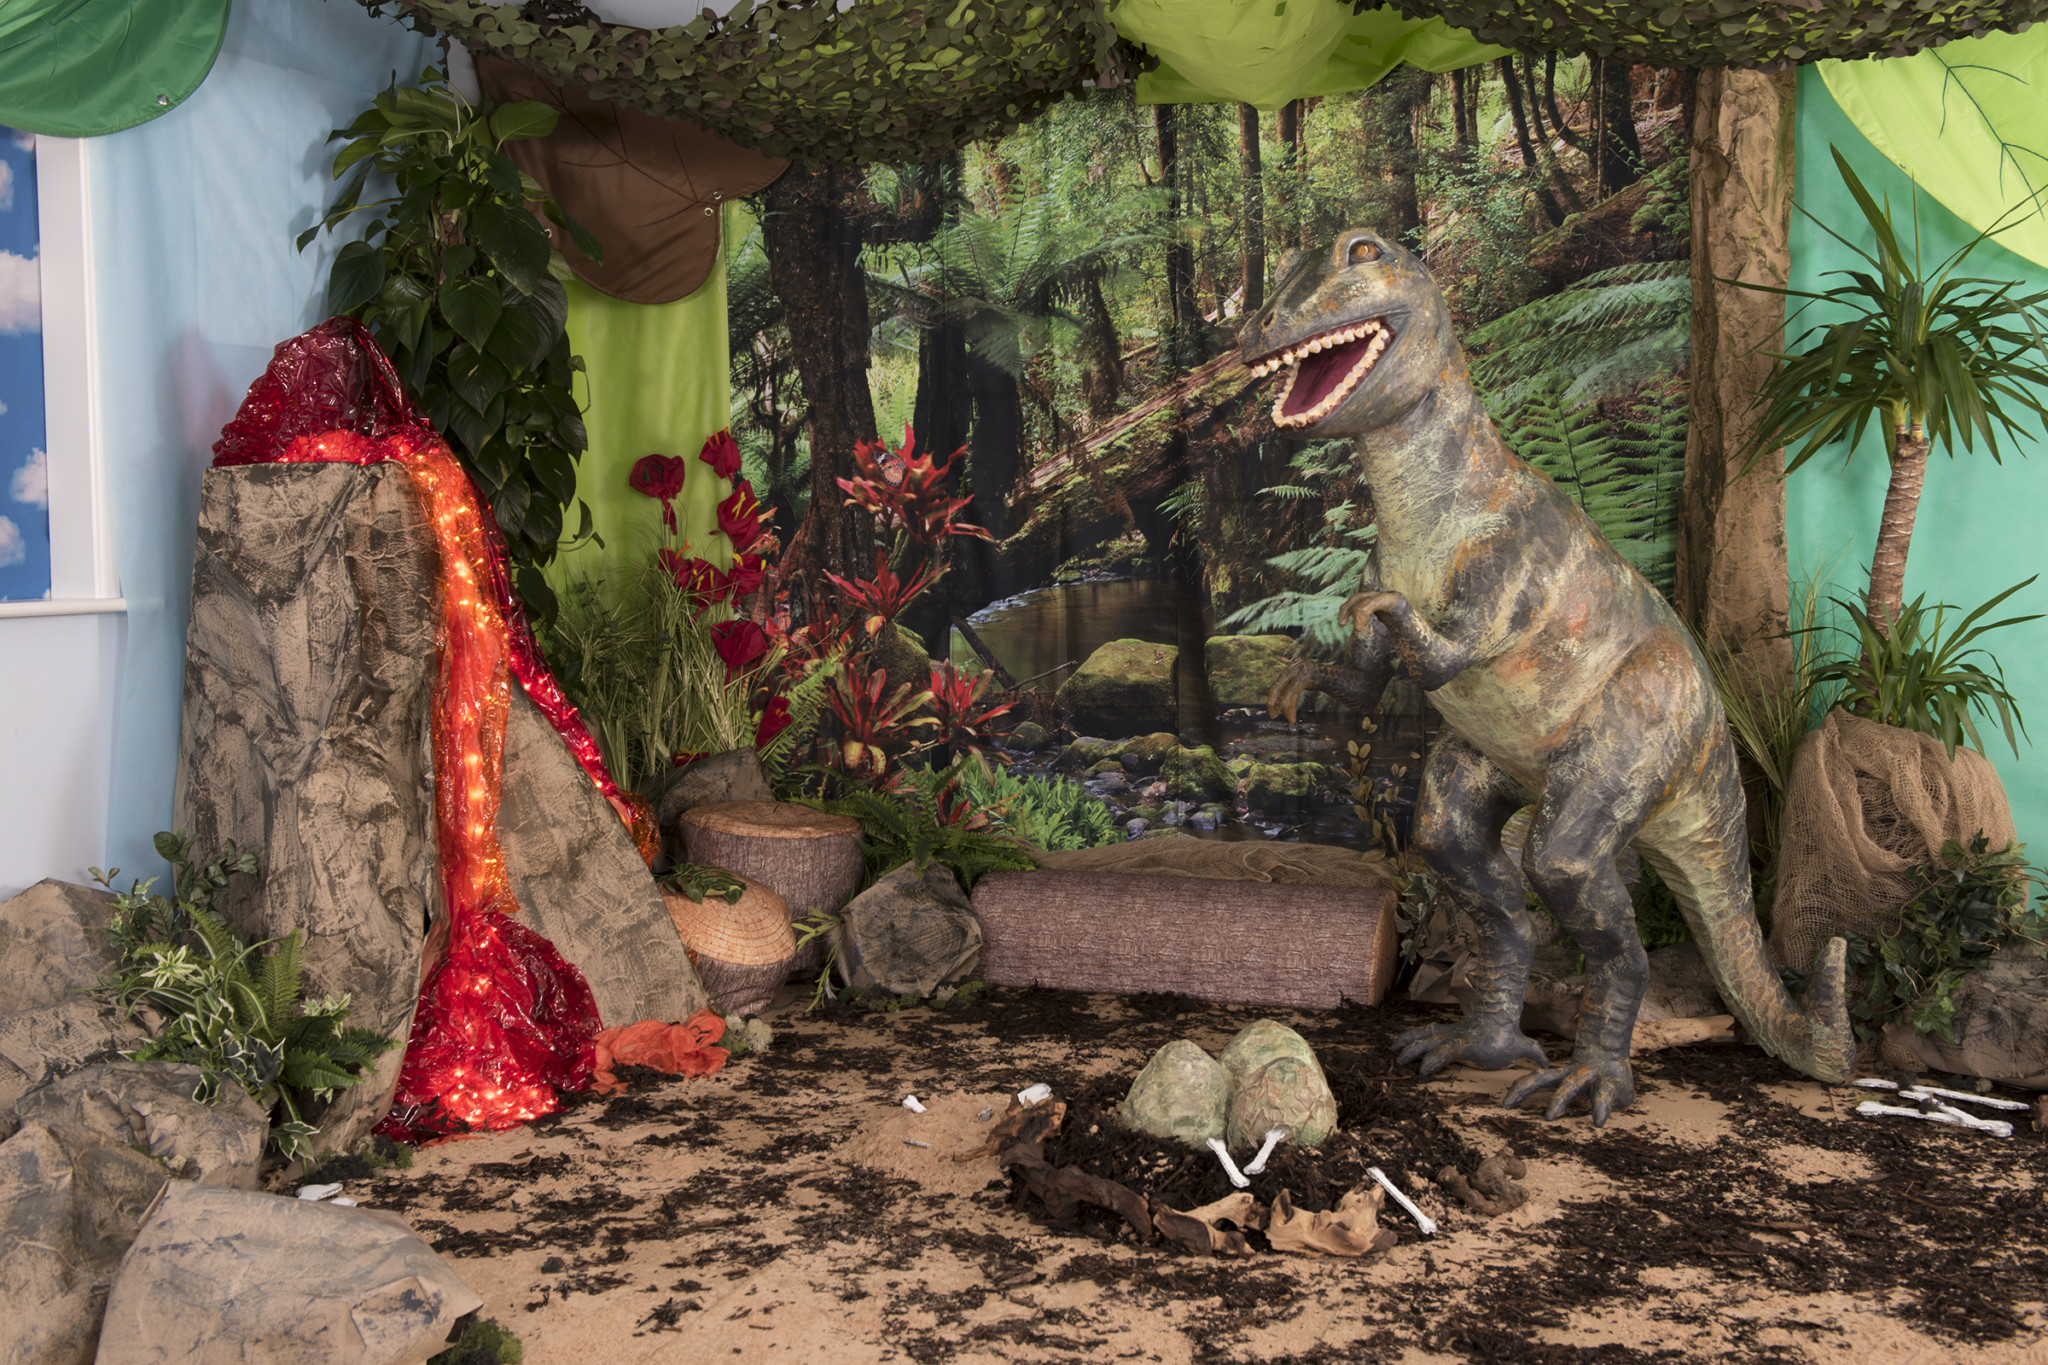
- Dinosaur – T-Rex
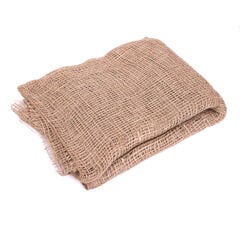
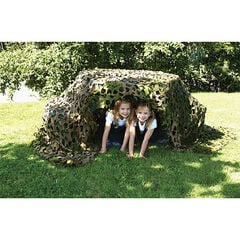
- Camouflage material
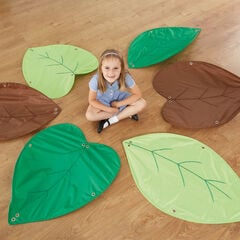
- Leaf canopies
- Ceiling magnets
- Heavy duty brown paper roll
- Cellophane
- Bristle hair brush
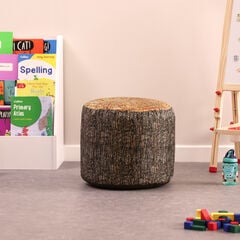
- Tree stumps cushions
- Tree foam log cushions
- Tissue paper
- Wood root/Mopani Wood
- TTS acrylic paint
- TTS ready mixed paint
- Rainbow card
- Sand
- Bark
- Cardboard boxes (for the Volcano)
- Fairy Lights (for the Volcano)
- Living potted plants or plastic plants such as ivy, ferns, leaves
- Moss
Creating the scene:
Step 1
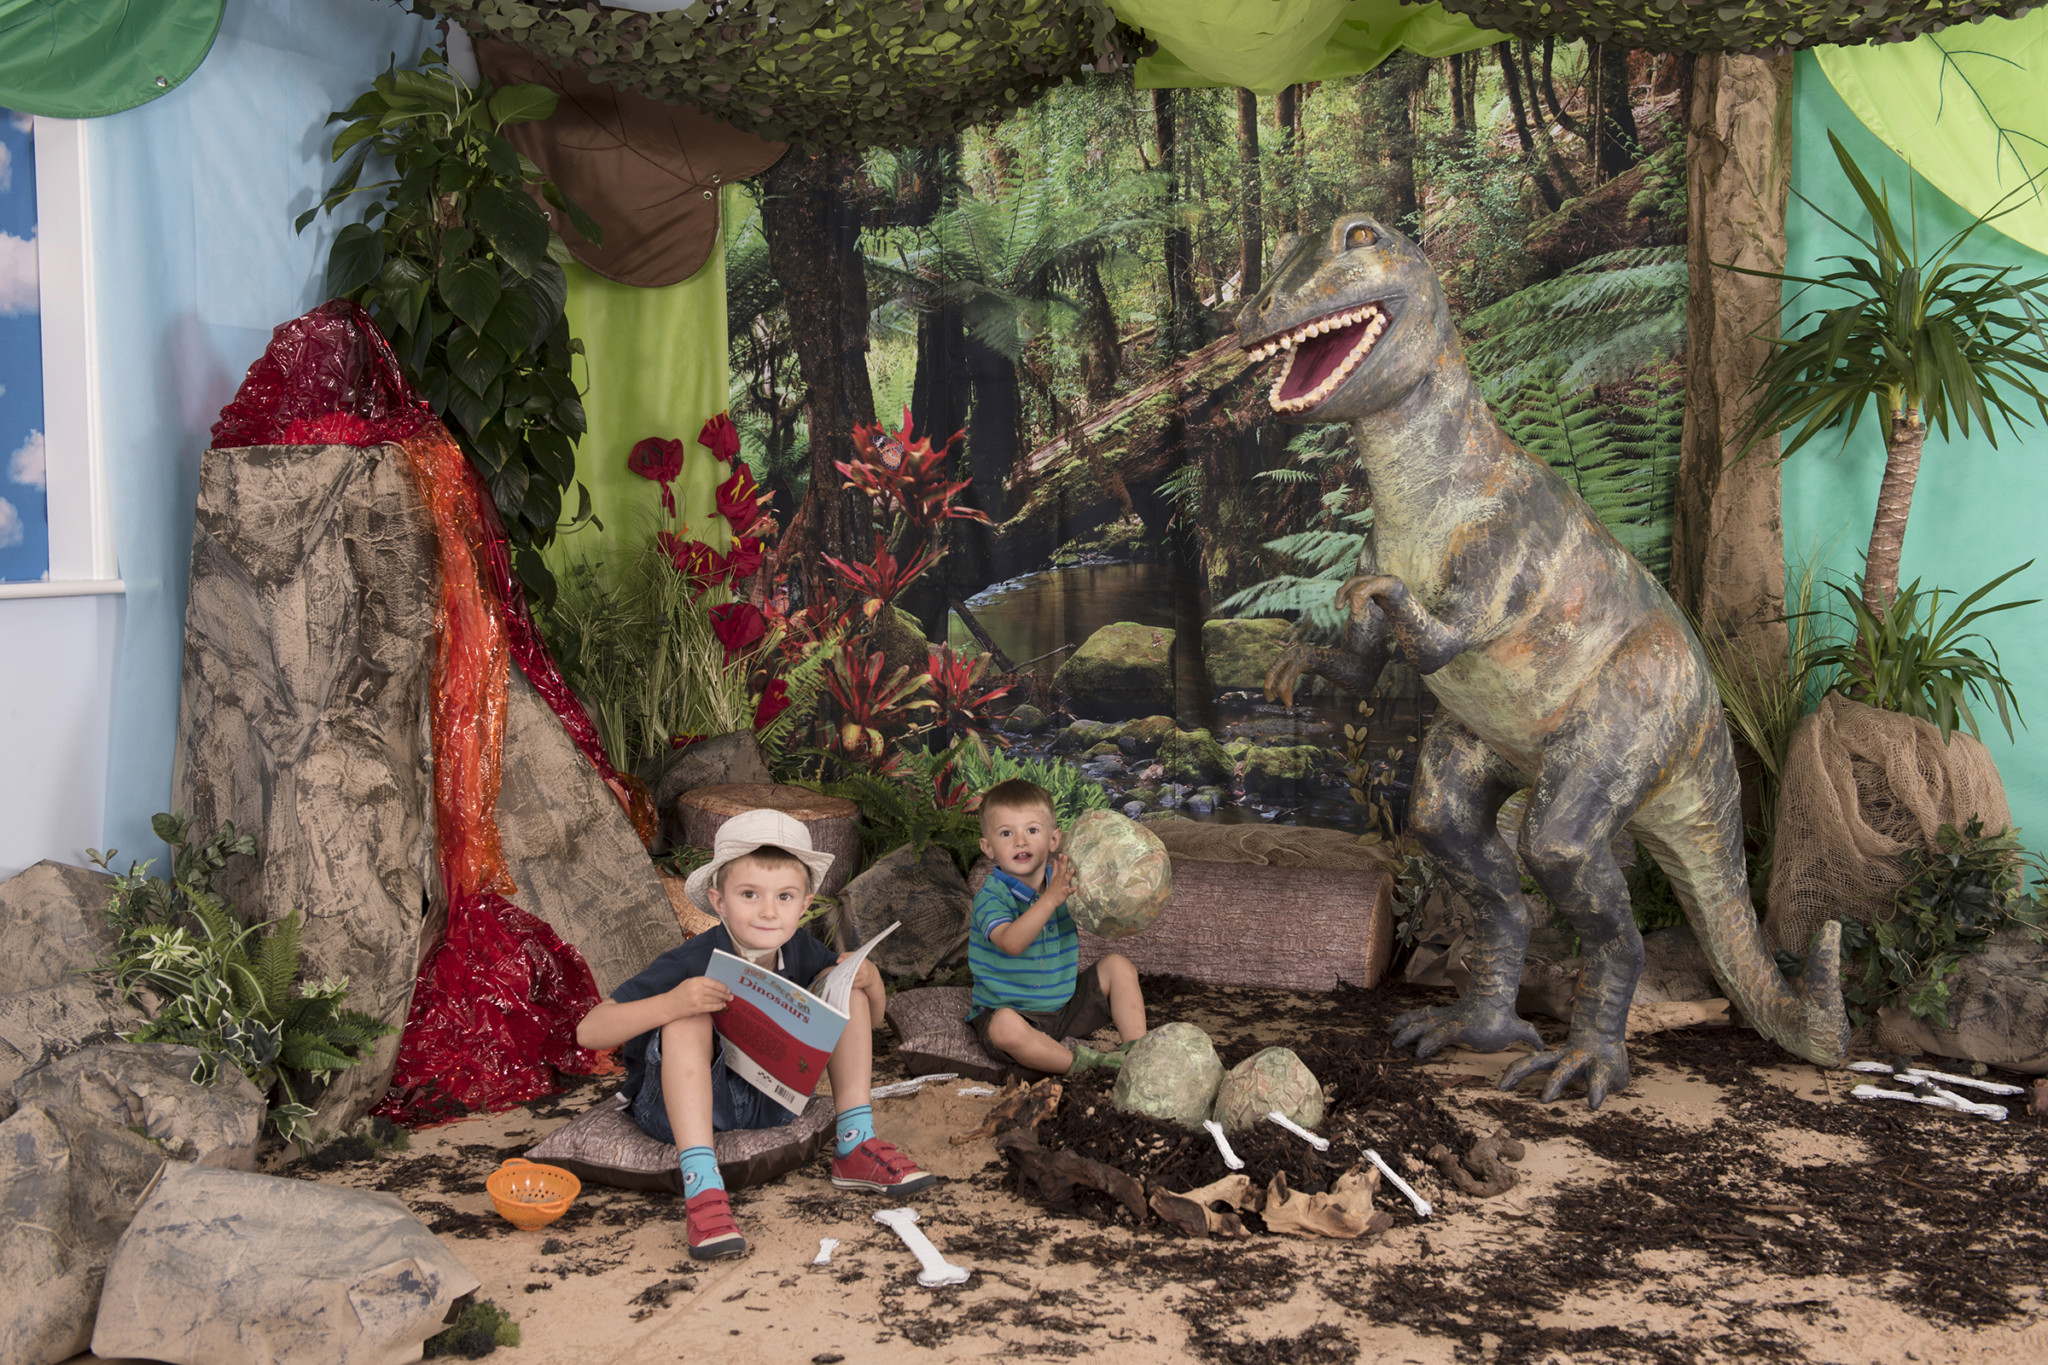
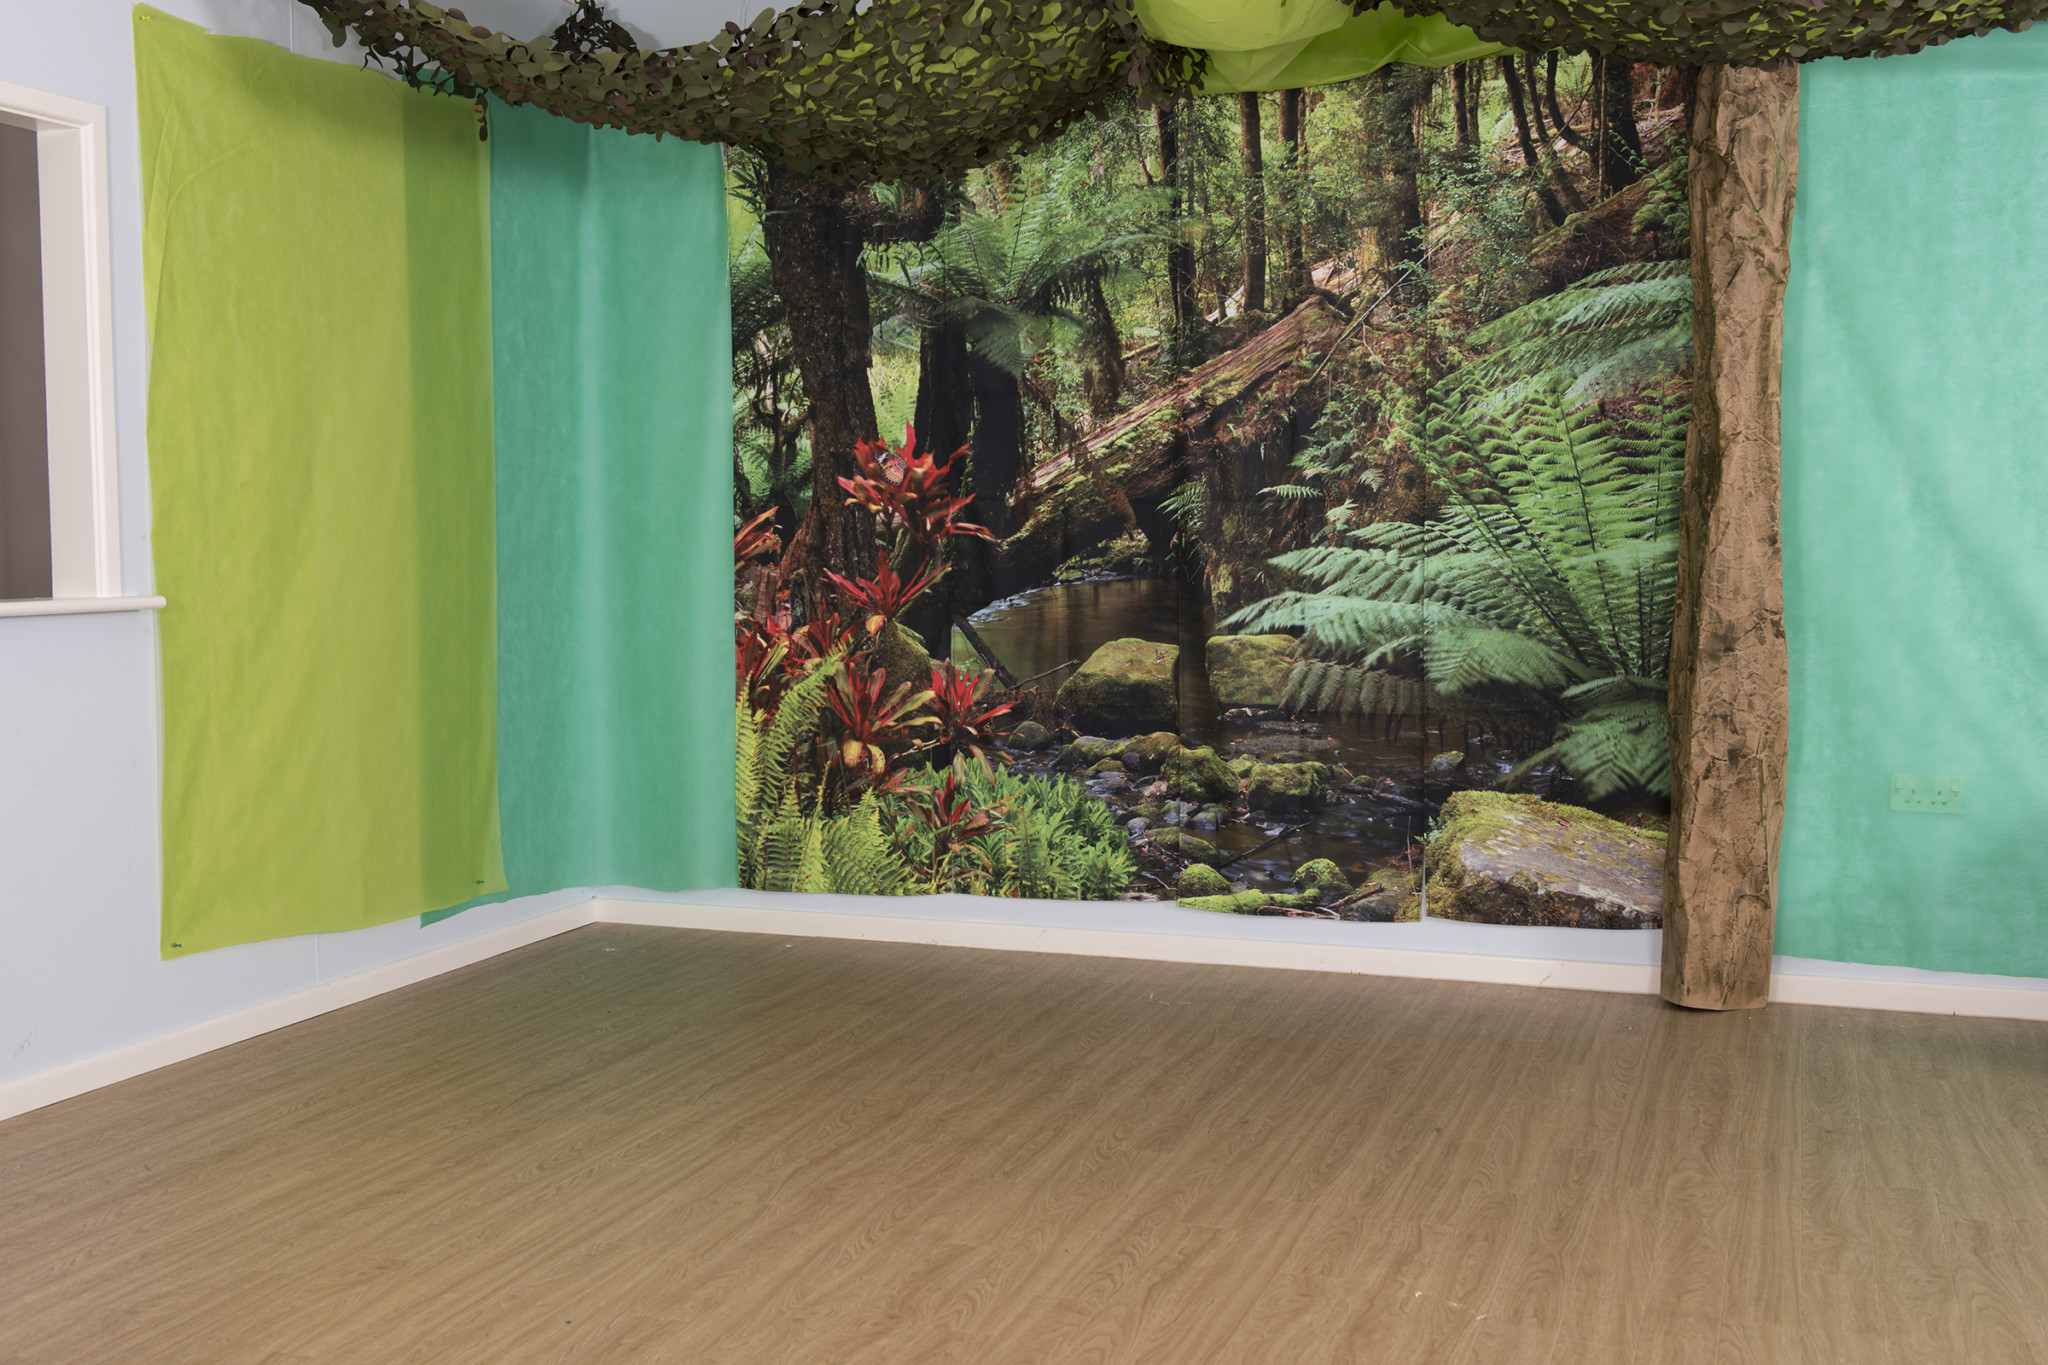
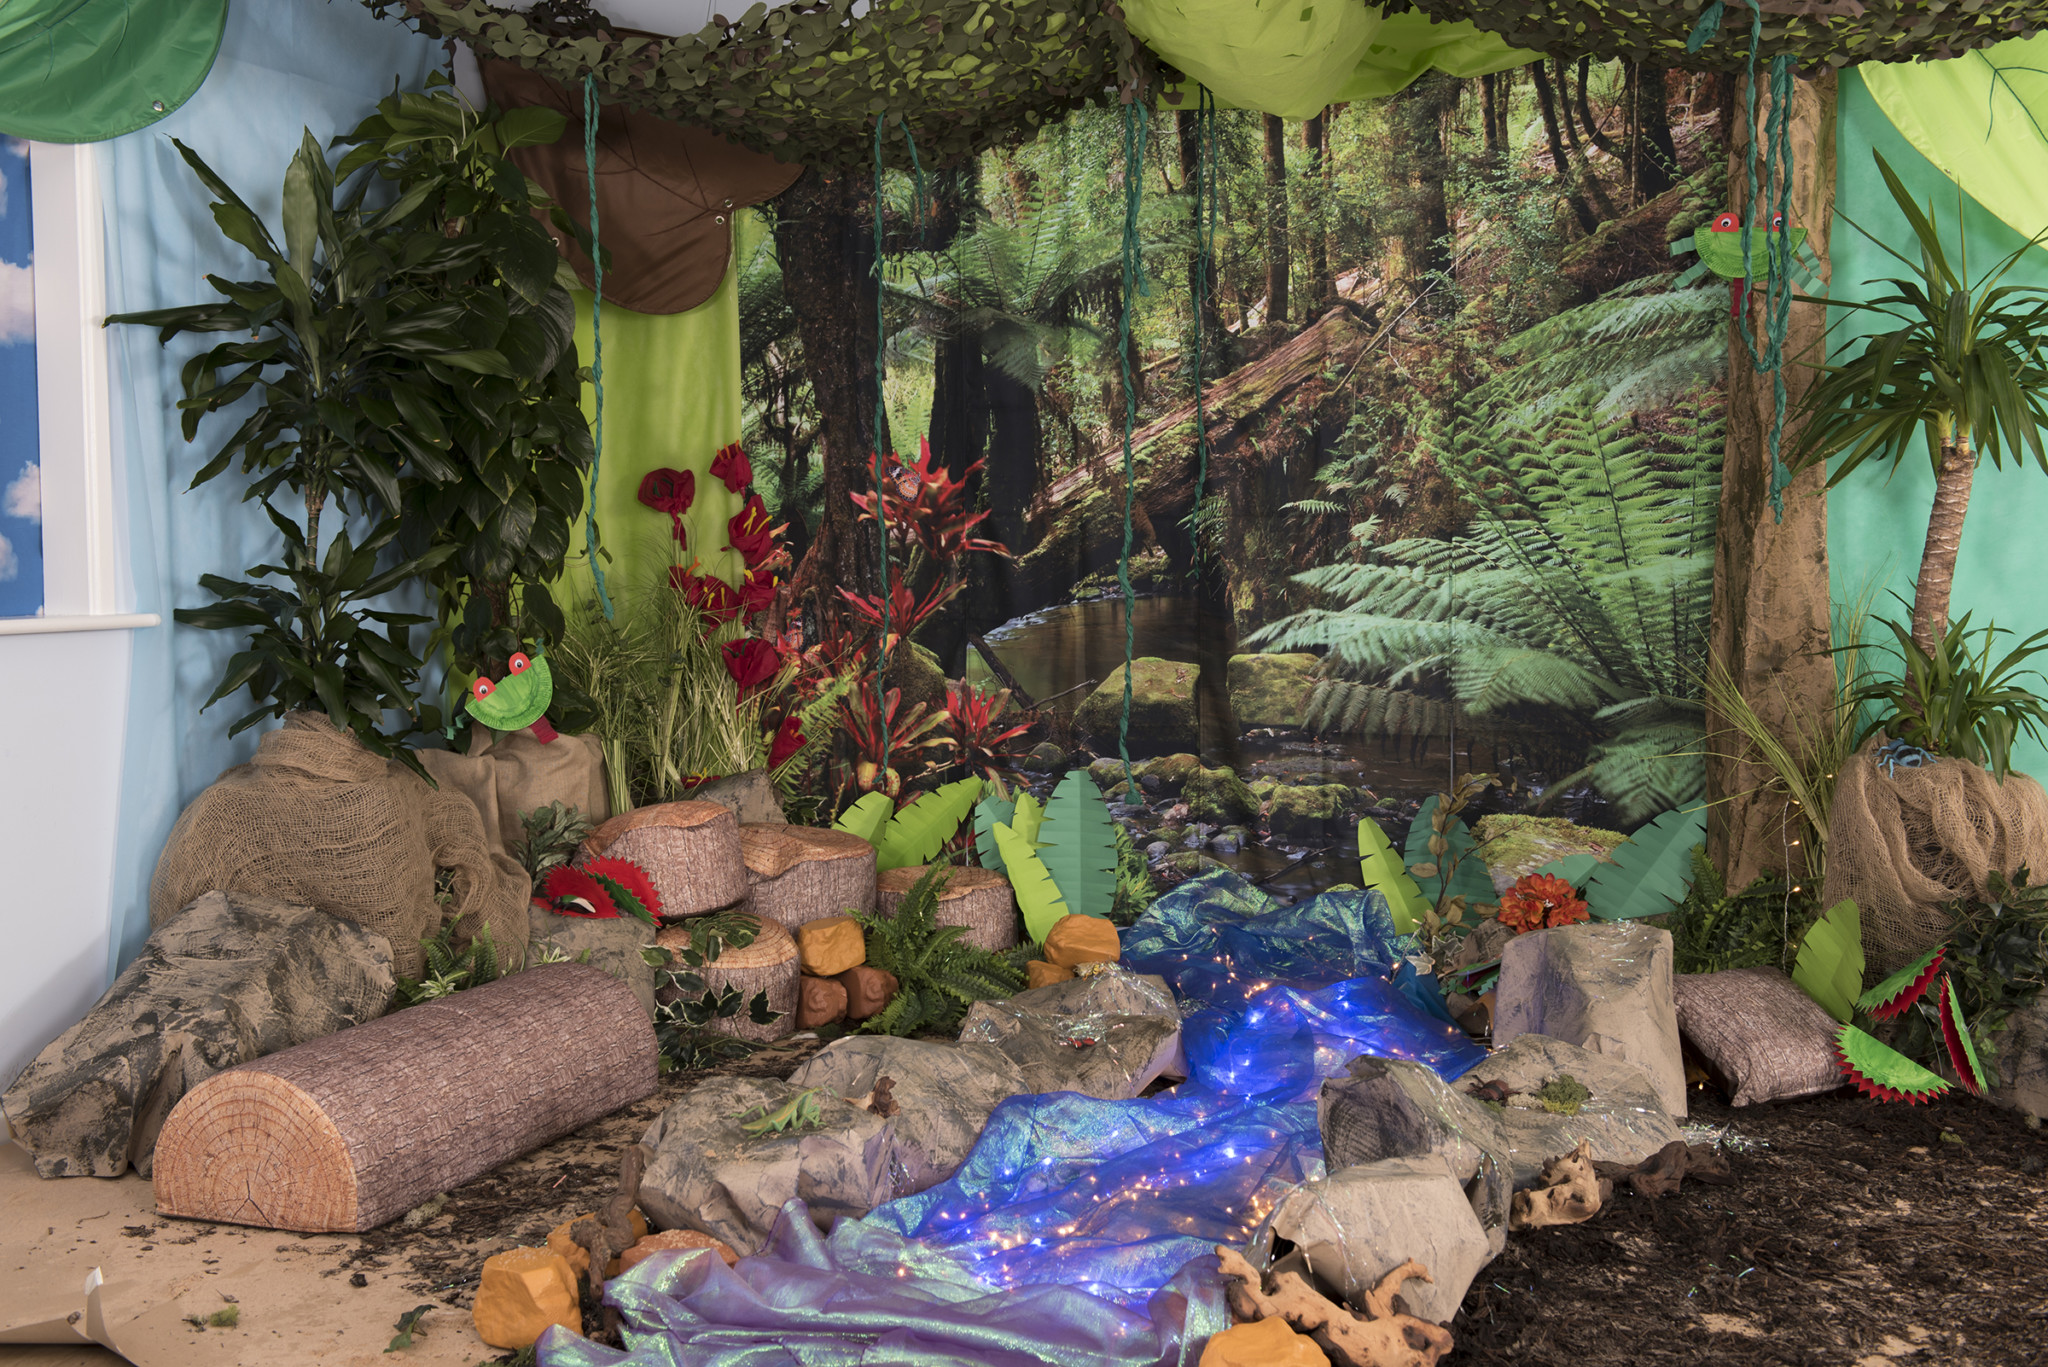
Start by hanging up the Rainforest back drop – an instant transformation of a wall already. You can almost hear the flowing stream and rustling undergrowth!
Step 2
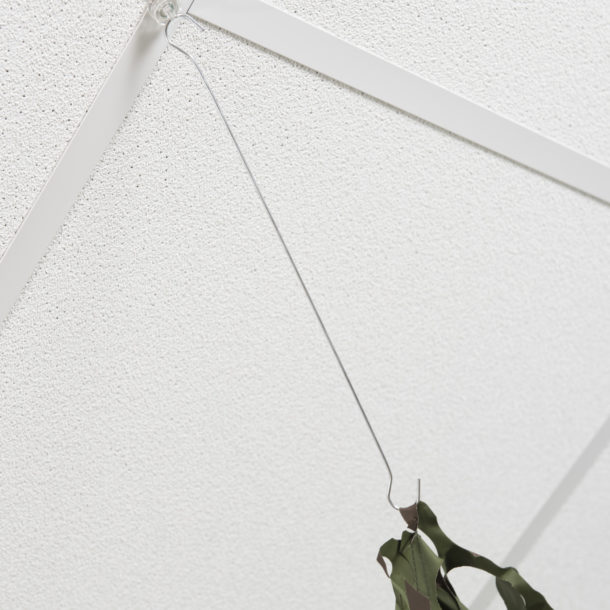
Create a canopy, making your space even more enclosed and immersive, using the camouflage netting (great for hanging things from too! )We’ve used the brilliant ceiling magnets which attach to the metal bars of suspended ceilings and allow you to keep moving the canopy around until you are happy with the position. Also hang the giant leaves and vines using the ceiling magnets.
Step 3
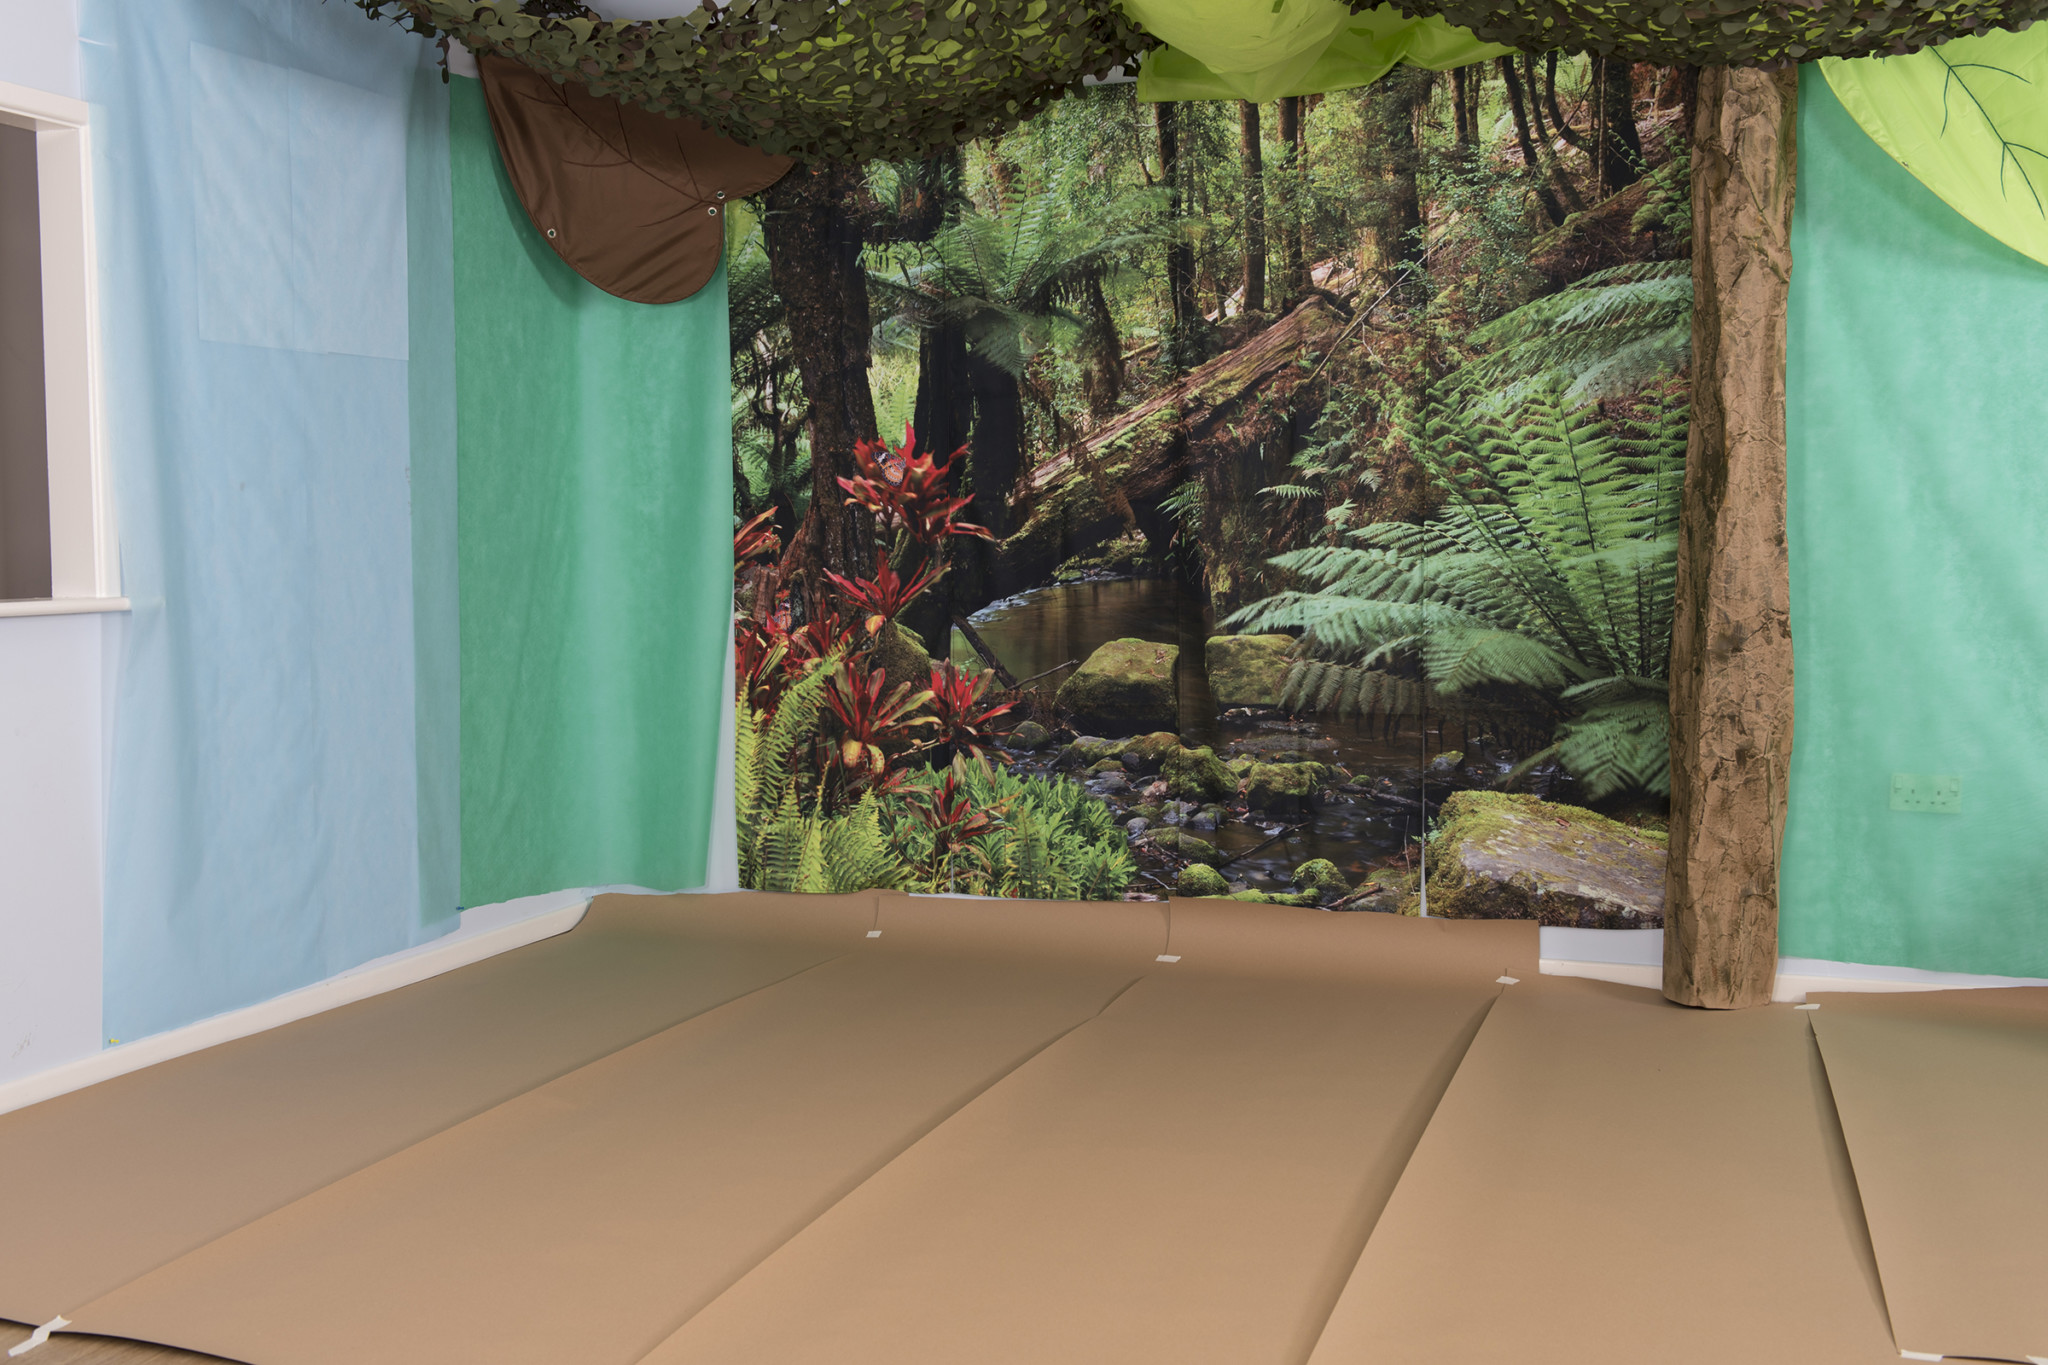
Add texture to the walls around the backdrop using lengths of green fabric and more camouflage netting. Add brown craft roll to the floor, for protection but also to give a nice base.
Step 4
Create large boulders for the floor using the heavy duty brown craft roll. Cut off a length of the roll, making a ‘parcel’ (or hollow ‘balloon’) in the centre and stapling the 4 corners together. Paint with acrylic paint to give a stone effect.
Step 5
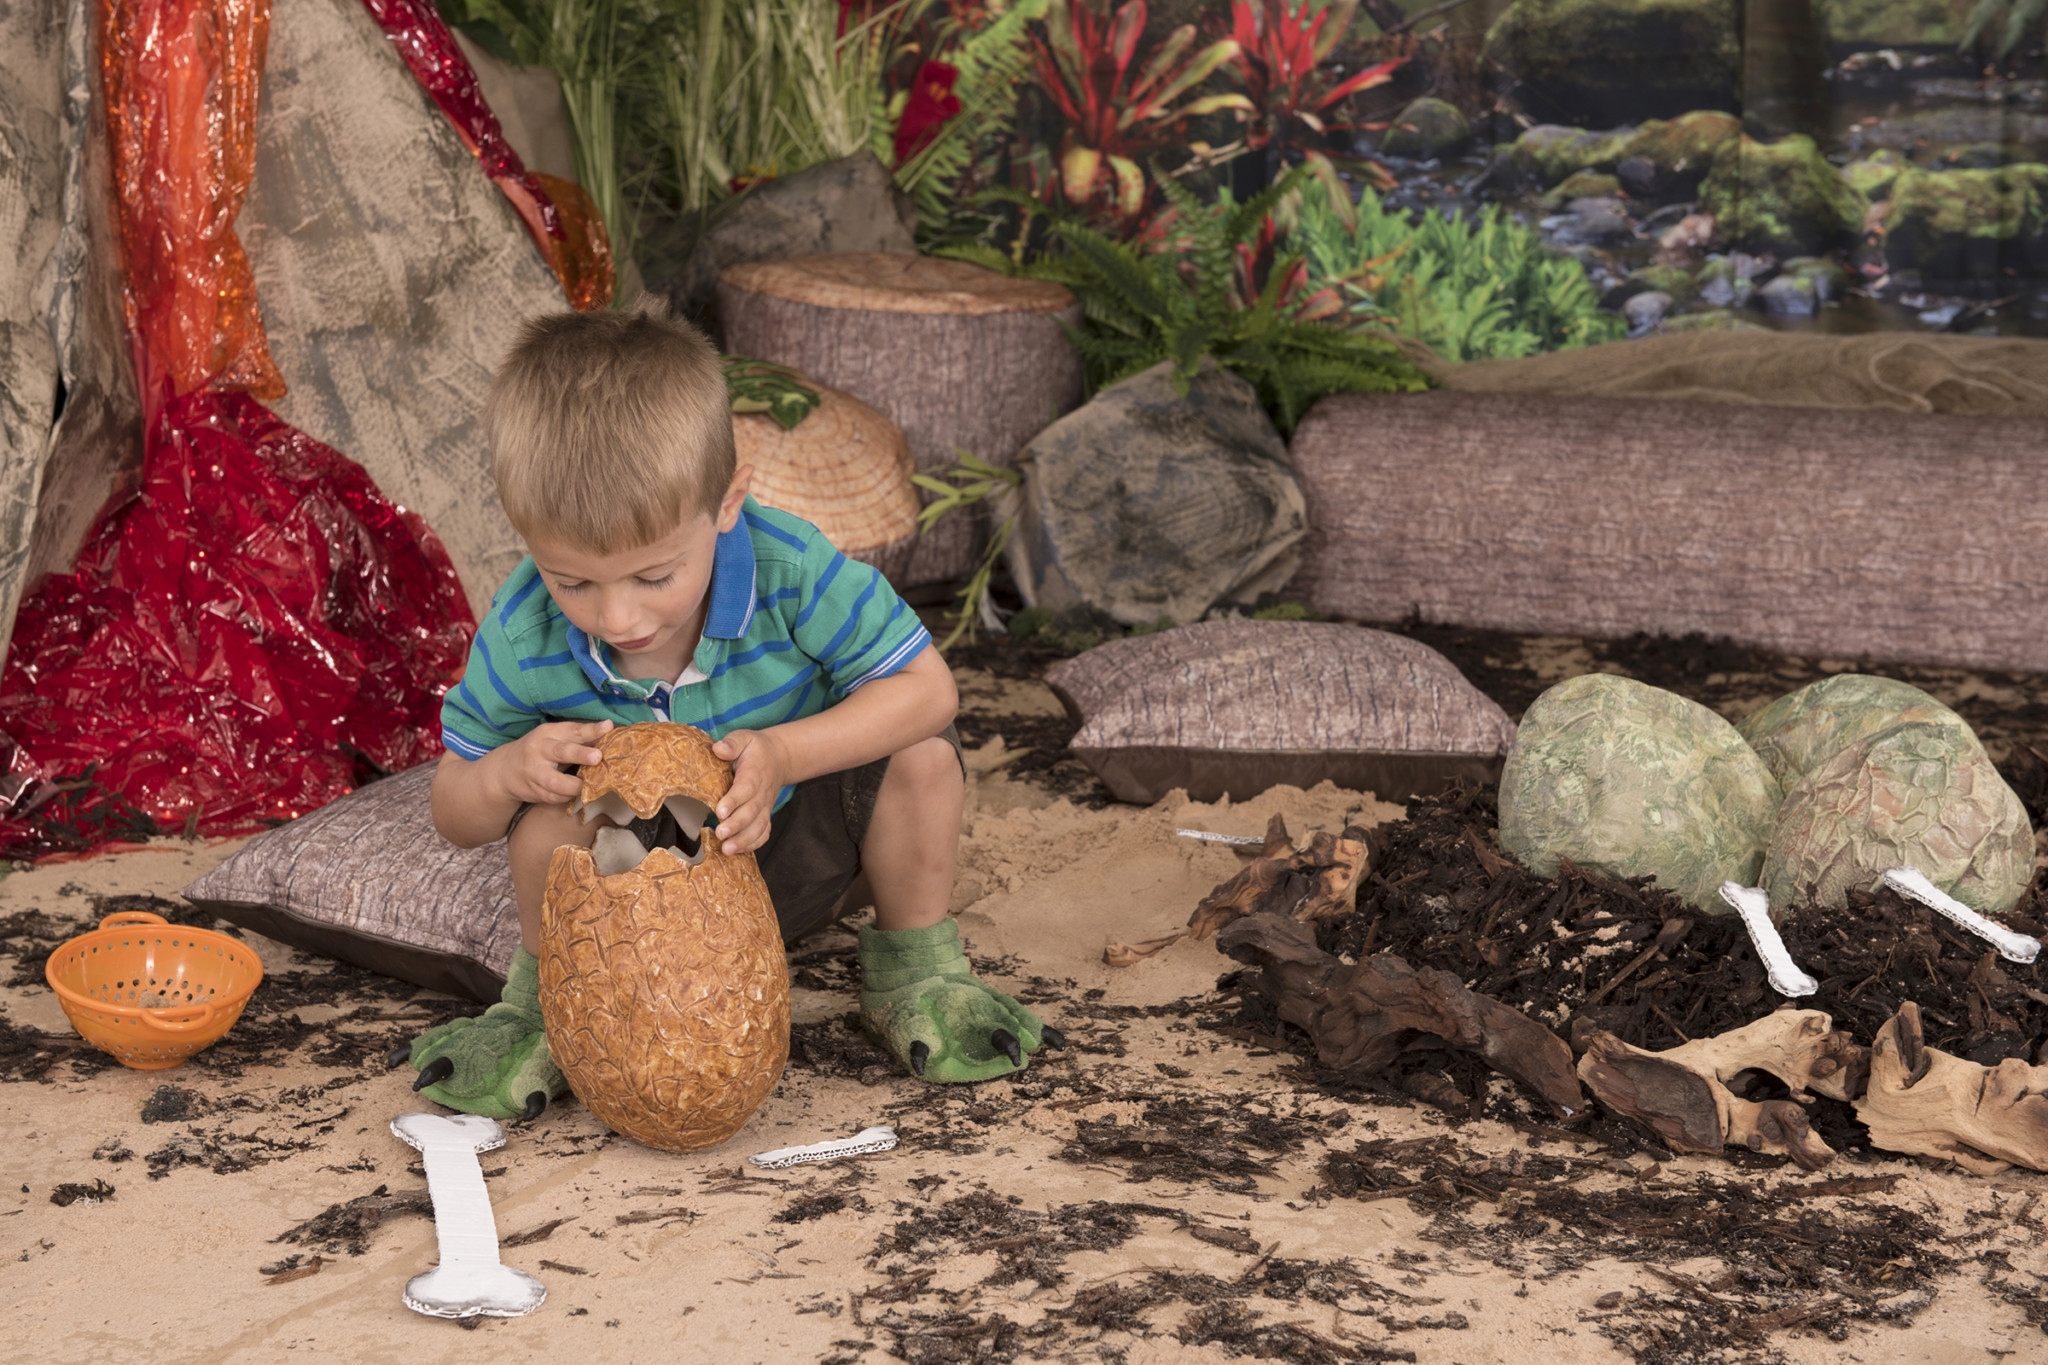
Make papier mache dinosaur eggs using blown up balloons covered with 2-3 layers of tissue paper or strips of newspaper pasted with watered down PVA. When dry, paint with acrylic paint. Place in a ‘nest’ of sand and twigs. View our How to make a papier mache Dragon/Dinosaur Egg blog post here for more detailed instruction on this.
Step 6
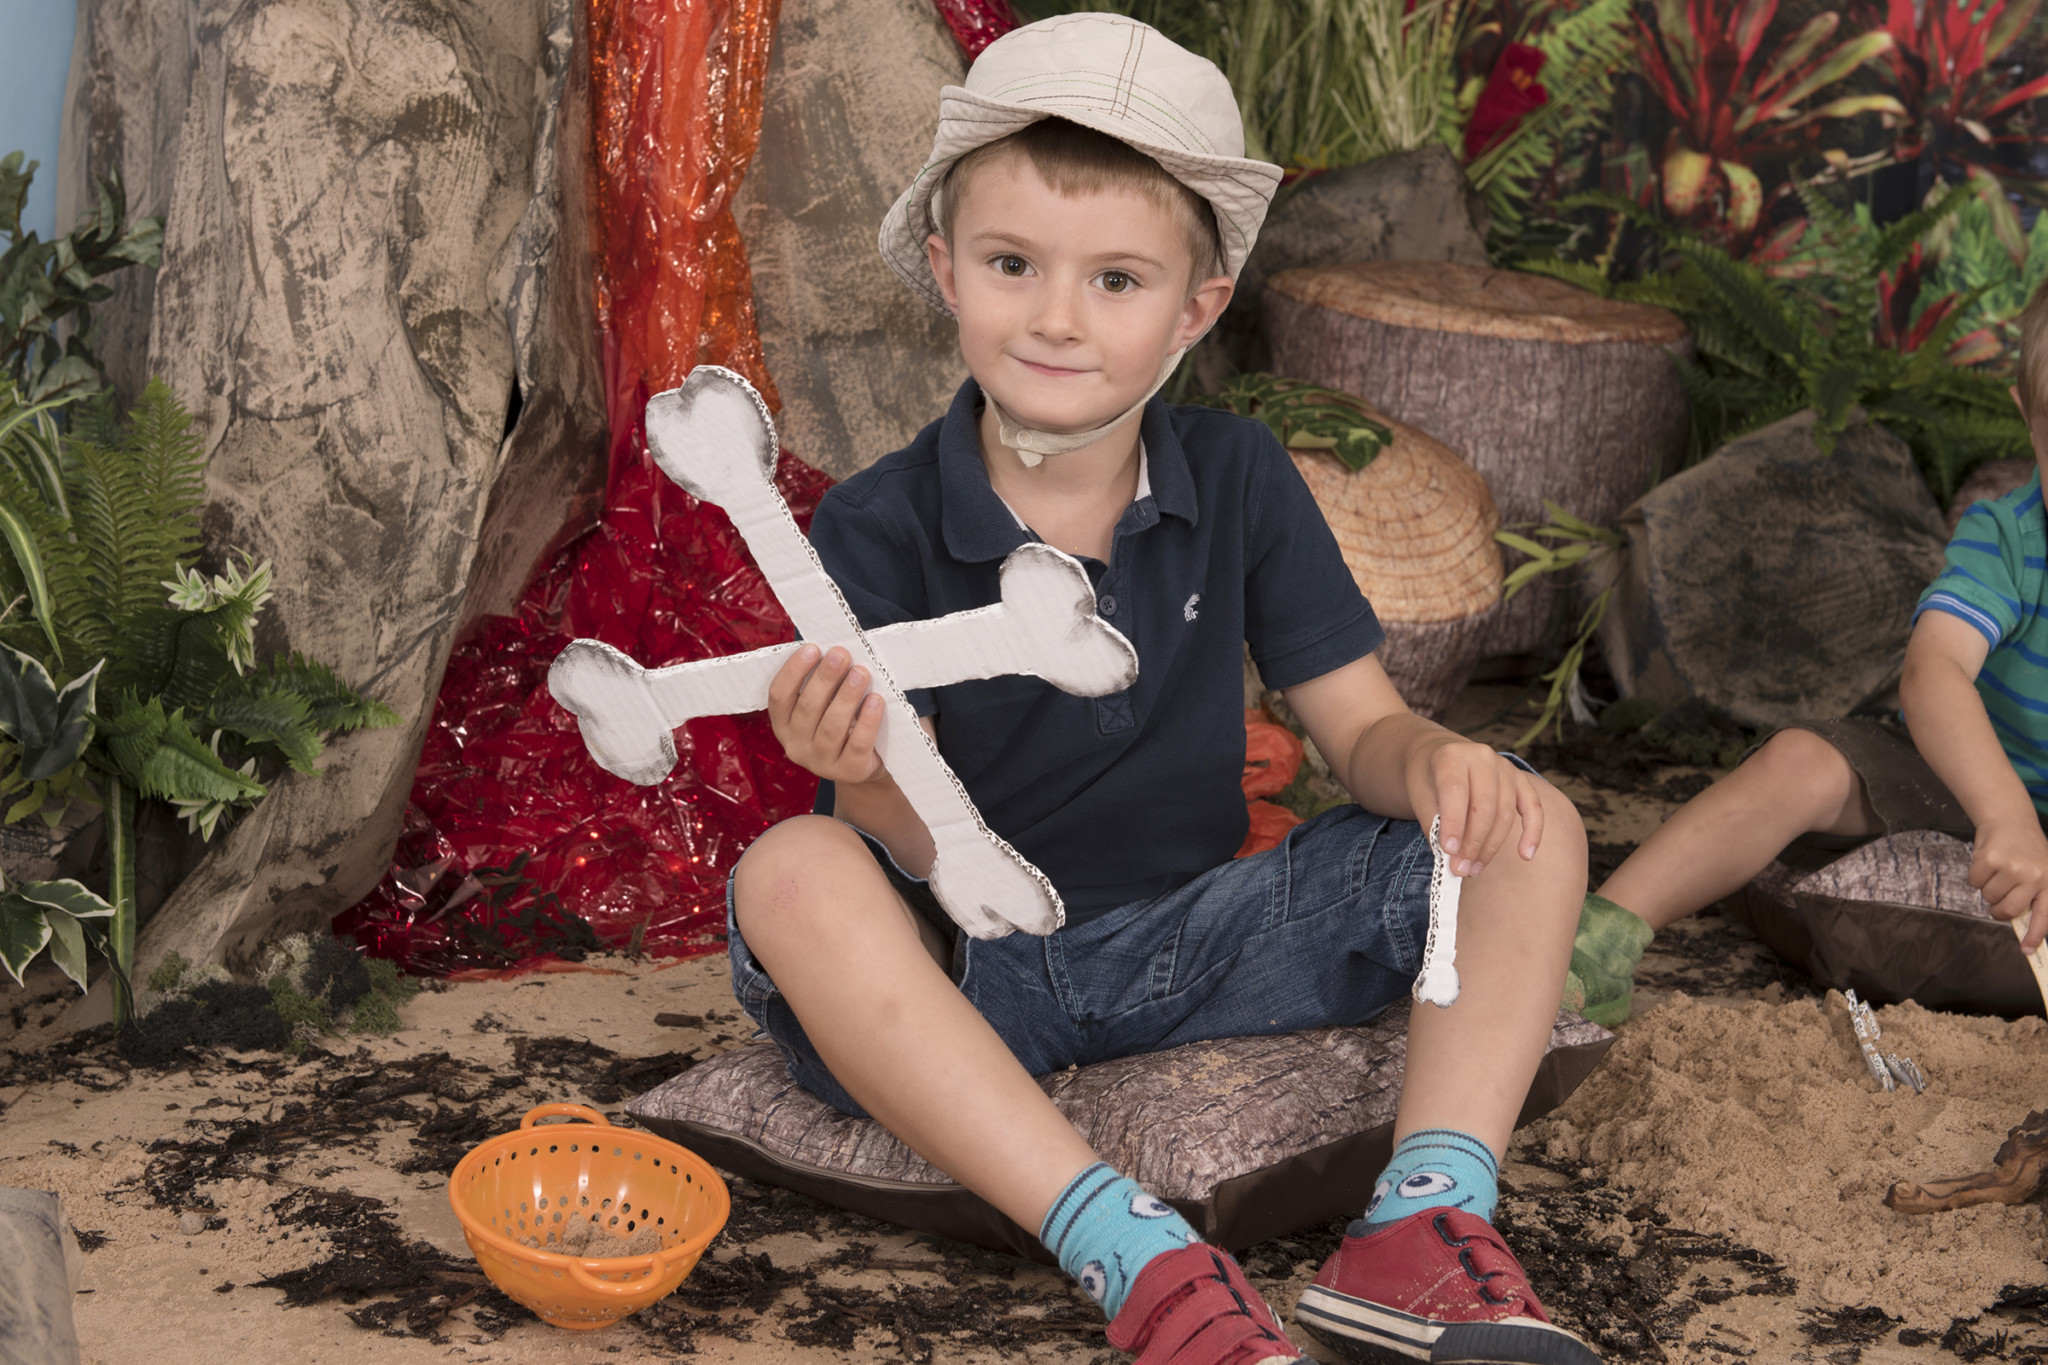
Make bones using cardboard. Cut cardboard into the shape of bones and paint them white using acrylic or ready mixed paint. Add shadows using black/grey paint to give them a 3D effect.
Step 7
Create a truly sensory appeal to the scene by adding play sand on the floor (create a ‘dig’ area) – you never know what will be discovered! We’ve also added bark from a garden centre – a great addition for extra smell and texture. Add fossils and bones to be discovered.
Step 8
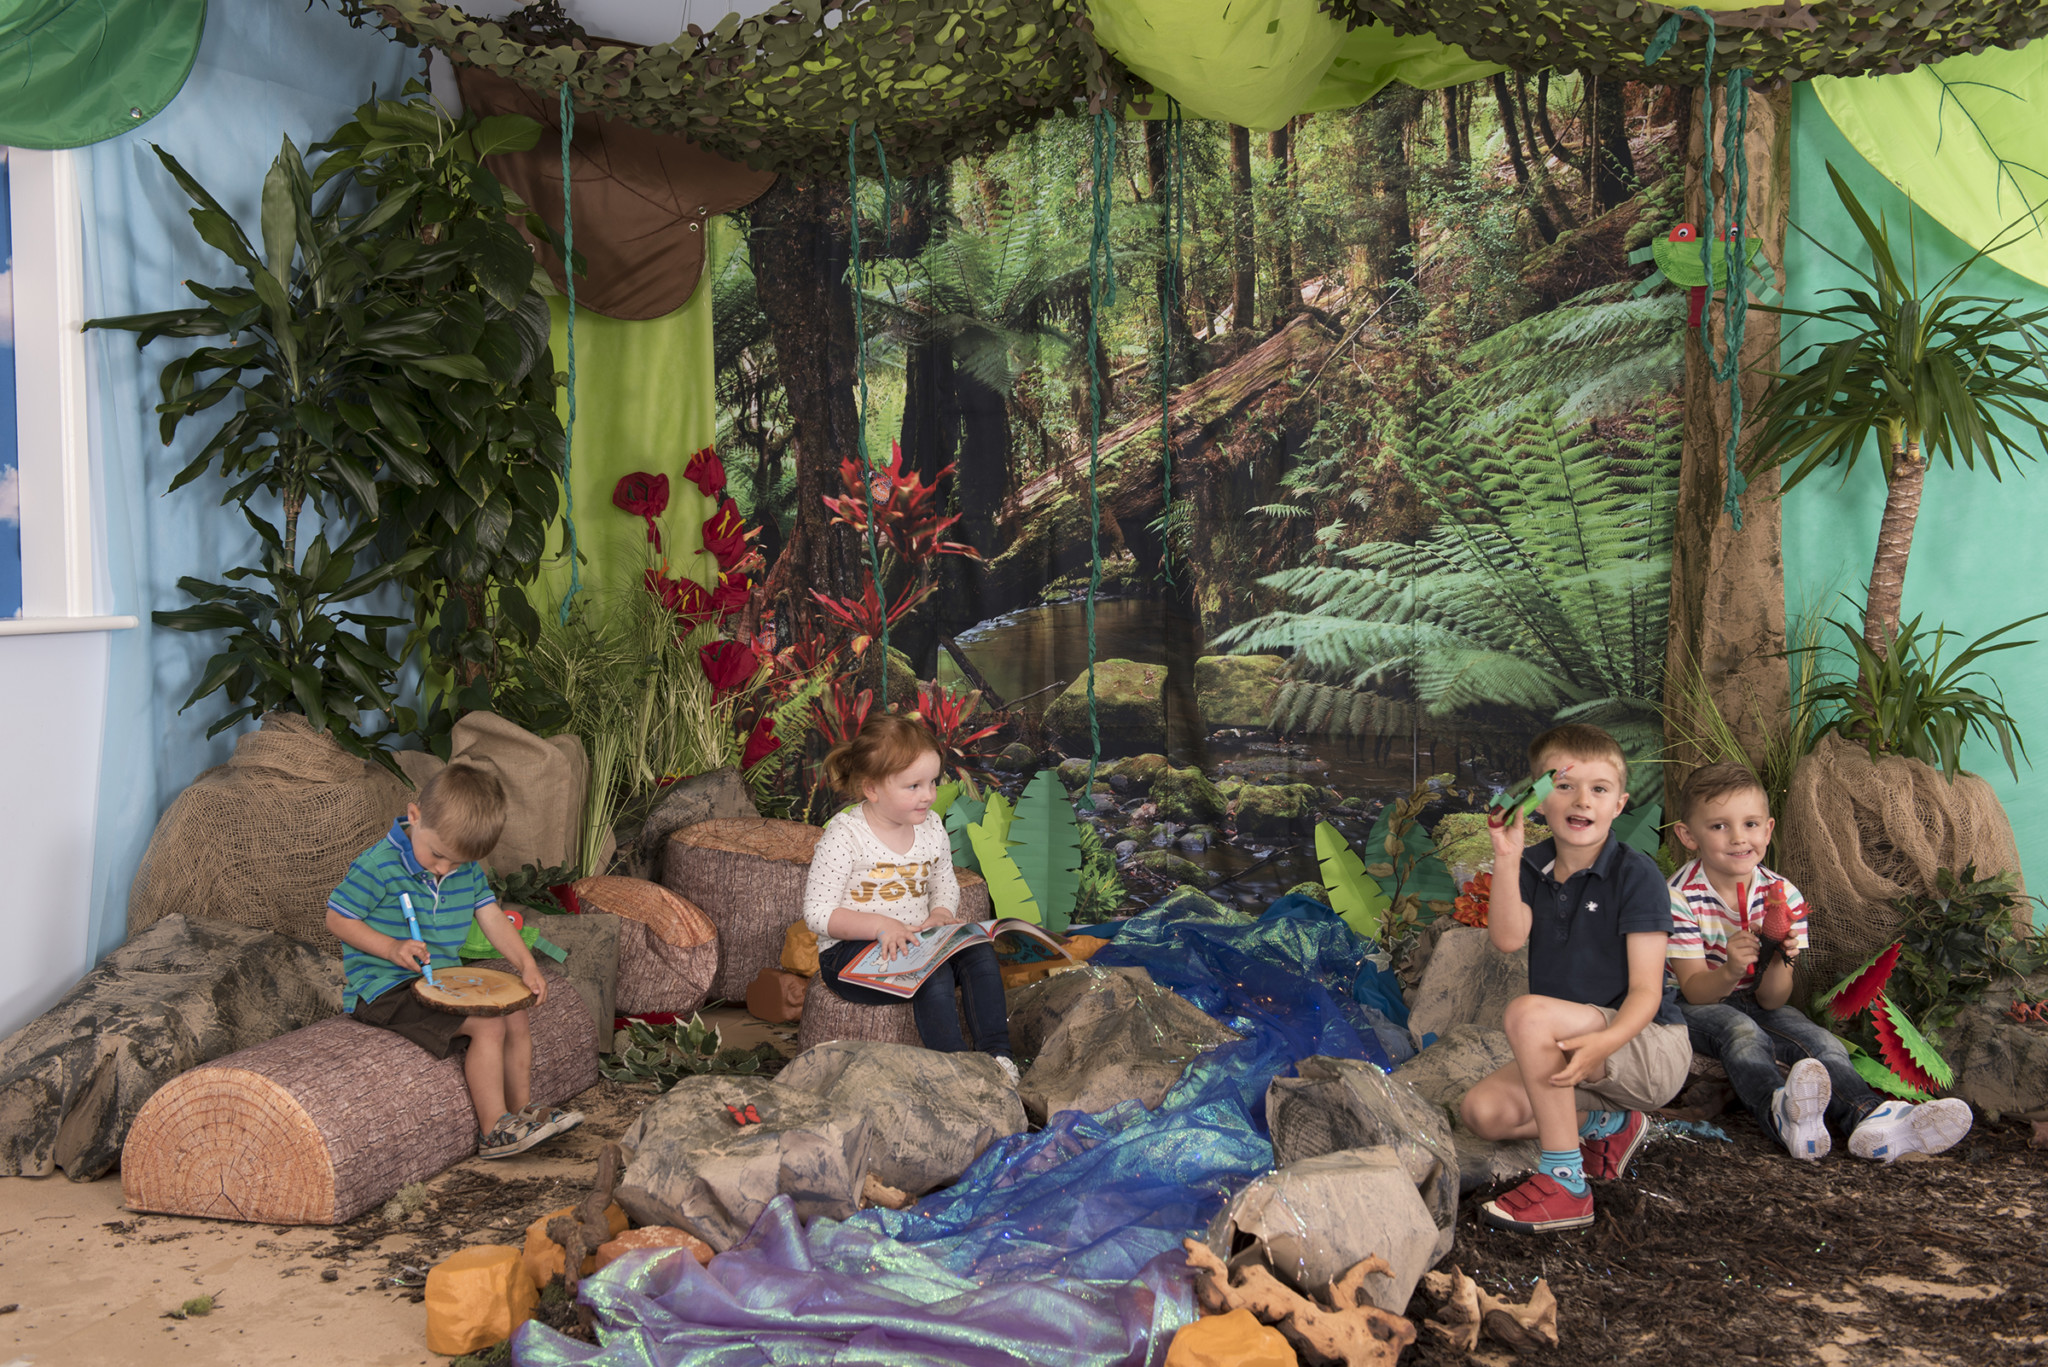
Add greenery (real, fake or handmade) such as plastic ferns and plants, ivy, moss and Mopani wood, leaves and our tree stump and log cushions to make a truly exciting reading/discovery area.
The Volcano
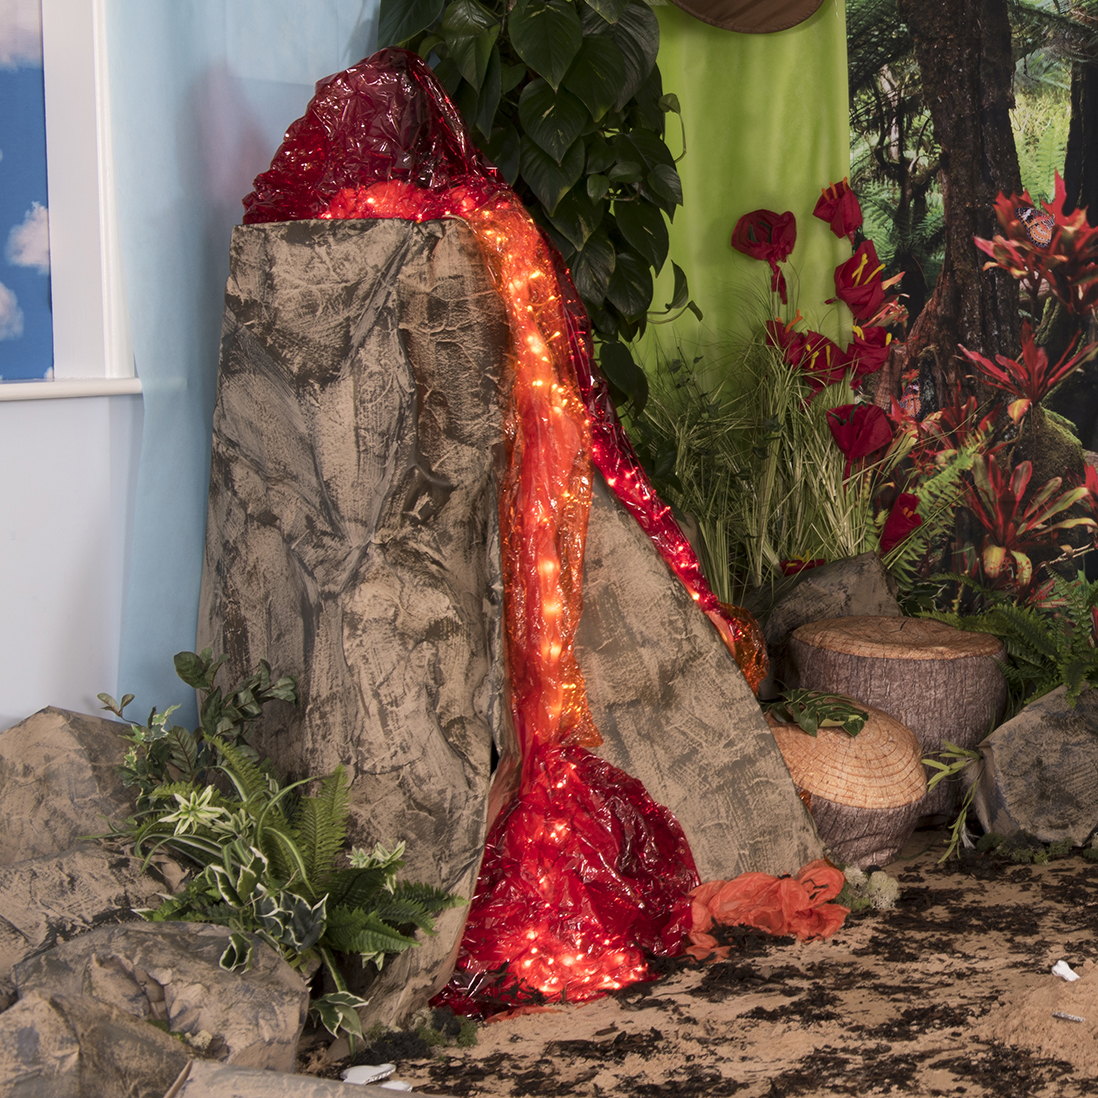
Our volcano was made using 3 cardboard boxes – a large one on the bottom, medium in the middle and small on top, stuck together to make the structure of the volcano. Wrap/cover this structure with crushed (to add texture which will show up when its painted) brown craft roll, leaving it open at the top for the mouth of the volcano. Paint the brown paper lightly with dark brown paint – don’t use too much paint here. Create the red hot lava down the front using lengths of red and orange tissue paper topped with red and orange/yellow cellophane with fairy lights sandwiched in between to create the flowing motion and light up/glowing effect. At the mouth of the volcano add lots of crumpled up red/yellow/orange tissue paper as if erupting and start the fairy lights flowing from within the mouth of the volcano to it’s base.
Watch how to build and paint the T-Rex here:
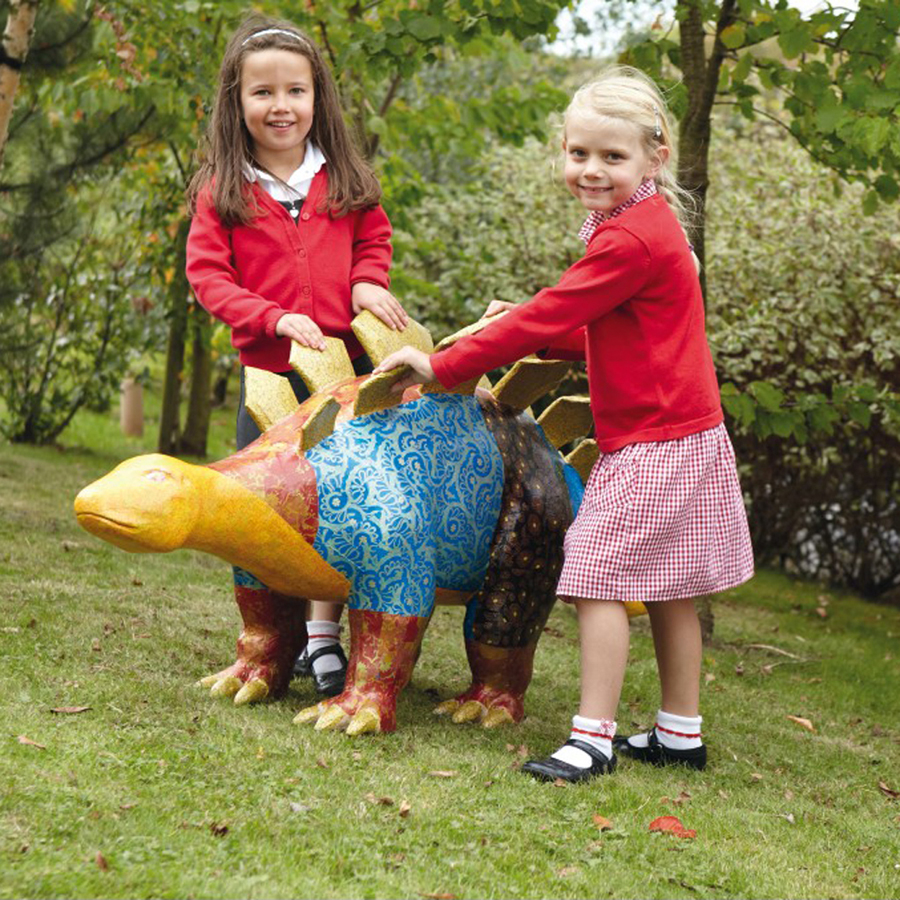
Why not add a Stegosaurus to your scene?
This scene can easily be converted into a rainforest location by adding a stream using blue voile fabric to suggest water, with fairy lights underneath. Line the stream with boulders and hang green ropes and vines made from tissue paper from the canopy.
Shop the range of Immersive Environment resources hereWith Thanks to Nicky Mountcastle and her team for creating this amazingly inspiring how to. Watch out for our next themed learning locations coming soon.
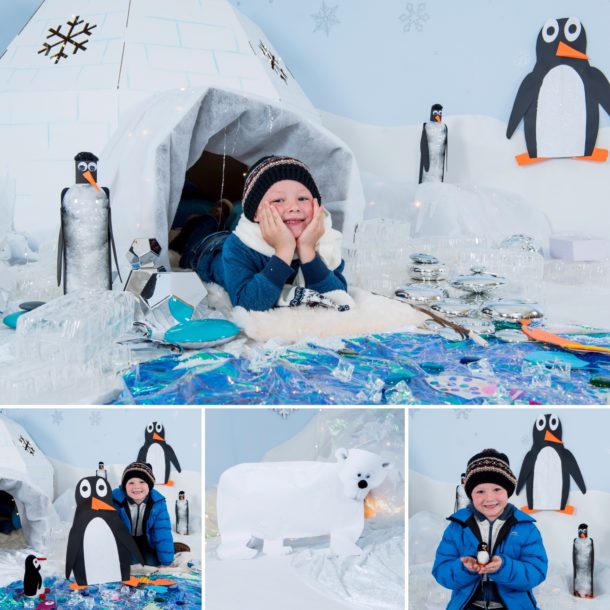
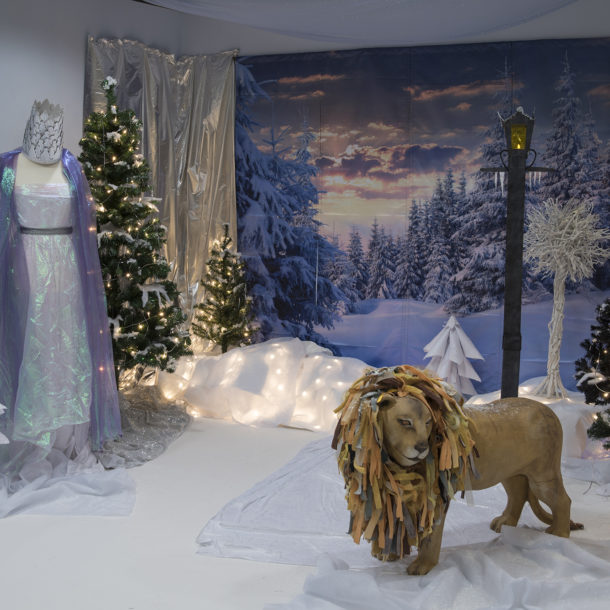
Have you seen our other Immersive Learning Location scenes? Click the links to see them: Narnia-themed Winter, Icy Antarctic Penguins and Igloo.


