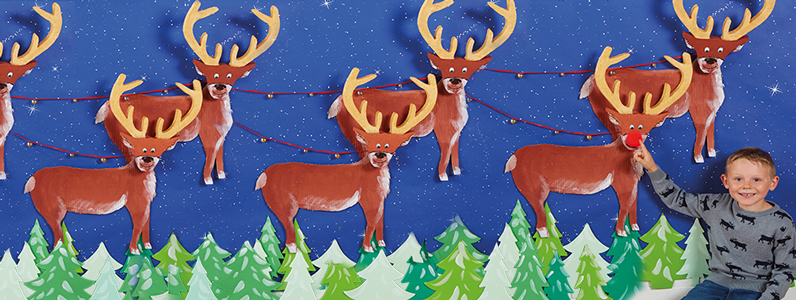
Follow our simple step by step guide below using everyday art materials and craft techniques that children are familiar with to make this lovely Christmas Reindeer scene. You can get the whole class involved in this activity to bring the magic of Christmas alive.
Classroom Management Tip – Why not divide your class into groups e.g. group 1 – designing and making the Reindeer’s, group 2 – making Santa’s sleigh and group 3 – the wintry back drop.
Making the reindeer
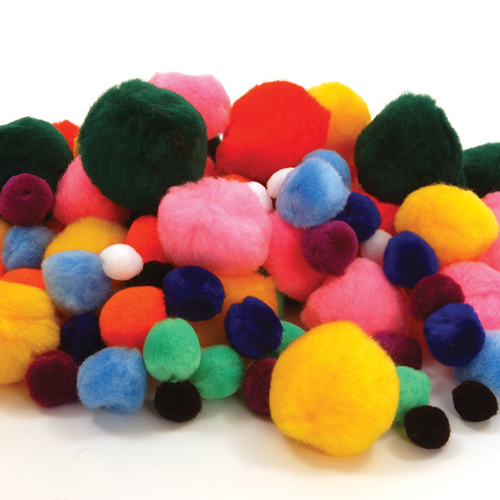
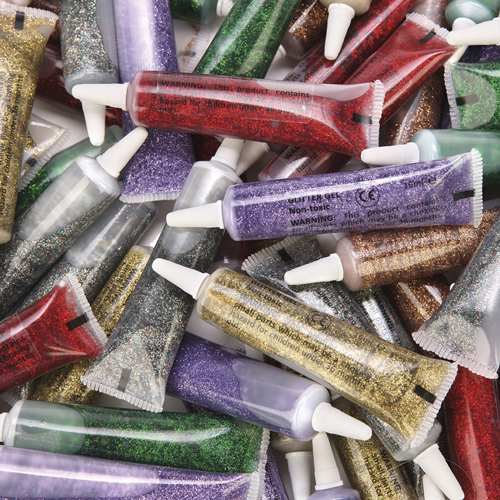
Use ready cut polystyrene heads and think about how you want your reindeer face to look. Allow the children to get creative and use a mixture of art materials to create different faces e.g. add brightly coloured acrylic paint, wiggle eyes, a bright, fluffy pom pom nose and some sparkle by using glitter glue.
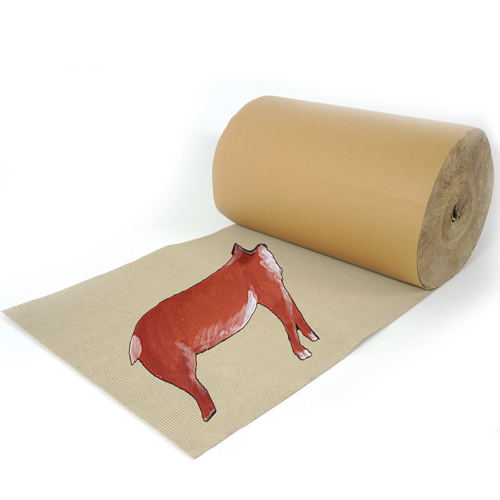 Whilst your reindeer head is drying move on to designing the body. Using cardboard roll draw your reindeer body shape and then decorate. Ready mix paint can then be used to make realistic fur or why not let your children get creative and make rainbow reindeer’s!
Once painted leave the design to dry and then cut out the body shape.
Making the sleigh
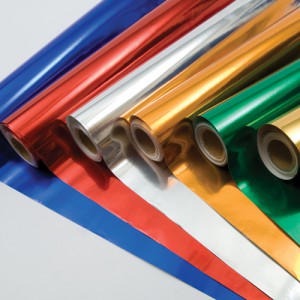
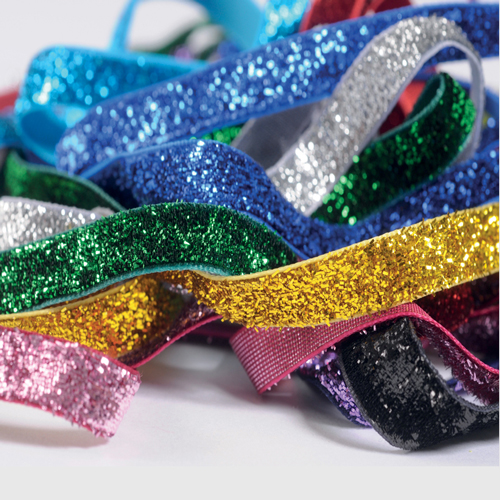
Using metallic paper rolls you can create Santa’s sleigh, simply draw your sleigh shape onto the back of the paper roll and cut out. To attach Santa’s sleigh to your reindeer use brightly coloured ribbon for your reins, you could even add a little bit of extra magic by attaching jingle bells to the ribbon.
Wintry back drop
Use a starry night poster paper roll as a base to the backdrop for Santa and his sleigh. To add different textures and an element of 3D to your backdrop create a snowy hill scene using ready cut jumbo display trees. Paint your trees with white ready mix paint to create a magical winter wonderland.
We hope you enjoy creating this magical festive scene in your school or setting.
Why not take a look at our other ‘Christmas How to…’ activities:
Christmas Fireplace and Hearth


