What you’ll need:
- Battery holder with 2 AA cells fitted
- Battery snap
- Toggle switch
- Motor
- Propeller
- 3 x crocodile leads
- Small rubber band
- Plastic sports bottle – make sure you choose a bottle with a neck wide enough to house your motor
- Sellotape
- Double sided foam sticky tape e.g. 1 mm thick x 12 mm wide
- Pointed nail scissors
- Ruler
Step 1
Make the circuit pictured below and check that the motor shaft goes round when you switch on. Be careful not to short circuit your battery (i.e. connect the wires from your battery directly together) – they must go via the motor. Stretch a rubber band over the crocodile clips attached to the switch as shown (below right), to stop them coming off.
Step 2
Press the propeller onto the motor shaft. Check that the propeller blows air away from the motor when you switch on. If it blows air the wrong way then swap over the clips attached to the motor terminals. Your propeller will fit either way round on the motor shaft. You can work out which works best from the way the curved blade ‘scoops’ the air.

Step 3
 Remove the bottle lid and use the nail scissors to pierce and cut all the way round the bottle as shown on the right (i). Cut all the way round again about 1.5 cm above this (ii). The upper part should now slide onto the lower part. Cut a 1.2 cm diameter hole (iii) for the switch.
Step 4
Slide off the lower part of the bottle. Unscrew the first nut from the switch and remove the on/off label. Make sure the second nut is screwed all the way on. Push the threaded part of the switch through the hole from the inside. Put back the on/off label and screw the first nut back on firmly.

Step 5
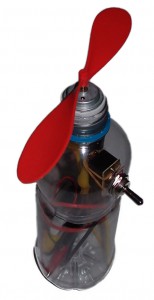
Take the propeller off the motor shaft and push the motor up through the neck of the bottle from the inside as shown. Make sure the crocodile clips are still firmly attached. Wind a layer of foam sticky tape round the motor, and remove the plastic backing. If the neck of the bottle is much wider than the motor you will need several layers of foam sticky tape, as it needs to be a tight fit. Push the motor down until it is just protruding from the neck of the bottle as shown.
Step 6
Push the propeller back onto the motor shaft. Switch on and make sure it goes round. Place the battery and crocodile leads in the lower part of the bottle (making sure the metal crocodile clips aren’t touching). Slide the bottle together and secure with Sellotape.
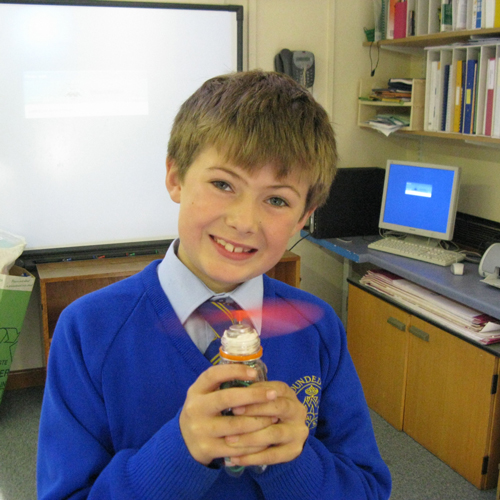
Try out your fan, being careful not to put the propeller near your eyes.

About our guest author
Caroline Alliston is a professional engineer and technical author with a degree from Cambridge and twenty four years experience in industry. Whilst on a career break to spend more time with her two boys, she started a club at their school to enthuse children about science and engineering. Before long there were more children on the waiting list than in the actual club!
Caroline now spends her time running hugely popular workshops for teachers, pupils, home educated children, holiday clubs, Scout groups etc. Unable to be in three places at once, she has written the Technology for Fun series of books incorporating her favourite and most successful projects, to give even more children the opportunity to have fun making things that really work.


